Create Realistic Reflections in Photoshop: Boxes and Cylinders

Create Realistic Reflections in Photoshop: Boxes and Cylinders

Creating convincing reflections in Photoshop requires different approaches depending on the shape of your object. While the basic concept remains the same—duplicating and flipping the original—the transformation techniques vary significantly between geometric shapes like boxes and curved forms like bottles or cylinders.

This tutorial demonstrates the specific methods needed to create realistic reflections for both box-shaped and cylindrical objects. You'll learn how to use perspective warp for angular shapes, standard warp for curved surfaces, and finishing techniques that bring both types of reflections to life with proper shadows and opacity adjustments.

Watch the Tutorial

Video by Kepo Art Studio. Any links or downloads mentioned by the creator are available only on YouTube

Understanding Reflection Geometry in Digital Composites

The physics of reflections follow predictable rules that digital artists must replicate to achieve believable results. When light bounces off a reflective surface, it creates a mirror image that appears to extend below the surface plane. The key challenge lies in accurately representing how different object geometries interact with this reflective plane.

Box-shaped objects create reflections with straight edges that maintain their angular relationships but require perspective correction to account for viewing angle. The reflection appears to recede into the surface, which means the bottom edge of the reflection should align perfectly with the object's base while the top portions may need geometric adjustment.

Cylindrical and curved objects present different challenges because their reflections must maintain the curvature relationships while flipping vertically. The curved edges need careful warping to preserve the natural flow of the original shape while accounting for how those curves would appear when viewed through a reflective surface.

Practical Tips for Object Reflections

  • Use Perspective Warp for angular objects like boxes to maintain straight edges while adjusting depth perception
  • Apply standard Warp transformation for curved objects to preserve natural curvature in the reflection
  • Create gradient masks starting from the object's base to the reflection's midpoint for realistic fade effects
  • Set reflection blend mode to Multiply at 75% opacity for natural surface interaction
  • Link the object, shadow, and reflection layers to maintain positioning relationships when moving elements

Explore more advanced reflection and lighting techniques for your Photoshop projects.
How to make epic reflections in Photoshop
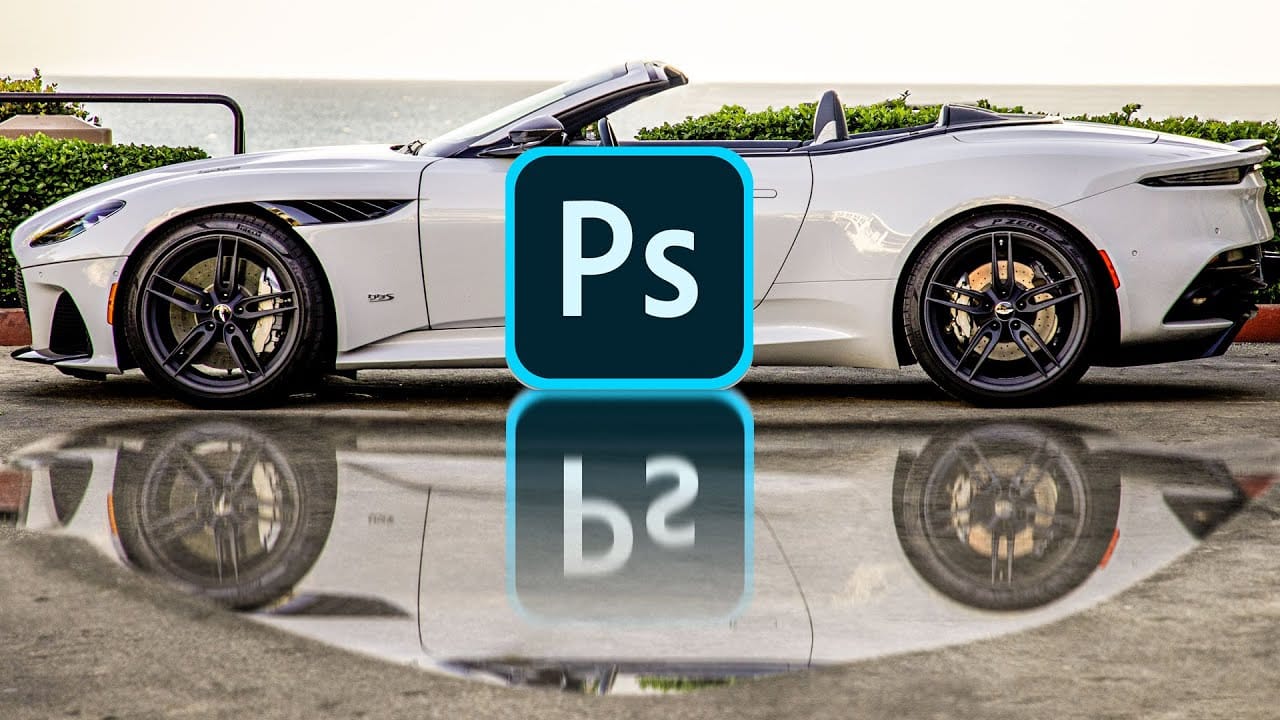
This tutorial will teach you techniques to create captivating reflections and lifelike puddles in Photoshop. Renowned expert Colin Smith will guide you through the process, ensuring your images and designs achieve a heightened sense of realism and visual impact. You'll learn tips and strategies to craft reflections that seamlessly blend with your photographic elements or design compositions, whether replicating the surface of a lake, the facade of a skyscraper, or the rippling effect of a puddl
Realistic Water Reflection Effect Photoshop Tutorial
In this Photoshop tutorial by Marty Geller from Blue Lightning TV, you will learn how to create incredibly realistic water reflections from any photo. The method demonstrated here is refined, offering a fresh perspective that surpasses earlier techniques. The tutorial guides you step-by-step, making it accessible for users at different skill levels. Geller explains the process clearly, ensuring you understand each aspect of creating flawless water reflections. By following along, you will disc
How to Add Realistic 3D Objects in Photoshop
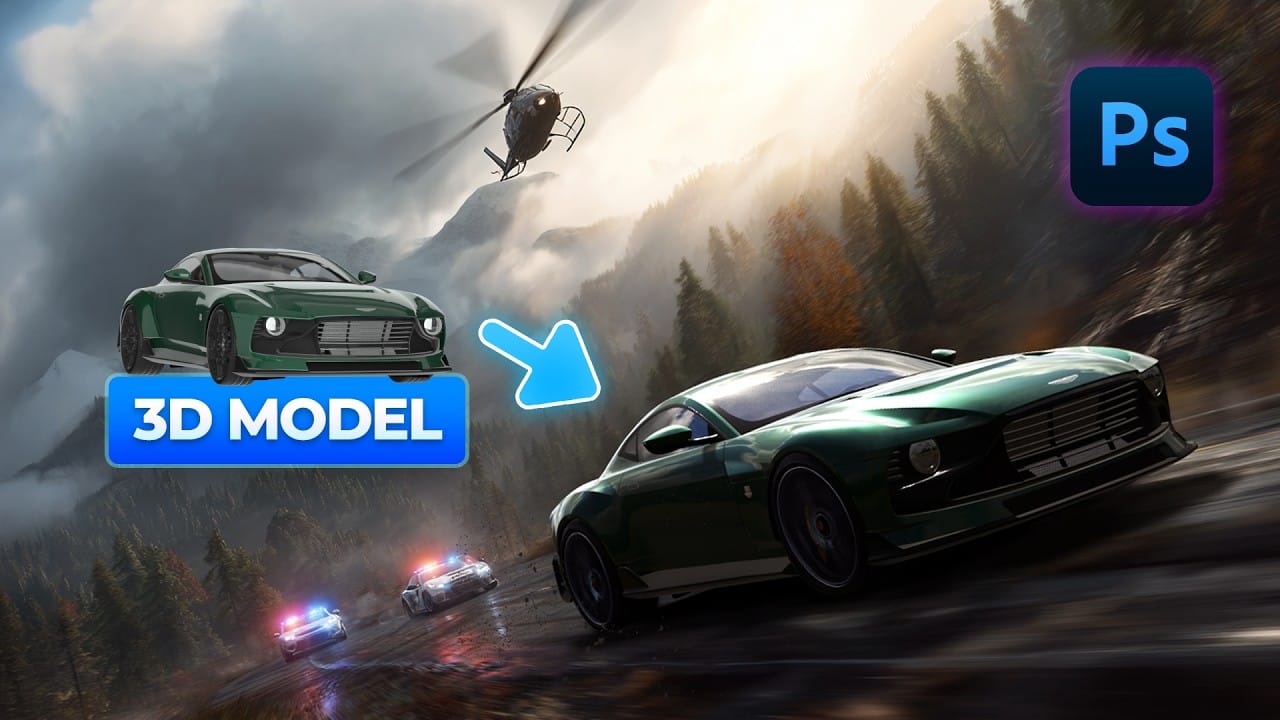
Adding 3D objects to photos often results in fake-looking composites that scream "digital manipulation." The biggest challenge isn't importing the 3D model—it's making the lighting, shadows, and perspective match seamlessly with your background image. This tutorial demonstrates how to use Photoshop Beta and Substance 3D Beta to create convincing 3D composites. You'll learn essential techniques for matching lighting direction, positioning objects accurately, and applying realistic shadows that i
Create a mirror image photo effect in Photoshop
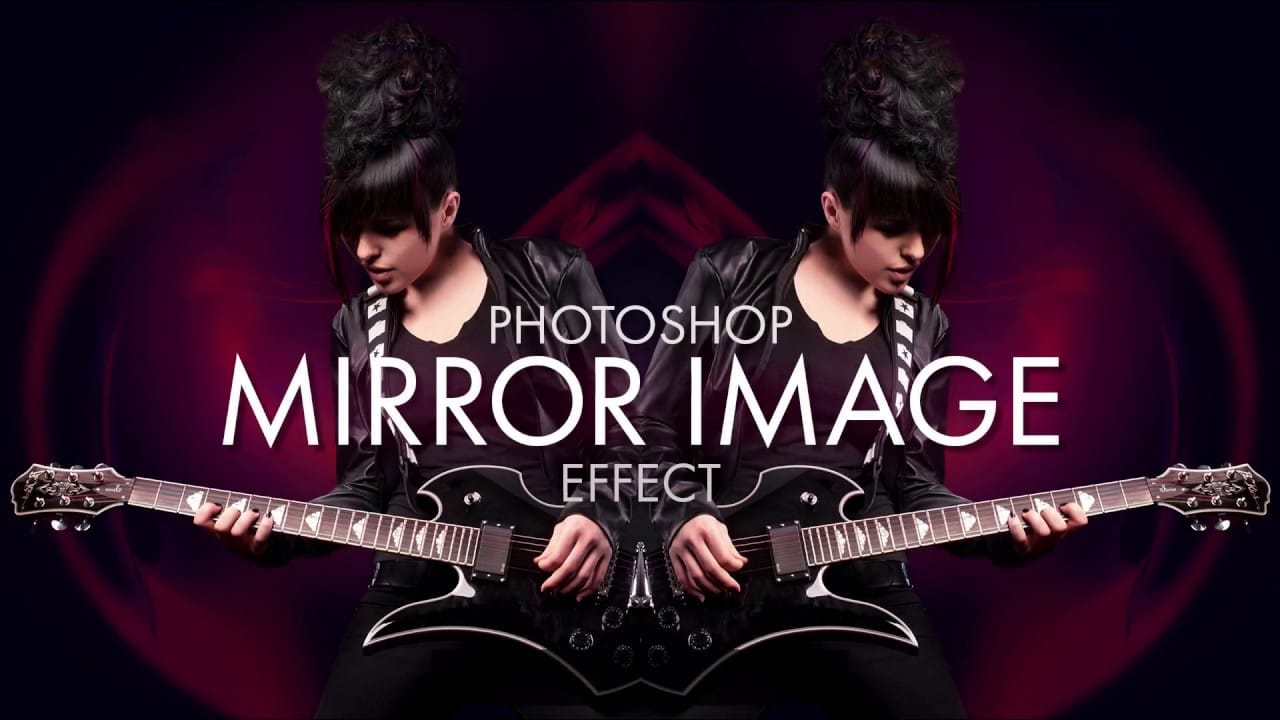
Symmetry is all around us in nature, and as human beings, we can't get enough of it. Symmetry brings math, science and art together in a way that captures both our eye and our imagination. The most basic form of symmetry is Reflection Symmetry, also known as Mirror Symmetry, where one half of something is a perfect mirror reflection of the other half. In this video from Photoshop Essentials, Steve Patterson shows us how to take our natural fascination with symmetry and apply it to any image in

Get tutorials & freebies delivered to you.

Subscribe to the Photoshop Roadmap newsletter, a weekly roundup of new tutorials, insights and quality downloads, trusted by 6500+ readers.

You might also like

How to Remove Skin Blemishes and Fix Skin Tones in Camera Raw

Two recent additions to Camera Raw make skin retouching significantly faster: an automatic blemish removal tool with separate controls for moles and freckles, and a vectorscope-based skin tone indicator for correcting off-color skin. Both features work non-destructively inside a smart object workflow, so no pixel data is...

Portrait Retouching in Photoshop: Smooth Skin While Keeping Natural Texture

Smooth skin and natural texture are not opposites — achieving both at once is the mark of a professional retouch. This workflow covers blemish removal, flyaway hair cleanup, dark under-eye correction, and eye brightening, all while keeping the skin looking like skin. Watch the Video Practical Tips These key points...

How to Use Camera Raw's Blemish Removal Tool in Photoshop

Camera Raw 18.5 introduced an automatic blemish removal tool that does something previous solutions rarely managed: it removes skin imperfections while preserving the underlying skin texture. It also distinguishes between temporary marks and permanent ones like moles, giving you separate controls for each. Watch the Video Practical Tips These...

Portrait Slice Effect in Photoshop Using Step and Repeat

The portrait slice effect splits a single image into offset vertical bars, creating the illusion of a displaced or fragmented face. The entire technique relies on layer masks and a lesser-known Photoshop shortcut called step and repeat — no filters, no AI, no destructive edits required. Watch the Video Practical...

How to Remove Blemishes in Photoshop: Camera Raw vs. Generative AI

Photoshop now offers two distinct approaches to removing skin blemishes automatically. The Camera Raw Filter includes a dedicated Blemishes option that analyzes and cleans skin with a single checkbox, while Generative AI fills a face selection with clean, texture-consistent results using a simple text prompt. Each method has clear...

Common Photoshop Compositing Mistakes and How to Fix Them

Most compositing errors come down to a handful of repeatable problems: mismatched lighting direction, inconsistent white points, misaligned perspective, and atmosphere applied in the wrong layer order. Catching these issues early — ideally before you shoot — saves significant time in post. Watch the Video Practical Tips These corrections apply to nearly...

You’ve successfully subscribed to Photoshop Roadmap
Welcome back! You’ve successfully signed in.
Great! You’ve successfully signed up.
Success! Your email is updated.
Your link has expired
Success! Check your email for magic link to sign-in.