Perfect shots don't always happen in a single frame. You might capture great lighting in one photo and ideal subject positioning in another. The solution isn't choosing between them—it's combining the best elements of both.
This technique transforms multiple good shots into one exceptional image. You can merge different moments, enhance compositions, and create visually compelling results that surpass any single photograph.
Watch the Tutorial
Video by photoshopCAFE. Any links or downloads mentioned by the creator are available only on YouTube
Practical Tips for Combining Photos
- Use
File > Scripts > Load Files into Stackto automatically import multiple images as separate layers in one document - Select all layers and apply
Edit > Auto-Align Layersto correct minor positioning differences between handheld shots - Hold
Alt/Optionwhile clicking the layer mask icon to create a black mask that initially hides the entire layer - Paint with a soft, white brush on the black mask to selectively reveal areas from the top layer
- Press
Xto swap foreground and background colors, allowing you to paint with black to hide areas or white to reveal them
More Tutorials about Photo Combining and Blending
Explore additional techniques for merging multiple images and creating seamless composites.
How to combine and blend photos in Photoshop
In this tutorial, Colin Smith from Photoshop Cafe demonstrates effective techniques for combining and blending multiple photos in Photoshop. You'll learn two distinct methods for merging images, allowing you to seamlessly integrate different elements into a cohesive composition.
Colin also covers four advanced techniques for blending layers together, helping you achieve smooth transitions and harmonious effects. These techniques are essential for creating compelling visuals where multiple image
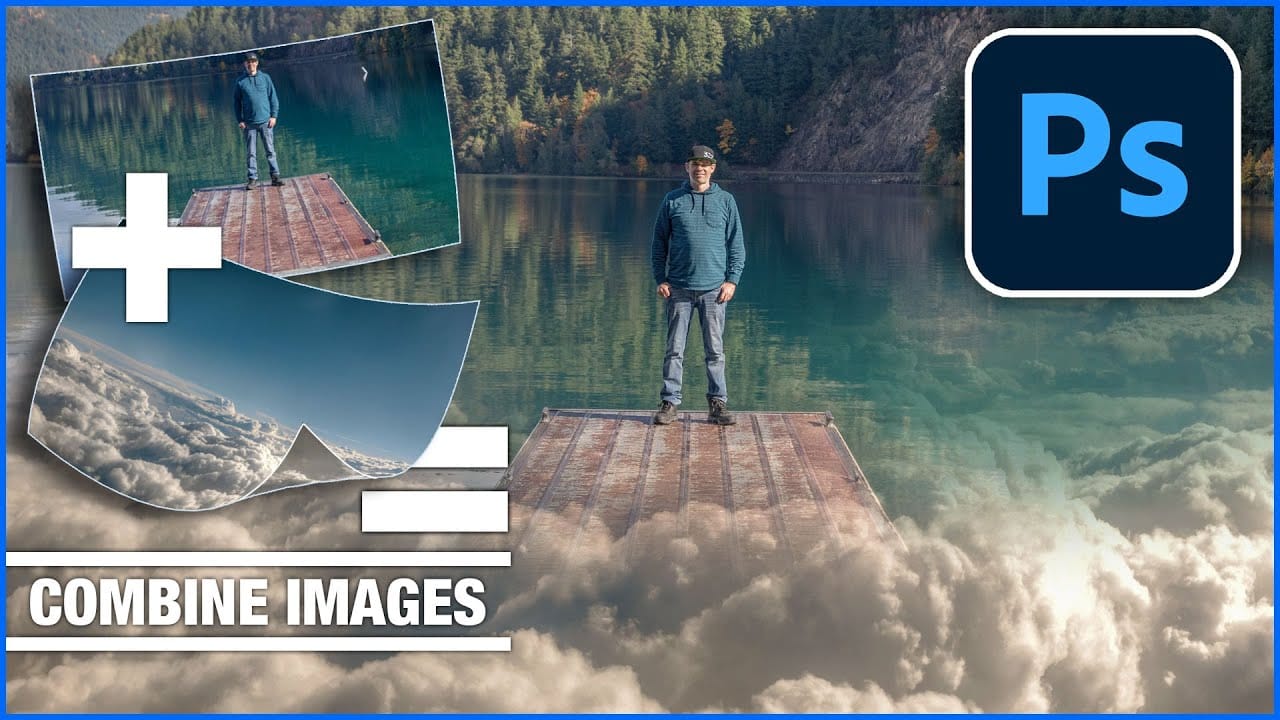
How to combine and blend photos in Photoshop
In this tutorial by Colin Smith from Photoshop Cafe, you'll explore various methods to seamlessly combine and blend photos in Photoshop. Colin covers the basics of getting photos into Photoshop and demonstrates different techniques for layering and blending images.
The tutorial provides practical guidance on how to integrate multiple photos into a cohesive composition. Whether you're working with selections or blending layers directly, you'll learn how to achieve smooth transitions and create v
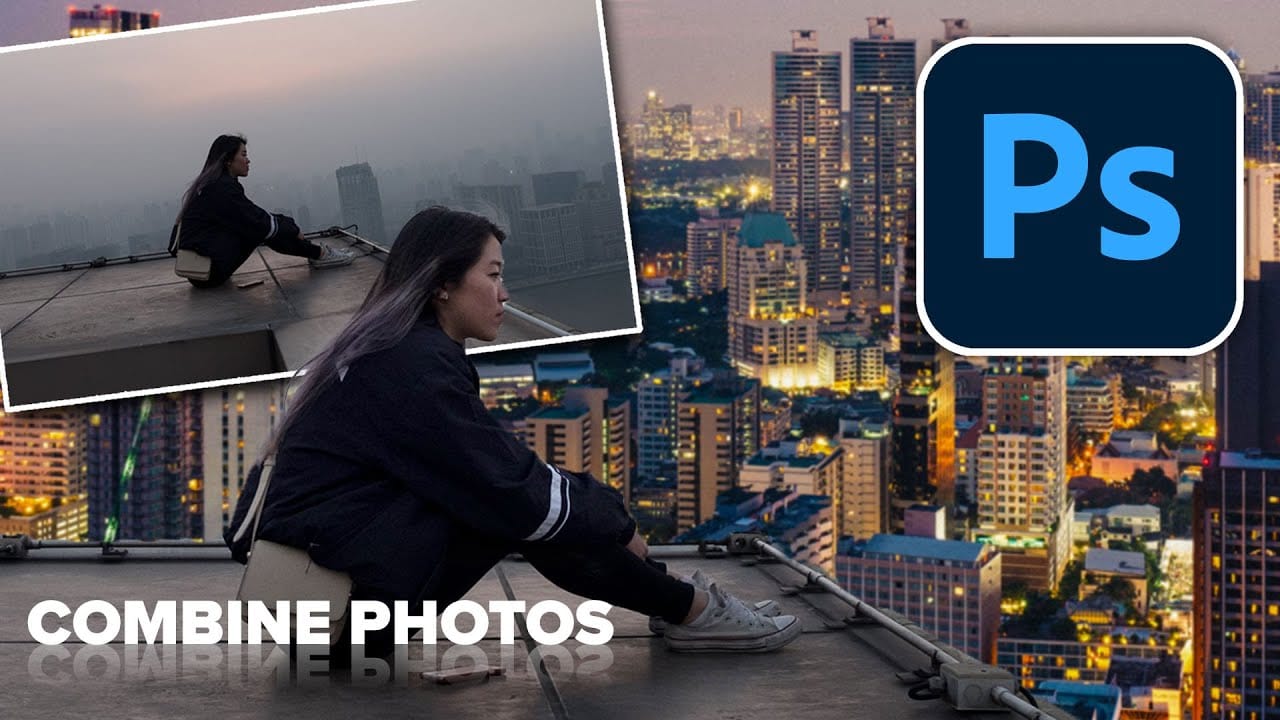
How to Blend Two Photos in Photoshop
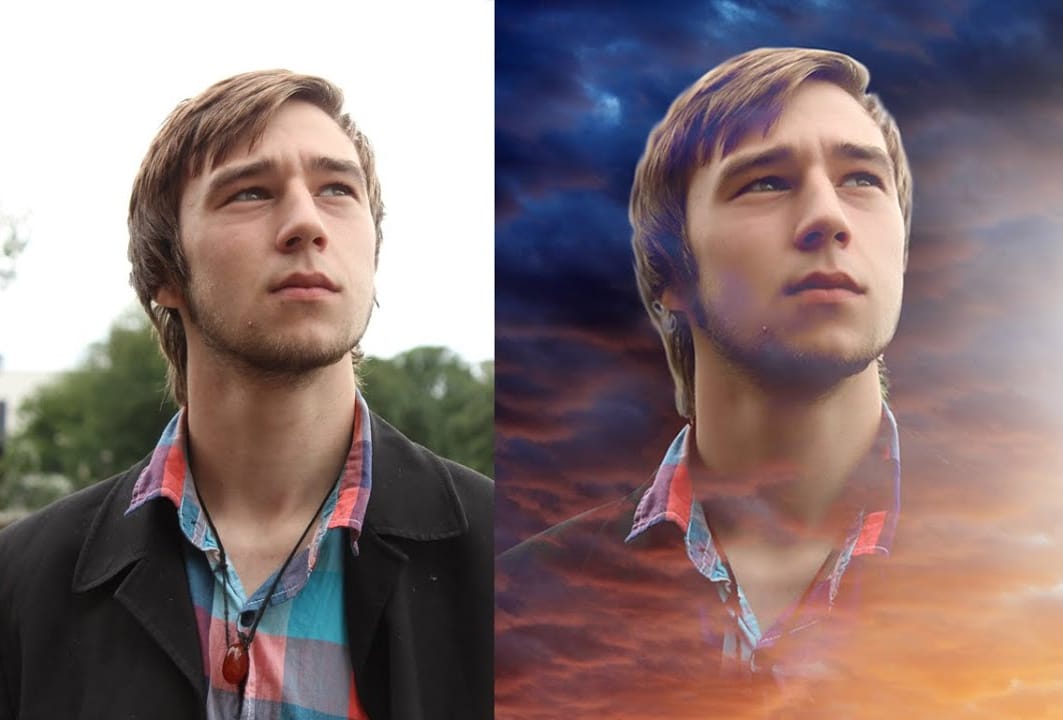
In this Photoshop tutorial, the author Arunz Creations shows how to blend two photos together. The process involves merging a photo of clouds with a portrait using blending modes.
The instructions are straightforward and easy to follow. First, the user opens both photos in Photoshop. Then, they select the cloud photo and copy it to the same layer as the portrait. Next, they adjust the blending mode to achieve the desired effect, experimenting with different options until they find the perfect b
How to combine multiple images in Photoshop instantly
In this detailed tutorial, Colin Smith reveals an efficient method for combining multiple images into a single layered document in Photoshop. This technique is designed to save time and reduce manual effort by allowing you to merge all open tabs into one cohesive file quickly. Colin explains how to leverage this powerful feature to streamline the process of creating complex composites or layered designs. Whether you're working on intricate photo edits or assembling detailed visual projects, this