How to Create a Daguerreotype Photo Effect in Photoshop

How to Create a Daguerreotype Photo Effect in Photoshop

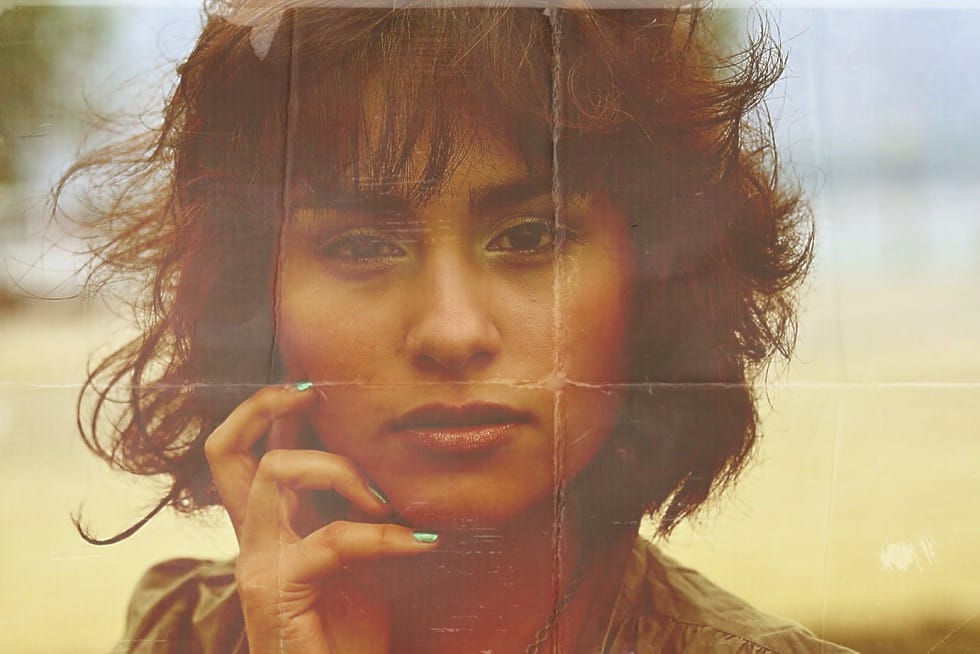
The mirror-like daguerreotypes of the 1840s and 1850s represent photography's earliest commercial success, capturing portraits with an ethereal quality unmatched by modern digital images. These delicate silver-plated photographs developed a distinctive aesthetic through their unique chemistry and fragile surfaces that scratched easily from dust, fingerprints, and handling.

This tutorial demonstrates how to recreate that iconic 19th-century look using modern Photoshop techniques, complete with the characteristic sepia tones, surface scratches, and aged patina that make daguerreotypes so visually compelling.

Watch the Tutorial

Video by Photoshop Arthouse. Any links or downloads mentioned by the creator are available only on YouTube

Understanding Daguerreotype Photography

Daguerreotypes emerged as the first widely adopted photographic process, revolutionizing portraiture in the mid-19th century. The process involved exposing images directly onto highly polished silver-coated copper plates, creating photographs with remarkable detail and a distinctive mirror-like surface. This unique chemistry produced images that seemed to float between positive and negative depending on the viewing angle.

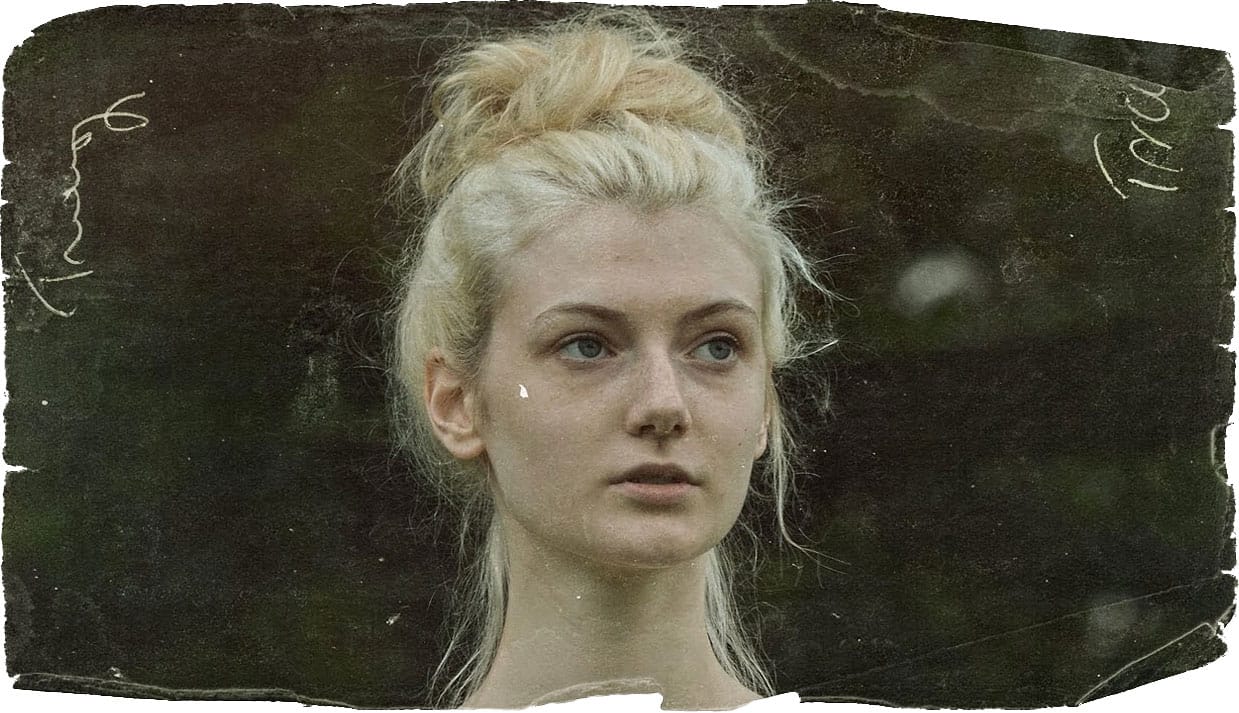
The delicate nature of these silver plates made them extremely susceptible to environmental damage. Even light contact would leave permanent marks, while dust and moisture created the characteristic spots and staining we associate with antique photographs today. The chemical processing also contributed to the warm, sepia-toned coloration that gave daguerreotypes their romantic, nostalgic appeal.

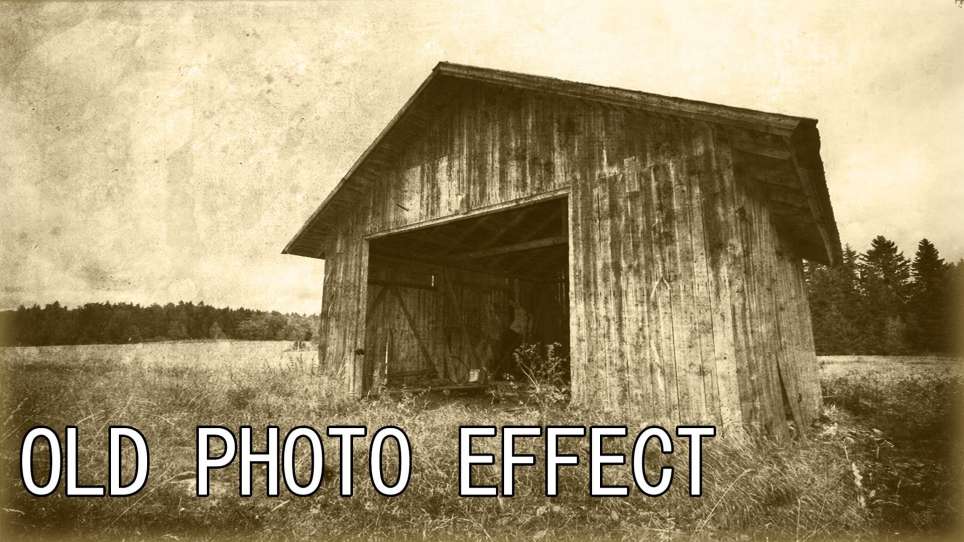
Modern recreations focus on capturing three key visual elements: the warm sepia coloration from the silver chemistry, the surface scratches and damage from handling, and the enhanced contrast that made daguerreotype portraits so striking. These characteristics combine to create photographs that feel both timeless and deeply historical.

Practical Tips for Daguerreotype Effects

  • Convert your image to a Smart Object first to maintain non-destructive editing capabilities and allow texture adjustments later
  • Use Hue/Saturation with Colorize enabled to achieve authentic sepia tones—aim for hue values around 38 with low saturation
  • Apply High Pass sharpening with a 1.5-pixel radius to recreate the enhanced edge detail characteristic of daguerreotypes
  • Layer multiple texture overlays using Soft Light and Screen blend modes to build realistic surface damage
  • Adjust Shadows/Highlights subtly to enhance detail without losing the period-appropriate contrast

Explore more techniques for creating authentic antique photography looks.

Create a realistic old vintage photo effect in Photoshop
Photographs are timeless. In fact, it's often our old, weathered and faded photographs that we treasure the most. Snapshots from a bygone era fill our hearts with nostalgia and romantic notions of how much simpler life must have been. While today's digital cameras continue to amaze us with their technology, there's still something magical and irreplaceable about old, vintage photographs. And not only do we love to look at them, but we also love to recreate the look of them in programs like Phot
Apply a vintage and gritty old paper effect to your photos in Photoshop
In this tutorial by Jobe from DR Design Resources, readers will learn a quick and easy technique to transform their photos into a vintage-inspired look with an old paper effect in Adobe Photoshop. The process involves using a texture of an old paper and applying it to the desired image. The author demonstrates how to apply this effect on two different images, one with a light background and one with a dark background. This straightforward method allows users to easily achieve a gritty, aged ae
Create an Old Photo Effect in Photoshop
The author, Photoshop Pro Help, provides a tutorial on how to create an old photo effect in Photoshop. They explain that if you have ever admired the style of vintage photos and wanted to give your modern photos a similar look, this tutorial will show you how to apply an old photo style with a torn and damaged brown vintage effect. This can transform your photos to look as if they were taken straight from a history book. The tutorial guides the user through the process of achieving this retro a
Create a vintage printed photographs with folds and creases in Photoshop
Discover how to create a creased vintage printed photograph in this Photoshop tutorial by Arunz Creation. You'll learn techniques using adjustment layers, gradients, and blending modes to add realistic paper folds and creases to a portrait. These effects contribute to a retro aesthetic, transforming your digital photos into vintage-inspired prints with character and charm. Whether you're aiming for an antique look or simply want to enhance the visual appeal of your portraits, this tutorial prov

Get tutorials & freebies delivered to you.

Subscribe to the Photoshop Roadmap newsletter, a weekly roundup of new tutorials, insights and quality downloads, trusted by 6500+ readers.

You might also like

Complete Photoshop Editing Workflow: 5 Steps from Raw to Polished

Photoshop offers endless possibilities for photo enhancement, but many photographers never move beyond basic adjustments because the software feels overwhelming. This comprehensive workflow breaks down photo editing into five manageable stages that work consistently across different photography styles. The systematic approach covers everything from initial raw processing to advanced lighting...

Photoshop Workspace Basics: Navigation, Zooming, and Essential Interface Elements

Photoshop's interface can feel overwhelming when you first open the program. Dozens of panels, tools, and menus compete for attention, making simple tasks feel complicated. This tutorial breaks down the essential workspace elements and teaches fundamental navigation skills that form the foundation of efficient Photoshop work. Watch the...

How to Restore Old Damaged Photos Using Nano Banana in Photoshop

Old family photos with scratches, tears, and missing sections can seem beyond repair. Google's Nano Banana AI model, now integrated into Photoshop, makes full restoration possible in minutes rather than hours. This powerful tool excels at maintaining facial characteristics while automatically filling in damaged areas and adding realistic...

How to Get Higher Quality Results from Photoshop's Generative Fill Tool

Photoshop's Generative Fill creates impressive AI extensions, but the results often look blurry and pixelated when viewed at full size. This quality limitation makes many AI-generated areas unusable for printing or large displays. This technique shows how to work around the 1024x1024 pixel quality limit to create much...

How to Use Photoshop's Liquify Tool for Non-Destructive Portrait Retouching

Clothing wrinkles, hair that lacks volume, and awkward fabric bunching can distract from an otherwise great portrait. Photoshop's Liquify tool offers a powerful solution for smoothing out these issues while preserving the natural look of your subject. This tutorial demonstrates how to use the Liquify tool non-destructively with...

You’ve successfully subscribed to Photoshop Roadmap
Welcome back! You’ve successfully signed in.
Great! You’ve successfully signed up.
Success! Your email is updated.
Your link has expired
Success! Check your email for magic link to sign-in.