Creating seamless photo composites requires properly saving cut-out elements with transparent backgrounds. Whether you're extracting people, objects, or other elements for later use, the file format you choose determines how easily you can place these elements into new scenes.
Two main approaches work best: saving as PSD files to preserve layer masks for future editing, or exporting as PNG files for universal compatibility with transparent backgrounds.
Watch the Video
Video by SandraD Imagery. Any links or downloads mentioned by the creator are available only on YouTube
Practical Tips
These key techniques will help you save transparent cutouts effectively for composite work:
- Save as PSD format when you want to preserve layer masks for future refinements and adjustments
- Export as PNG format for universal compatibility and when sharing files across different applications
- Use File > Place Embedded to insert PNG cutouts, which maintains transparency and proper scaling
- Create new layer masks after placing PNG elements to blend edges or hide specific areas as needed
- Organize cutout elements in dedicated folders to streamline your composite workflow
Related Articles and Tutorials
Explore these additional techniques for advanced composite work and image editing:
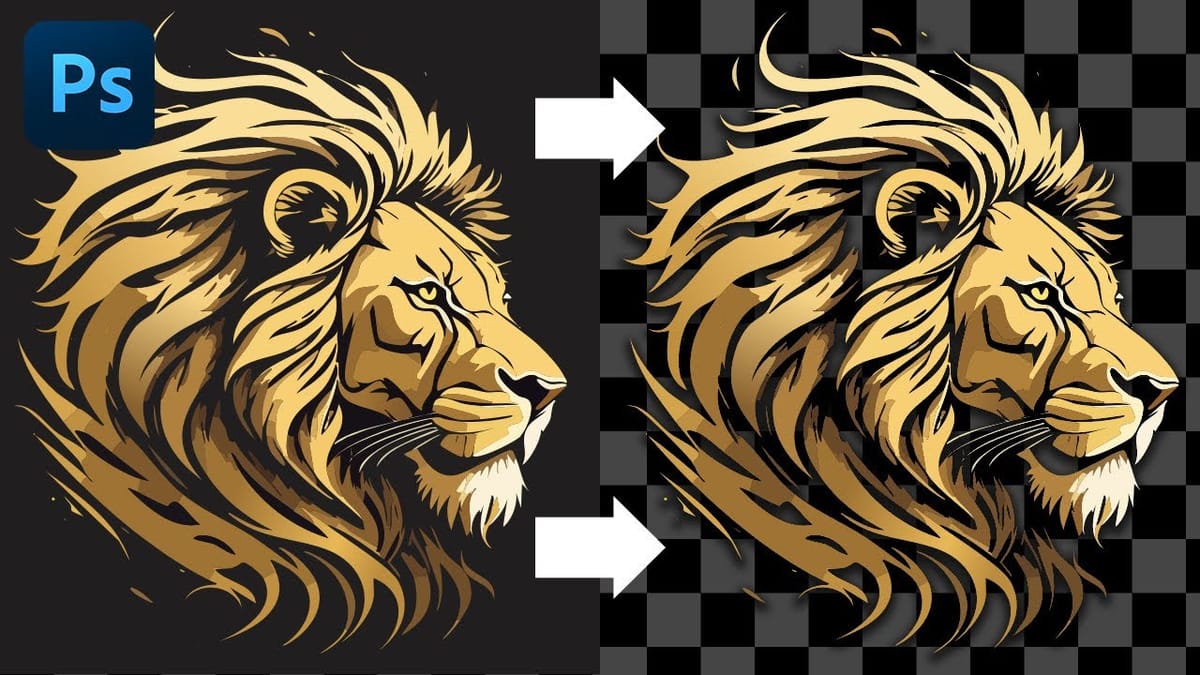
Cutting Out Complex AI Images Using Channel Masking in Photoshop
AI-generated images often contain intricate details that challenge standard background removal tools. When automatic selection methods fail to capture complex edges and fine details, manual techniques become essential. This technique demonstrates how to use channel masking to create precise selections that preserve every detail of your AI artwork. Watch the
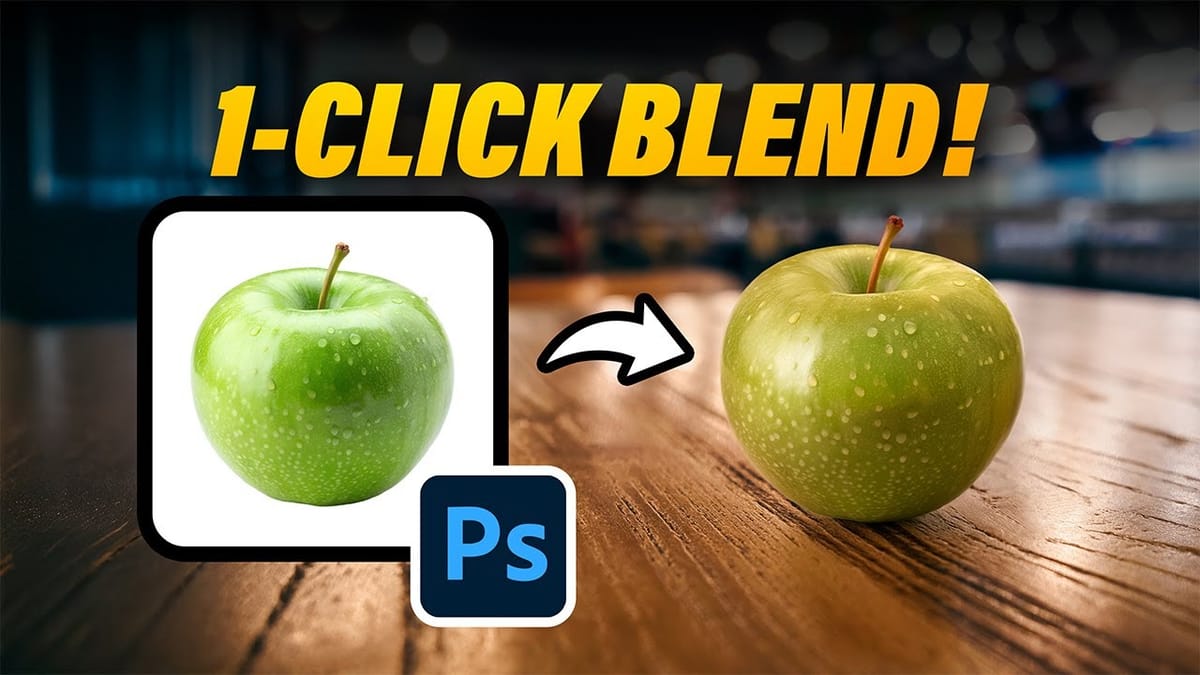
How to Use Photoshop’s New Harmonize Feature to Blend Images Automatically
Photoshop’s latest AI feature promises to solve one of compositing’s biggest challenges: making cut-out objects look naturally integrated into new backgrounds. The new Harmonize tool automatically matches lighting, creates shadows, and adds reflections with a single click. This breakthrough technology eliminates hours of manual work that traditionally required advanced knowledge
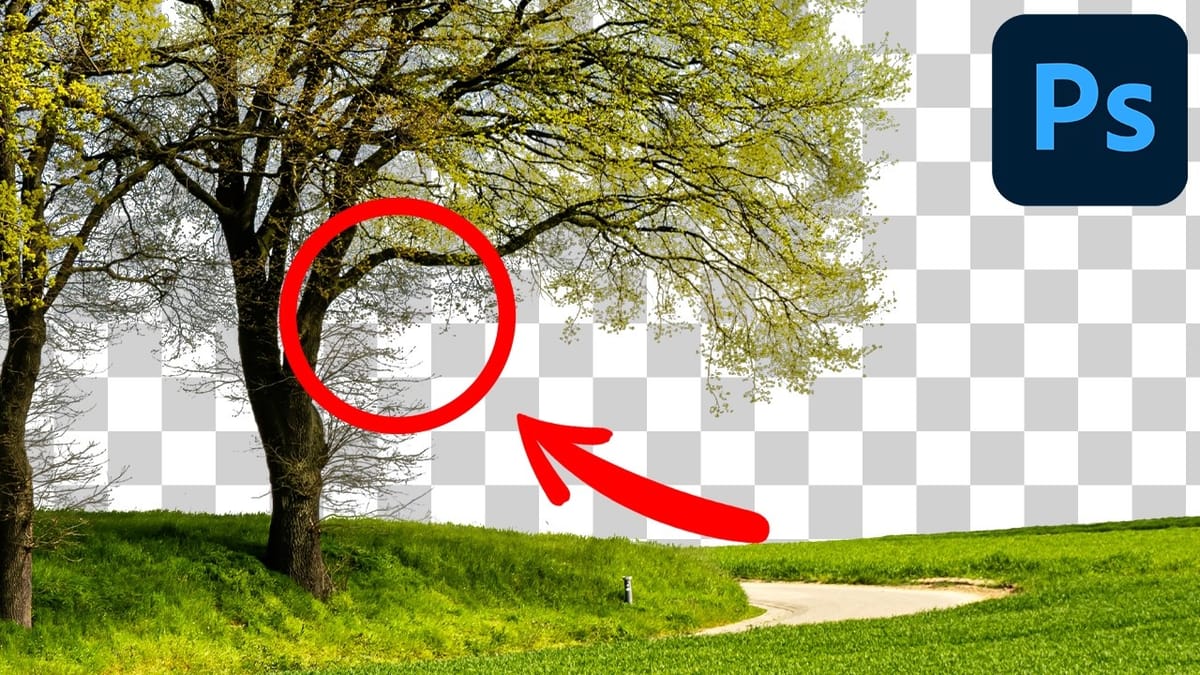
Cutting Out Complex Images in Photoshop: 3 Professional Refinement Techniques
Complex cutouts with intricate details like tree branches or hair often suffer from visible fringing and rough edges that make them look unprofessional. These three refinement techniques transform basic channel selections into clean, realistic cutouts. Master these methods to eliminate fringing, restore natural colors, and achieve seamless integration with any
7 Overlooked Photoshop Tools That Will Save You Hours
You’re probably using Photoshop the hard way. You’ve mastered the basics - Magic Wand for selections, Clone Stamp for removals, layer masks for compositing. But you’re likely missing out on dozens of features that could cut your editing time in half. Adobe has quietly (okay, not so quietly) added dozens