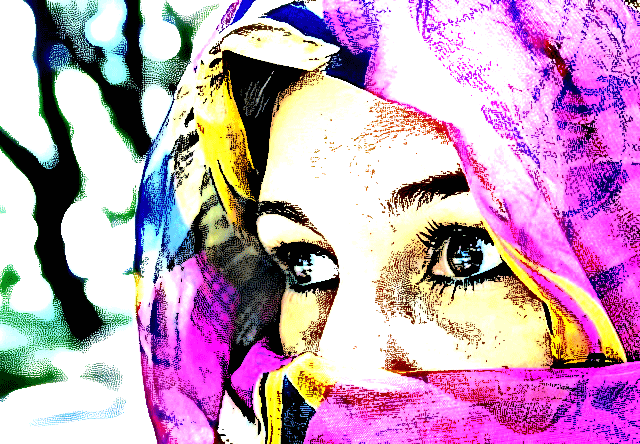
How to Create a Stippled Ink Drawing Effect in Photoshop

How to Create a Stippled Ink Drawing Effect in Photoshop

Hand-drawn stippled portraits have captivated artists for centuries with their unique texture created entirely from dots and speckles. This pointillistic technique transforms smooth photographic surfaces into artwork that feels both timeless and distinctly handcrafted.

This tutorial demonstrates how to recreate that classic stippled ink effect digitally, giving you complete control over dot size and density to match your creative vision.

Watch the Tutorial

Video by Photoshop Arthouse. Any links or downloads mentioned by the creator are available only on YouTube

Understanding Bitmap Mode and Dithering Patterns

The stippled effect relies on Photoshop's Diffusion Dither algorithm within Bitmap mode. This conversion method takes grayscale information and translates it into pure black and white dots, creating organic stippling patterns that mimic traditional ink techniques. The algorithm places dots more densely in darker areas and spreads them apart in lighter regions.

Image size plays a crucial role in controlling the stippling effect. Smaller dimensions produce larger, more prominent dots, while larger images create finer, more detailed stippling. This relationship between resolution and dot size gives you creative control over the final aesthetic.

The process involves multiple mode conversions that might seem counterintuitive but serve specific purposes. Converting to Grayscale ensures consistent tonal information, while the final RGB conversion allows for additional adjustments and color application if desired.

Essential Tips for Stippled Effects

  • Start with an image height of 200-300 pixels before applying Bitmap mode to achieve balanced dot sizes
  • Use Preserve Details 2.0 when resizing to maintain sharpness during the enlargement process
  • Apply Ctrl/Cmd + Shift + L for Auto-Tone before starting to optimize contrast for better stippling results
  • Keep the size ratio at 1 when converting back to Grayscale to maintain the stippling pattern integrity
  • Experiment with different Threshold values beyond the default 128 to fine-tune the black and white balance

More Tutorials About Artistic Photo Effects

Explore additional techniques for transforming photographs into artistic illustrations and painterly effects.
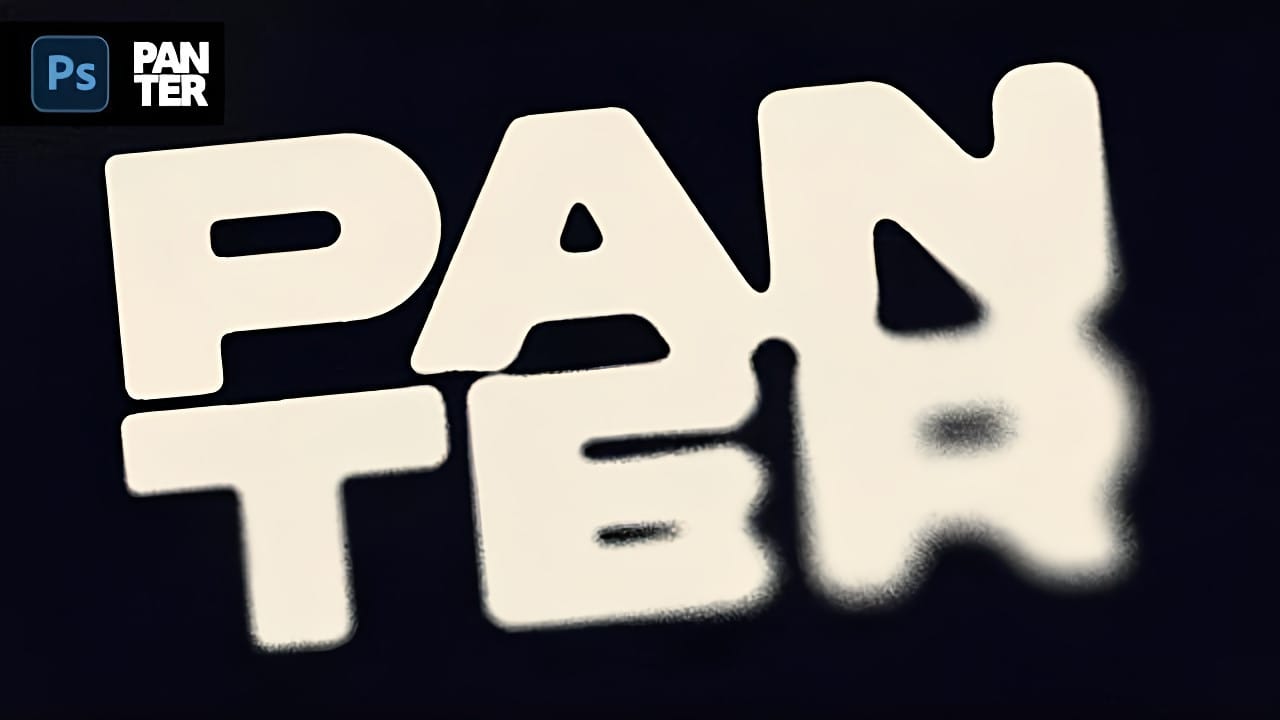
Distressed Ink Bleed Text Effect in Photoshop
Street art and underground design aesthetics have a raw, rebellious quality that draws the eye and commands attention. The distressed ink bleed effect captures this energy by transforming clean typography into something that looks weathered, organic, and authentically gritty. This technique combines blur effects with threshold adjustments to create text that appears to have bled and spread like ink on wet paper. The result is typography that feels alive and imperfect, perfect for urban-themed d
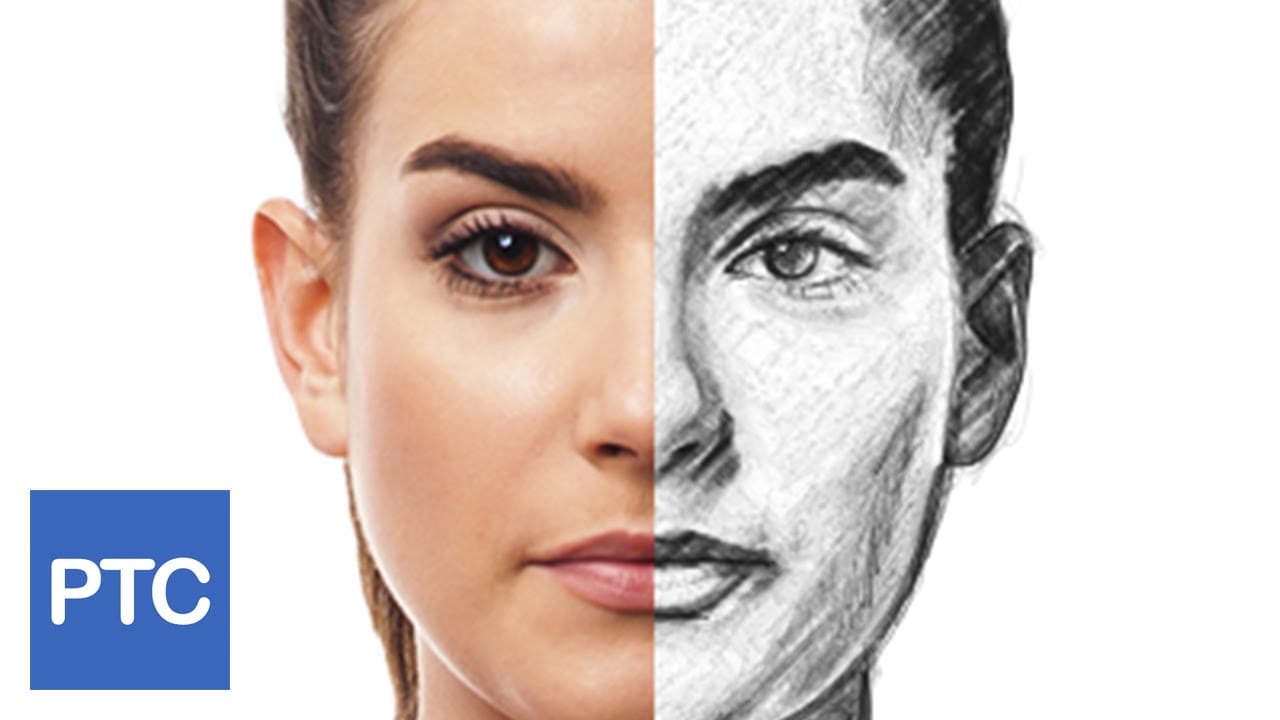
Photo to sketch effect in Photoshop
In this tutorial, Jesus Ramirez from the PTC Photoshop Training Channel demonstrates how to transform photos into pencil sketch drawings. Ramirez guides viewers through the process step-by-step, providing clear instructions and helpful tips along the way. The tutorial begins by explaining the necessary tools and settings within Photoshop. Ramirez then walks users through the image conversion process, showing how to adjust layers, filters, and blending modes to achieve the desired pencil sketch
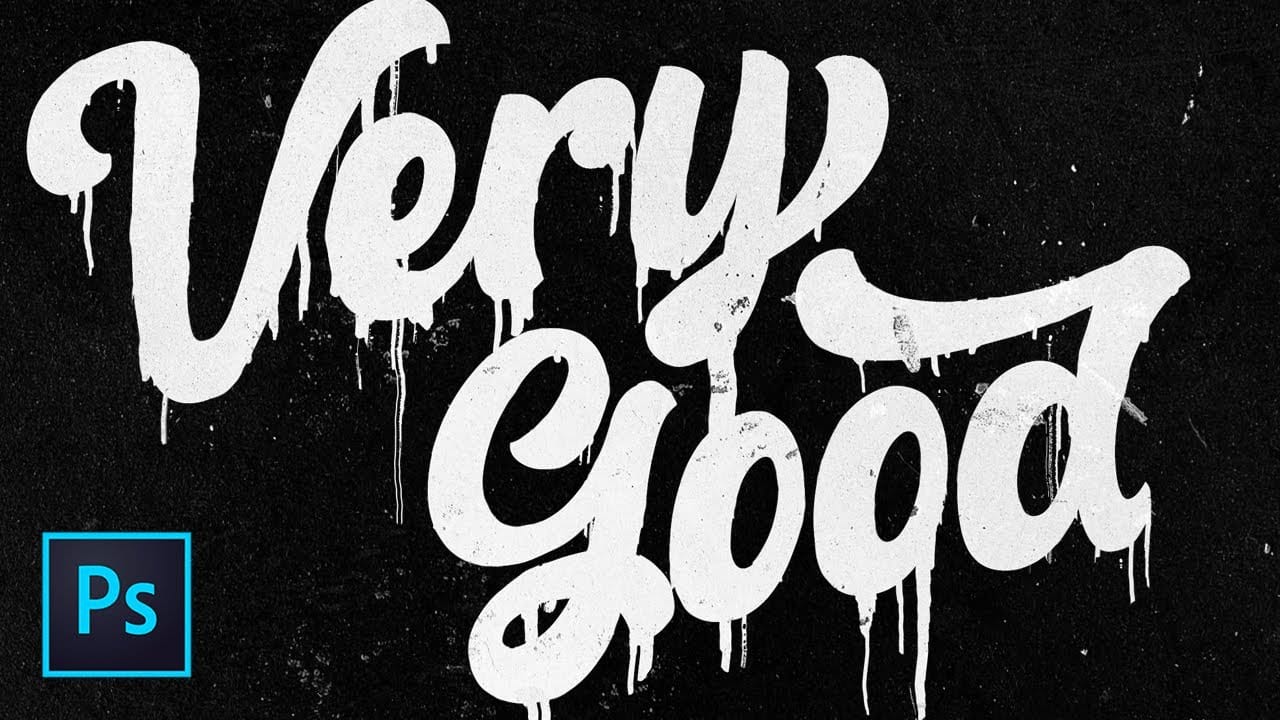
Dripping Paint Effect in Photoshop
In this tutorial from TextureLabs, Brady demonstrates how to create a dripping paint effect in Adobe Photoshop without any manual painting involved. Brady shares a methodical approach using filters in a specific step-by-step process. This technique allows anyone to easily apply the effect to various elements, achieving a realistic dripping paint appearance. Brady emphasizes that this technique is not standard in Photoshop manuals but rather a proprietary method developed through personal profe
Give Your Photos a Color Ink Sketch Effect
No matter how good the photos we take are, we always feel the urgent need to turn them into a drawing effect. The standard installation of Adobe Photoshop gives you a wide range of artistic plugins that have very specific names, but fail to deliver when used with the default settings. 👁️This is an older tutorial, and some external links or data sources mentioned may no longer be accessible. However, the content covers a unique topic and remains valuable despite any broken connections. We've ke

Get tutorials & freebies delivered to you.

Subscribe to the Photoshop Roadmap newsletter, a weekly roundup of new tutorials, insights and quality downloads, trusted by 6500+ readers.

You might also like

How Photoshop's Enhance Edge Feature Removes Hair Masking Halos

Hair masking has long been one of the most tedious tasks in photo compositing — especially when switching between dark and light backgrounds reveals unwanted halos along the edges. Photoshop's new Enhance Edge feature, available in beta 27.11, offers an AI-powered approach to this problem by generating...

How to Use Quick Compare and Dynamic Layers in Photoshop Beta

Photoshop Beta's latest update introduces two tools worth knowing: a Quick Compare toggle for instant before/after previews, and a Dynamic Layer feature that lets you control AI-generated effects with a simple slider. Together, they streamline how you review edits and apply prompt-based changes like adding...

Retouching Pet Portraits in Photoshop: Cleaning Fur, Eyes, and Fine Details

Pet photos rarely arrive perfectly clean — staining around the eyes, discolored fur near the mouth, and stray hairs are common problems that need fixing before any serious portrait work begins. This workflow covers how to remove those distractions manually using overpaint and fur brushes, then finish with eye enhancement techniques...

Before and After View Plus Dynamic Layers in Photoshop Beta

Photoshop Beta currently includes two features that work quite differently from each other. The first adds a straightforward before-and-after comparison tool directly into the editing workspace — something that sounds simple but solves a real problem when a file already has multiple layers. The second, Dynamic Layers, uses AI...

How to Blend Multiple Exposures for Car Light Trails in Photoshop

Stacking multiple exposures of a night scene lets you capture far more light trail detail than any single shot can deliver. This technique uses the Lighten blending mode to combine a bright base image with several car light trail frames, keeping only the brightest pixels from each layer for a...

You’ve successfully subscribed to Photoshop Roadmap
Welcome back! You’ve successfully signed in.
Great! You’ve successfully signed up.
Success! Your email is updated.
Your link has expired
Success! Check your email for magic link to sign-in.