How to Create Chromatic Aberration Text Effect in Photoshop

How to Create Chromatic Aberration Text Effect in Photoshop

Chromatic aberration brings that dreamy, vintage camera lens distortion that makes text pop with separated color channels. This optical effect mimics how cheaper lenses struggle to focus all colors at the same point, creating those signature red, green, and blue edges that drift apart.

This technique transforms ordinary text into eye-catching graphics perfect for retro designs, album covers, or any project needing that analog photography feel.

Watch the Tutorial

Video by P A N T E R. Any links or downloads mentioned by the creator are available only on YouTube

Understanding Chromatic Aberration in Design

Chromatic aberration occurs naturally when light wavelengths bend differently through glass, causing color fringing around high-contrast edges. What photographers often consider a flaw becomes a powerful design tool in digital art.

The effect works by separating RGB channels and offsetting them slightly. Red typically shifts to one side while blue moves to the opposite direction, with green often staying centered or moving less dramatically. This creates the characteristic color bleeding that suggests depth and movement.

Modern designs use chromatic aberration to evoke nostalgia, suggest glitchy digital aesthetics, or add energy to static text. The technique works particularly well with bold, chunky fonts where the color separation has room to breathe.

Practical Tips for Chromatic Aberration Effects

  • Convert text to Smart Objects before applying effects to maintain editability and layer flexibility
  • Use Field Blur strategically with multiple control points to create varied blur intensity across different parts of your text
  • Separate RGB channels using Advanced Blending options in Layer Styles rather than manually duplicating layers
  • Offset red channel left and blue channel right for traditional chromatic aberration, keeping movements subtle for realistic results
  • Add film grain or noise with Screen blend mode to enhance the vintage camera aesthetic

Explore more creative typography techniques and visual effects for your designs.
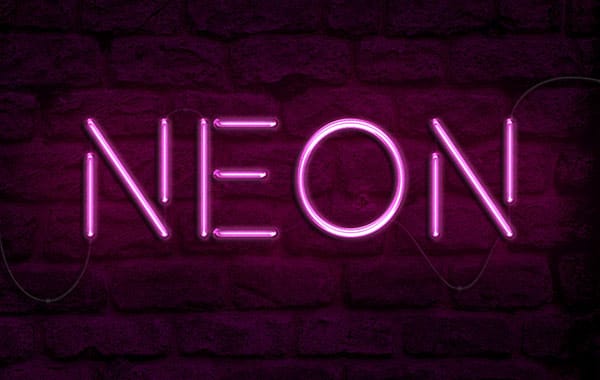
How to create a bright realistic neon text effect in Photoshop
Love neon signs? Ever wanted to create your own? With the magic software, we can easily experiment with and create a neon light text effect, no electricity necessary! In fact, whether you're a software expert or a complete beginner, doing so can be a breeze. In this video, we'll check out a couple of different ways to create neon light text effects—from using convenient Smart Objects, to creating text effects from scratch in Adobe Photoshop, to even quick and easy ways to experiment with text e
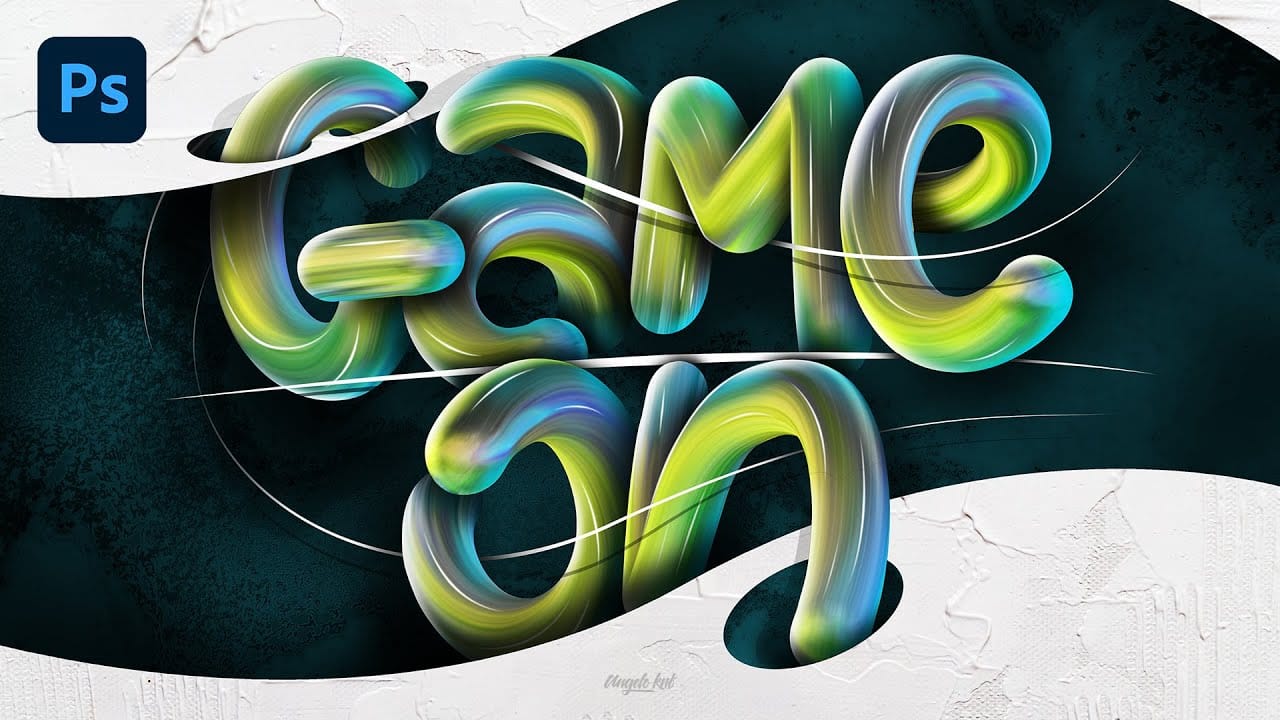
Colorful Painted 3D Text Effect Tutorial in Photoshop
In this tutorial by Angelo Konofaos, you'll explore how to create a 3D-style text effect in Photoshop, alongside techniques like adding shadows, highlights, shines, and colors. Utilizing a variety of Photoshop tools such as the Mixer Brush, Pen Tool, clipping masks, and adjustment layers, the tutorial demonstrates the process of refining text to achieve a polished and dimensional look. For optimal results, Konofaos recommends using a pen tablet like the Wacom Intuos to enhance precision and fl
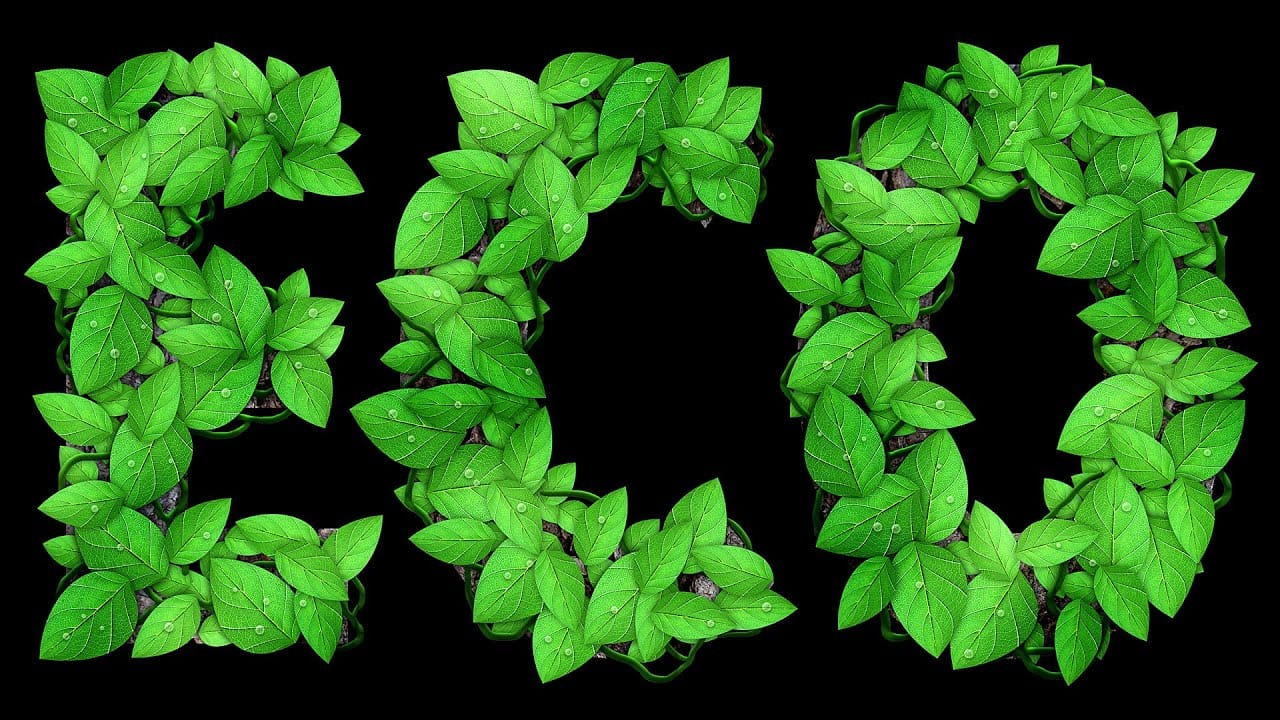
Leafy Text Effect Photoshop Tutorial
In this tutorial by Spoon Graphics, you'll learn how to create a text covered with leaves in Adobe Photoshop. The tutorial guides you through the process of designing text made up of tiny leaves, vines, and water droplets. While the tools and techniques used are straightforward, the tutorial emphasizes the importance of patience in achieving a complex and detailed final result. The outcome is a stunning and intricate piece of eco-themed artwork that showcases the beauty of nature. Watch tutor
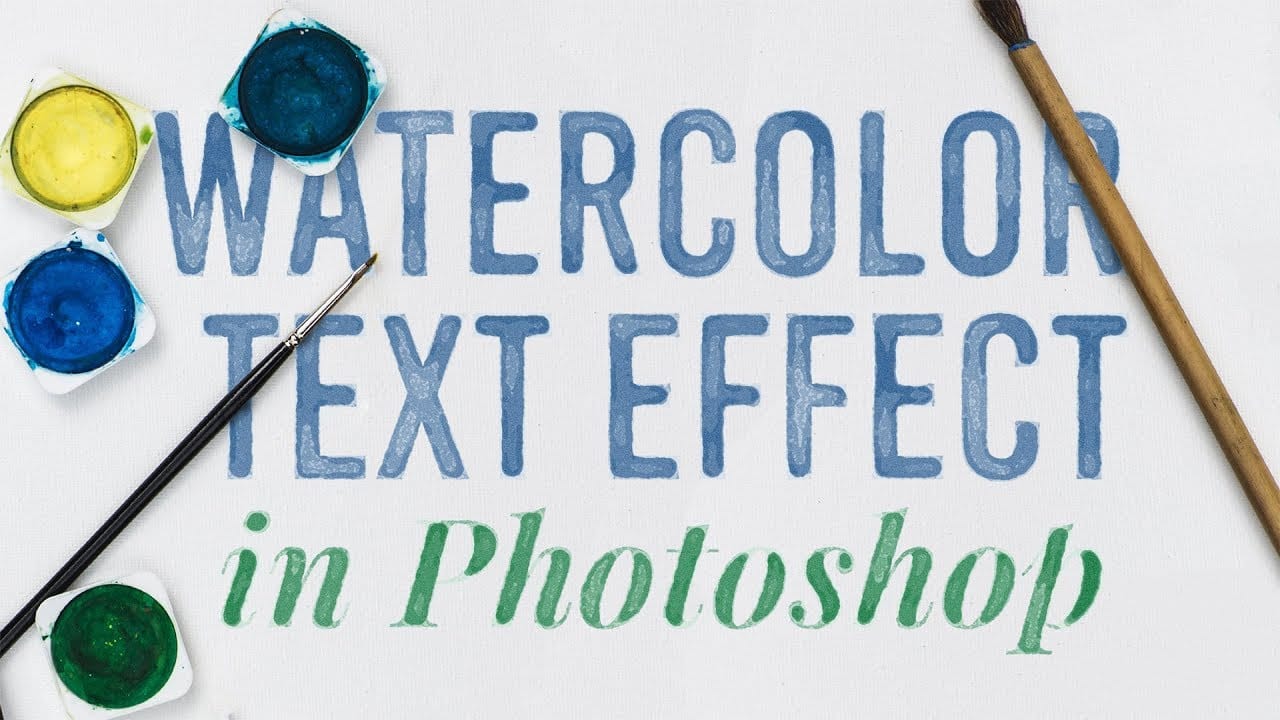
How to create a watercolor text effect in Adobe Photoshop
In this tutorial by Chris Spooner from Spoon Graphics, you'll learn how to create a watercolor text effect in Photoshop using a combination of filters. One of the best features of this technique is the use of a Smart Object, allowing the styling to be applied to live text. This means you can easily go back, edit the wording, and fine-tune the settings to achieve the desired result. This tutorial offers a flexible and creative way to produce a beautiful watercolor style effect for your text. W

Get tutorials & freebies delivered to you.

Subscribe to the Photoshop Roadmap newsletter, a weekly roundup of new tutorials, insights and quality downloads, trusted by 6500+ readers.

You might also like

Painting Digital Art Backgrounds: Techniques and Workflow

A well-crafted background can anchor an entire digital painting, providing atmosphere, depth, and visual context for the subject. This video demonstrates practical approaches to building backgrounds from scratch using digital tools, covering brush selection, color layering, and compositional thinking. Watch the Video Practical Tips Keep these core principles in...

How to Use the Light Adjustment Layer in Photoshop

Photoshop's new Light adjustment layer brings Camera Raw controls — exposure, contrast, highlights, shadows, whites, and blacks — directly into the layers panel as a fully non-destructive, maskable layer. This means you can stack multiple light adjustments, target specific subjects, and combine them with Blend If and other adjustment...

How to Use Object Selection, Remove Background, and the Selection Brush in Photoshop

Selections determine the quality and flexibility of almost every edit you make in Photoshop. Three modern tools — the Object Selection tool, Remove Background with Harmonize, and the Selection Brush — handle the most common selection tasks with far less manual effort, while keeping your original image intact through non-destructive layers....

How to Paint a Digital Background and Composite Wildlife Into It

Building a painted digital background from scratch gives you full control over color, mood, and composition before a single wildlife photo is placed. This walkthrough covers the complete process: blocking in shadows on a black canvas, layering foliage with textured brushes, positioning bird subjects on hand-painted stones, and using...

How to Sharpen Skin Texture Using Frequency Separation in Photoshop

Retouched skin can look great up close but lose all its natural texture the moment you zoom out. Rather than relying on standard sharpening filters, you can recover that texture by duplicating the high-frequency layer inside a frequency separation setup — a method that works whether or not you'...

You’ve successfully subscribed to Photoshop Roadmap
Welcome back! You’ve successfully signed in.
Great! You’ve successfully signed up.
Success! Your email is updated.
Your link has expired
Success! Check your email for magic link to sign-in.