How to Cut Out Complex Hair and Fur in Photoshop Without Fringing

How to Cut Out Complex Hair and Fur in Photoshop Without Fringing

Sharp, clean cutouts separate amateur photo edits from professional composites. Subjects with hair or fur challenge even experienced Photoshop users because standard selection tools often leave noticeable color fringing around delicate edges.

This tutorial demonstrates a complete workflow that combines Photoshop's cloud-powered selection tools with manual refinement techniques to create flawless cutouts ready for any background.

Watch the Tutorial

Video by Brendan Williams. Any links or downloads mentioned by the creator are available only on YouTube

Advanced Selection Methods for Complex Subjects

The cloud detailed results setting represents a significant improvement over traditional selection methods. This AI-powered feature analyzes complex edges with greater precision than standard algorithms.

However, the real challenge appears after the initial selection. Color fringing occurs when edge pixels retain traces of the original background color, creating visible halos that become obvious against new backgrounds.

  • Cloud processing delivers superior edge detection for hair and fur
  • Select and Mask workspace provides advanced refinement tools
  • Refine Edge Brush recovers fine details missed by automated selection
  • Color-aware vs object-aware modes handle different contrast scenarios
  • Clone Stamp technique eliminates color fringing without losing edge detail

Practical Tips for Clean Cutouts

  • Always enable cloud detailed results in the options bar before using Select Subject for better initial selections
  • Test your cutout against both light and dark backgrounds to reveal hidden fringing issues
  • Use color-aware mode when your subject contrasts strongly with the background, object-aware mode for similar tones
  • Create a clipping mask for the clone stamp work to prevent painting outside the subject boundaries
  • Sample frequently with Alt+click when cloning to match the natural texture variation in hair or fur

Explore more comprehensive techniques for mastering complex selections in Photoshop.
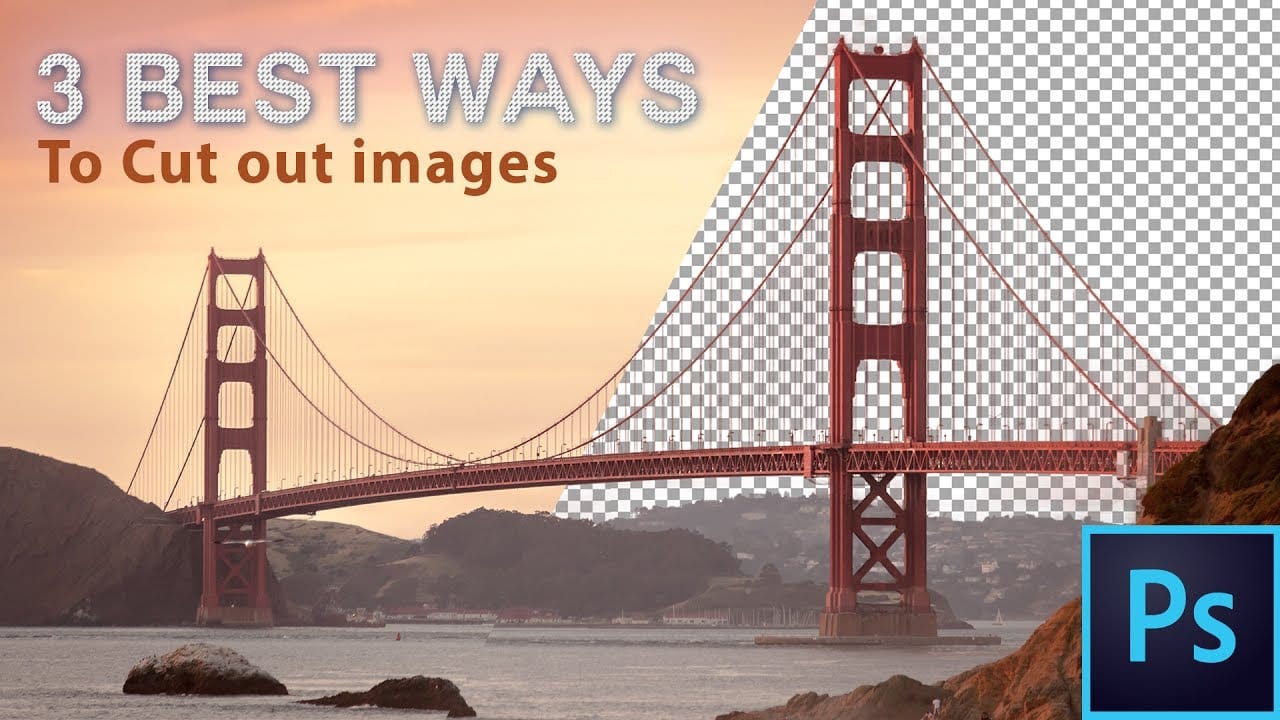
The 3 Easiest Ways To Cut Out Images In Photoshop
In this informative tutorial, author Brendan Williams shares three of the most effective techniques for image cropping in Photoshop. The guide covers the infamous Quick Selection Tool, the Channels method, and the highly versatile Pen Tool. Whether you're a newcomer to the program or a seasoned professional, these methods are sure to elevate your workflow and take your work to new heights. The Quick Selection Tool, known for its intuitive and efficient selection capabilities, is explored in-dep
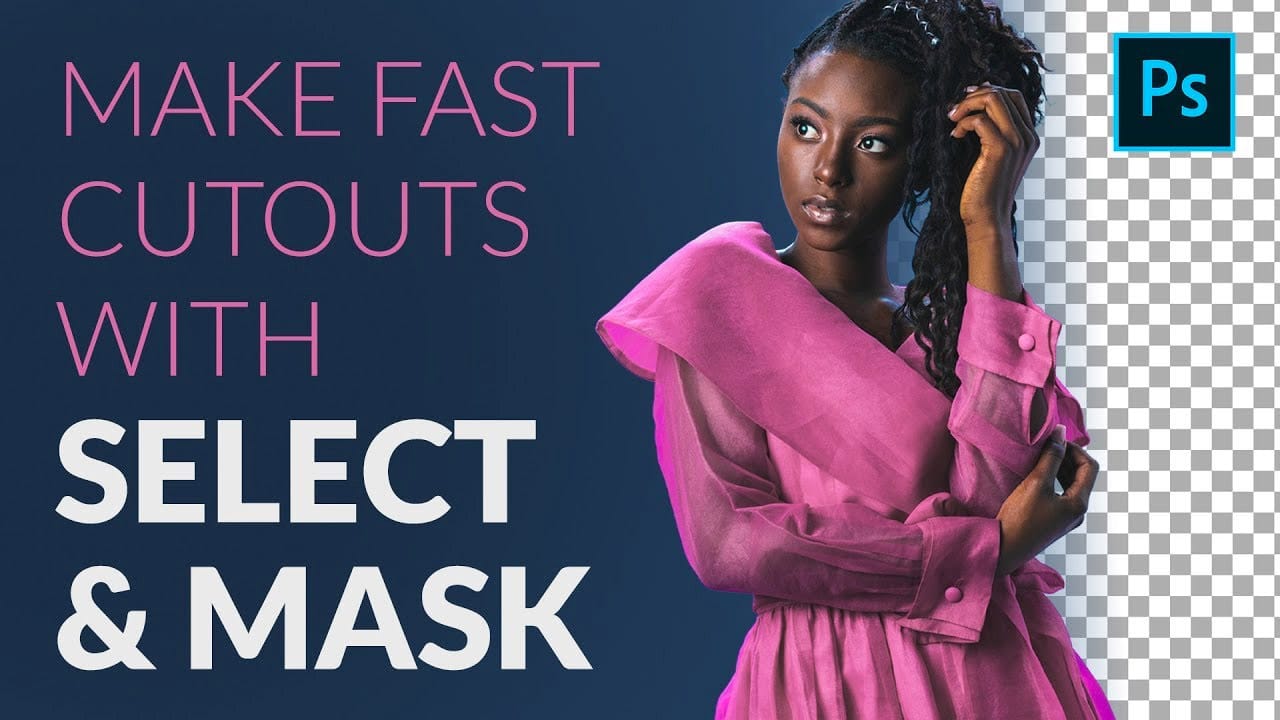
How to Cut Out a Person fast with Select & Mask in Photoshop
In this article Aaron Nace from Phlearn presents a comprehensive tutorial on creating fast and accurate cutouts of people using the Select and Mask feature in Photoshop. The author guides readers through the process, starting with the use of the Quick Selection Tool to make the initial selection, followed by the Refine Edge Tool to clean up the soft edges of hair and clothing. Additionally, the author demonstrates how to change the background color and add a spotlight effect to the subject, draw
How to Cut Out Hair in Photoshop
This Photoshop tutorial by Phlearn will teach you some interesting techniques for cutting out hair from a background. The process involves using the color channel with the highest contrast to create a selection, then applying a layer mask to isolate the hair. The tutorial also covers how to handle fringing around the hair using clipping masks and tools like the brush and clone stamp to ensure a natural look. This method is particularly effective with dark hair against a light background or vice
How to combine multiple images in Photoshop instantly
In this detailed tutorial, Colin Smith reveals an efficient method for combining multiple images into a single layered document in Photoshop. This technique is designed to save time and reduce manual effort by allowing you to merge all open tabs into one cohesive file quickly. Colin explains how to leverage this powerful feature to streamline the process of creating complex composites or layered designs. Whether you're working on intricate photo edits or assembling detailed visual projects, this

Get tutorials & freebies delivered to you.

Subscribe to the Photoshop Roadmap newsletter, a weekly roundup of new tutorials, insights and quality downloads, trusted by 6500+ readers.

You might also like

Professional Portrait Retouching with the B.S.T. Method in Photoshop

Professional portrait retouching requires artistic choices that automated tools can't make. The B.S.T. method breaks retouching into three focused steps: removing blemishes with precision, smoothing skin while preserving natural texture, and equalizing skin tones throughout the image. This systematic approach gives you complete control over every...

Create Motion Blur Light Effects in Photoshop

Transform ordinary portraits into dynamic, cinematic images by combining path blur effects with creative background textures. This technique creates the illusion of camera movement while maintaining focus on key elements like the subject's eyes, resulting in professional-looking motion blur effects that add energy and visual interest to static...

How to Paint Realistic Jewelry on Portraits in Photoshop

Adding painted jewelry to portraits transforms ordinary photos into fantasy portraits with ornate accessories that never existed. This digital painting technique uses careful layering, proper lighting, and realistic shadows to create convincing rings, earrings, and decorative headpieces. The method combines basic brush work with advanced blending techniques to build up...

How to Sharpen Images Using the High Pass Filter in Photoshop

The High Pass filter method remains one of the most versatile sharpening techniques in Photoshop, offering precise control over which image areas receive enhancement. This non-destructive approach works by identifying edge details and allowing you to selectively apply sharpening exactly where it's needed most. Unlike automated sharpening tools,...

How to Find Missing Actions in the New Photoshop Actions Panel

The redesigned Actions panel in Photoshop can catch users off guard when their custom actions seem to disappear. With the new tabbed interface, your previously created actions are still there—they're just located in a different tab than before. Understanding the new layout will help you quickly access...

Fast Portrait Retouching: Remove Stray Hairs, Clothing Wrinkles, and Fix Backgrounds

Every portrait photographer knows the feeling: you've captured a beautiful shot, but stray hairs, wrinkled clothing, and messy backgrounds turn editing into hours of tedious work. These common retouching challenges can drain your time and energy, especially when dealing with high-volume projects or tight deadlines. This tutorial demonstrates...

You’ve successfully subscribed to Photoshop Roadmap
Welcome back! You’ve successfully signed in.
Great! You’ve successfully signed up.
Success! Your email is updated.
Your link has expired
Success! Check your email for magic link to sign-in.