How to Fix Skin Tones in Photoshop - Complete Guide

How to Fix Skin Tones in Photoshop - Complete Guide

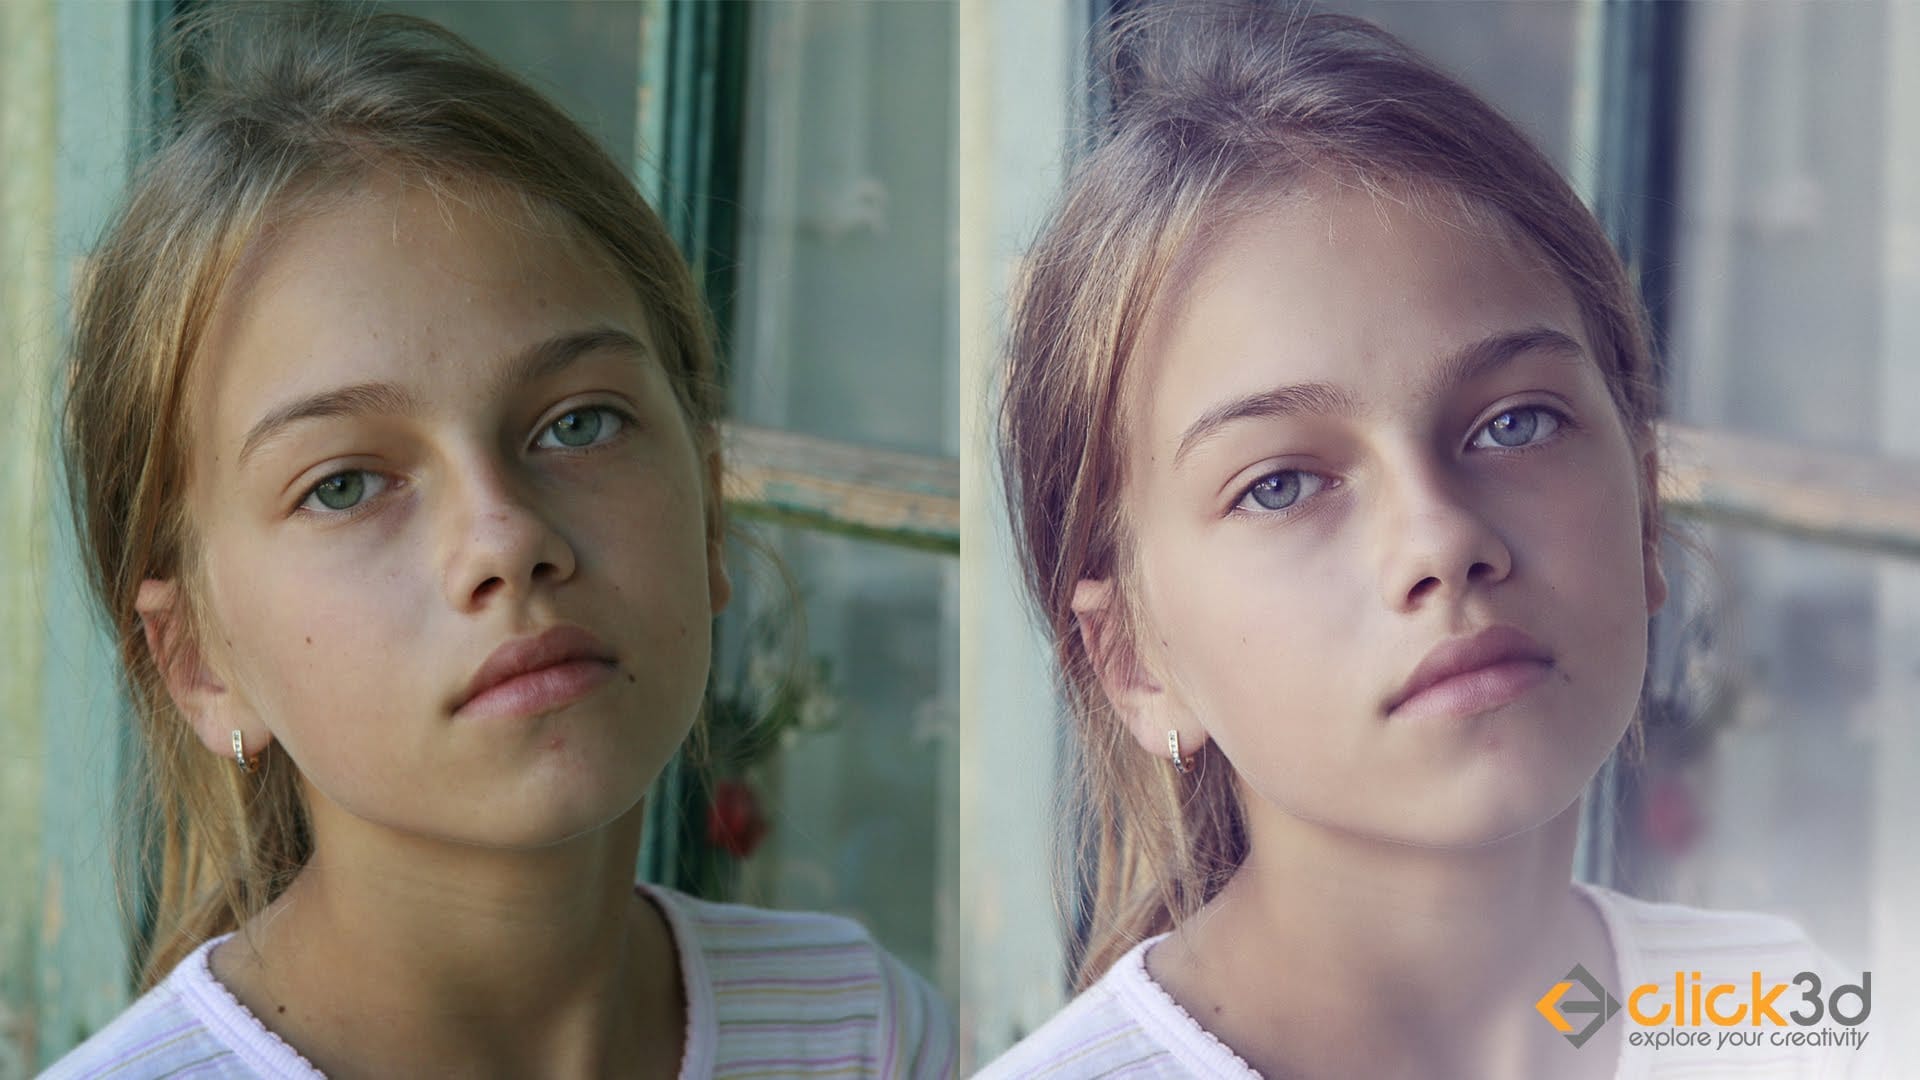
Skin tones can make or break a portrait, yet color casts and uneven lighting often leave subjects looking unnatural or flat. Whether dealing with mixed lighting conditions, camera white balance issues, or post-processing mishaps, getting skin colors right requires a systematic approach that works consistently across different scenarios.

This comprehensive method addresses the root causes of skin tone problems while preserving natural texture and detail, ensuring your portraits look both polished and authentic.

Watch the Video

Video by PiXimperfect. Any links or downloads mentioned by the creator are available only on YouTube

Practical Tips

Apply these key techniques to achieve natural-looking skin tones every time:

  • Start with proper white balance correction before making any skin tone adjustments
  • Use targeted color selection tools to isolate skin areas without affecting other image elements
  • Work with subtle adjustments in small increments rather than dramatic changes
  • Check your results against neutral reference points like whites and grays in the image
  • Always compare your edited version with the original to avoid over-processing

Explore these comprehensive skin retouching tutorials to master professional portrait editing techniques.

High-End Skin Retouching in Photoshop
Combining the power of Frequency Separation along with manual Sampling and Painting, learn how to recreate and sculpt the skin, maintaining a beautiful skin texture, in this tutorial by PiXimperfect. Using this technique, you will not only achieve a smooth skin but also will have the control to naturally remove wrinkles, lift up the cheekbones, and renovate the whole structure of the skin with the skin texture still intact. This is an All-in-One Method whether you want to soften the skin or jus
Smooth Skin and Remove Blemishes and Scars in Photoshop
Achieving flawless skin in portraits often requires careful retouching to enhance natural beauty without sacrificing detail. This tutorial demonstrates a reliable Photoshop workflow for refining skin texture and addressing common imperfections. Viewers will discover how to efficiently smooth skin texture, eliminate blemishes and scars, and precisely restore important facial features like eyes and lips, ensuring a natural and polished outcome. Watch the Tutorial The Principles of Natural Ski
Natural Skin Smoothing in Photoshop
Professional beauty retouching demands techniques that smooth skin while preserving natural texture. This advanced method combines inverted layers with Vivid Light blend mode to create seamless skin enhancement without the artificial "plastic" look common in over-processed images. The technique works by canceling out layer information through inversion, then selectively applying blur and sharpening filters to reconstruct realistic skin texture while eliminating blemishes and color irregularitie
Flawless 1-Min Skin Retouch Action in Photoshop
In this tutorial, you will learn a fast and effective technique for retouching skin using Photoshop. This method focuses on creating smooth, beautiful skin in under a minute. You'll discover how to generate a brand new skin texture from scratch and apply advanced blurring techniques. The goal is to achieve smooth and even skin without any blemishes, all while preserving the natural skin texture. By following these steps, you can quickly transform your photos without losing detail. Additionally
High-end skin retouching with just 2 layers in Photoshop
One of the simplest ways to perform high-end skin retouching in Photoshop! Whether you are creating magazine covers or working on a high-end project, achieve the best quality skin using just 2 layers! In this tutorial by PiXimperfect, we will learn a simple blend mode to do extensive dodging and burning to get the most realistic skin texture, maintaining the softness, and keeping the skin flawless. This two-layer technique is just another way to do dodging and burning, but a little more easily
Skin Retouching and Soft Light Effect in Photoshop
In this tutorial, the author, Click 3D, guides viewers through the process of high-end skin retouching using the Frequency Separation technique and applying a soft light effect in Photoshop. The author explains the step-by-step instructions, making it accessible for both novice and experienced Photoshop users. The tutorial covers how to use Frequency Separation to smoothen and refine skin texture, while maintaining the natural details. Additionally, the author demonstrates the application of th
5 easy ways to clean blemishes and heal skin in Photoshop
Skin imperfections such as blemishes, acne, or scars can significantly impact the visual appeal of an otherwise excellent photograph. Achieving a polished, natural finish often becomes a challenging and frustrating task, as manual removal methods can easily lead to unnatural-looking results if not executed with precision and care. This comprehensive tutorial delves into multiple Photoshop techniques specifically designed for effectively healing and removing skin blemishes. Viewers will learn va
Model Skin Retouch Photoshop Actions
Introducing the Model Skin Retouch Photoshop Action, a powerful tool designed for photographers who need a quick and efficient way to retouch skin images. This action separates the skin and texture into different layers, allowing for even skin tones and reduced blemishes without making the image look unnatural or plastic-like. The benefits of this action include: 1. Maintaining Skin Texture: Ensures the skin retains its natural feel. 2. Even Skin Tone: Smooths and evens out skin tones for a p
Skin Retouching Photoshop Actions
Discover how to retouch skin effortlessly with a collection of Photoshop actions designed for easy use. These actions allow you to heal, mattify, and airbrush skin with just one click, streamlining your editing process. In addition to skin retouching, this set includes specific actions for brightening eyes and enhancing contrast. The eye brightening action is particularly effective; it reduces redness while significantly boosting brightness. Meanwhile, the contrast enhancement action improves d
Mastering Skin Smoothing with Frequency Separation
In photography, achieving flawless subject skin can often be a challenge. Blemishes, uneven tones, and harsh shadows frequently detract from an otherwise great photo, leading to frustration for both photographers and subjects. This guide explores frequency separation, a powerful technique that allows precise skin retouching without sacrificing natural texture. Learn how to apply this method, enhance it with advanced steps, and integrate tools that streamline your workflow for professional resul

Get tutorials & freebies delivered to you.

Subscribe to the Photoshop Roadmap newsletter, a weekly roundup of new tutorials, insights and quality downloads, trusted by 6500+ readers.

You might also like

10 Photoshop Tricks You Probably Forgot Exist

There’s a funny pattern with Photoshop. The longer you use it, the more you rely on the same small set of tools… while some of the most powerful techniques quietly fade into the background. Not because they stopped working — but because they’re just a bit hidden, or not...

Add Floral Patterns to Black Dresses Using Brushes in Photoshop

Transform plain black clothing into vibrant, patterned garments using custom brushes and strategic layer blending. This non-destructive technique combines precise selections with clipping masks to paint realistic floral designs directly onto fabric while preserving the original photograph. The method works particularly well on black materials because the hard light blend...

How to Replace Objects Using Reference Images in Photoshop Generative Fill

Reference images transform Generative Fill from a text-based tool into a precise visual command system. Instead of describing what you want, you show the AI exactly which object to create, leading to more accurate and predictable results. This technique works by combining traditional selection tools with the new reference image...

How to Use Blend If Sliders for Pixel-Perfect Transparency in Photoshop

Blend If sliders control transparency based on brightness levels, making complex selections unnecessary. Understanding how these two simple sliders work with RGB channels opens up precise compositing possibilities that would otherwise require multiple masks and selections. The technique works by targeting specific brightness ranges from 0 to 255, allowing you...

How to Create a Double Exposure Effect in Photoshop Using Screen Blend Mode

Double exposure effects transform ordinary portraits into striking artistic compositions by blending two images seamlessly. This technique works best with high-contrast images—silhouettes against bright backgrounds paired with nature scenes or textures. The key to successful double exposures lies in the contrast between light and dark areas. When you combine...

You’ve successfully subscribed to Photoshop Roadmap
Welcome back! You’ve successfully signed in.
Great! You’ve successfully signed up.
Success! Your email is updated.
Your link has expired
Success! Check your email for magic link to sign-in.