Sometimes Photoshop's default settings can make beginners think their software or hardware is broken. Images that fly around uncontrollably when panning, scroll bars appearing on full-size images, and zoom tools that seem to have a mind of their own are all caused by simple preference settings that can be easily adjusted.
These three navigation behaviors often frustrate new users, but understanding what they do and how to control them will give you a much smoother editing experience.
Watch the Video
Video by Glyn Dewis. Any links or downloads mentioned by the creator are available only on YouTube
Practical Tips
Here are the key settings adjustments to improve your navigation experience:
- Disable "Enable Flick Panning" in Settings > Tools to prevent images from flying off-screen when using the hand tool with quick gestures
- Turn off "Overscroll" in the same menu to eliminate scroll bars on full-size images and prevent unnecessary image movement
- Uncheck "Zoom Clicked Point to Center" to make the zoom tool behave more predictably by zooming directly where you click
- Access all these settings through the main menu: Photoshop > Settings > Tools on Mac, or Edit > Preferences > Tools on Windows
- Double-click the hand tool at any time to quickly fit your image to the canvas at full size
Related Articles and Tutorials
Explore more tutorials to troubleshoot common issues and improve your workflow:
Avoid the 3 worst Photoshop photo editing mistakes
Colin Smith from Photoshop Cafe shares essential tips to help you avoid the three most common Photoshop photo editing mistakes. These mistakes can make your edits look amateurish, but with Colin's guidance, you'll learn how to sidestep them and enhance your editing skills.
The first mistake is over-sharpening, which Colin calls the "Sizzle Sharpen." This occurs when the halos around edges become too prominent, making the image look unrealistic. To avoid this, Colin advises converting your layer
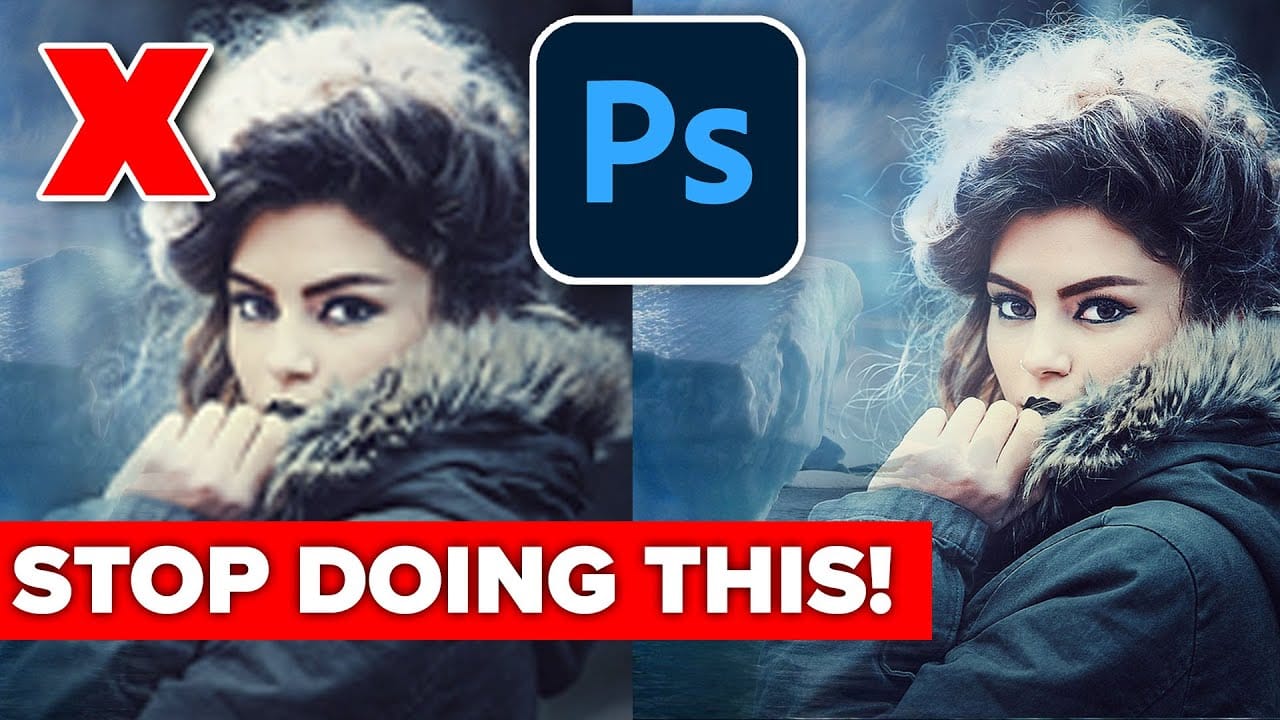
7 Photo Mistakes You Can Easily Fix in Photoshop
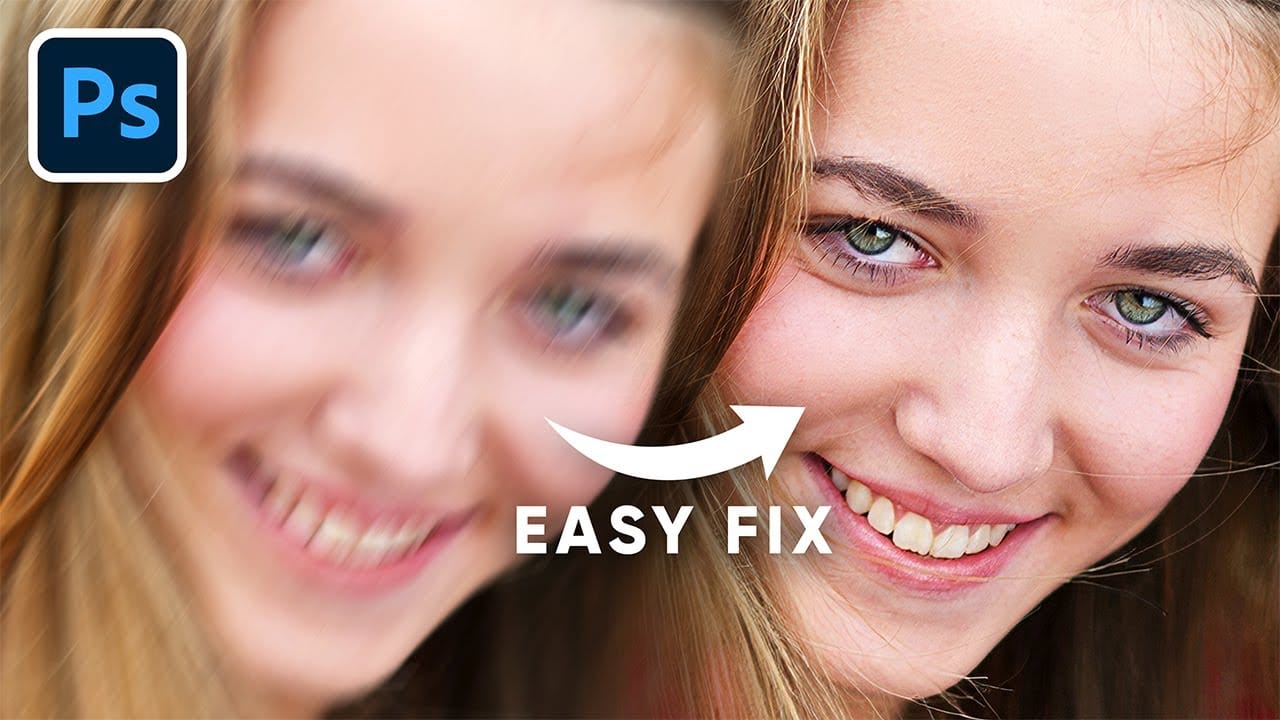
Even experienced photographers struggle with certain technical challenges that can ruin an otherwise perfect shot. Motion blur from camera shake, missed focus on key subjects, overexposed highlights, or unwanted color casts are frustrating problems that happen to everyone—and sometimes they're impossible to avoid in-camera.
This comprehensive tutorial demonstrates seven essential Photoshop techniques for rescuing imperfect photos. From advanced sharpening methods to selective color correction,
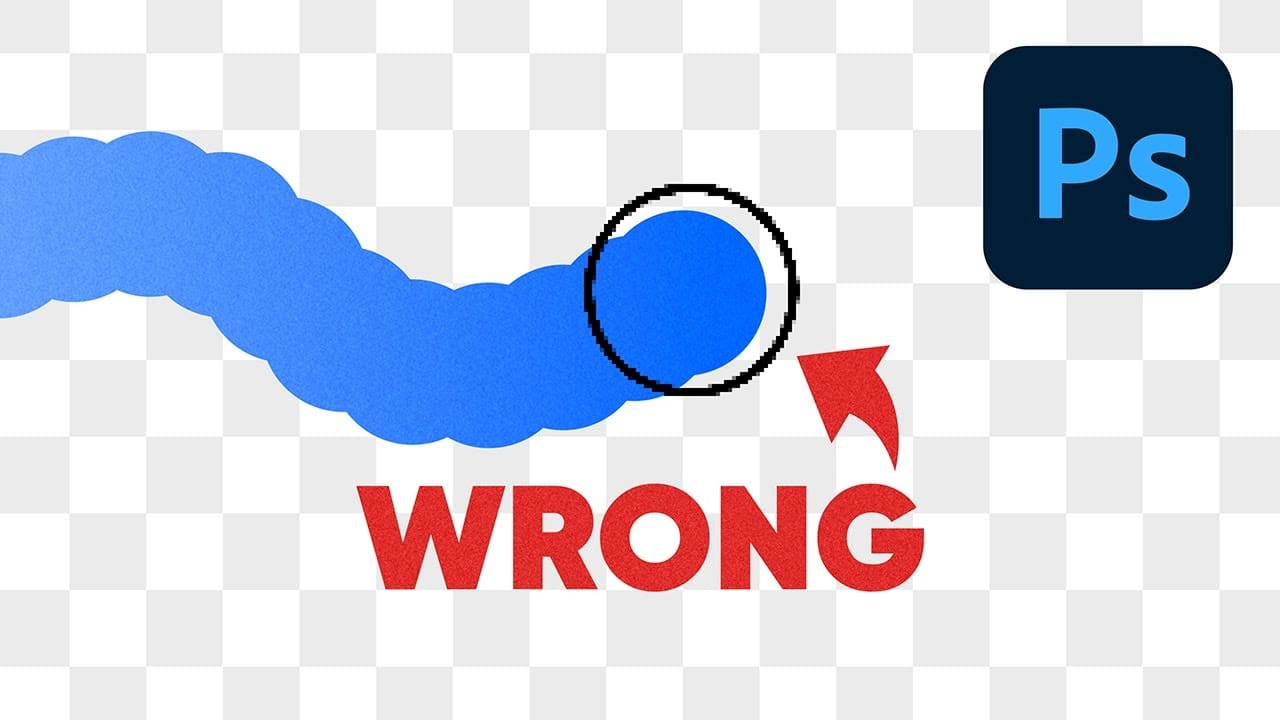
Why Your Photoshop Brush Creates a Caterpillar Effect (And How to Fix It)
One of the most frustrating issues Photoshop users encounter is when their brush strokes suddenly become uneven or thicker than expected. You might start painting with a smooth brush only to see a jagged "caterpillar" effect appear, or notice your soft brush creating strokes that are much thicker than the brush cursor suggests.
This video explains the root cause of these common brush problems and provides practical solutions. You'll discover how Photoshop's spacing settings control brush behavi
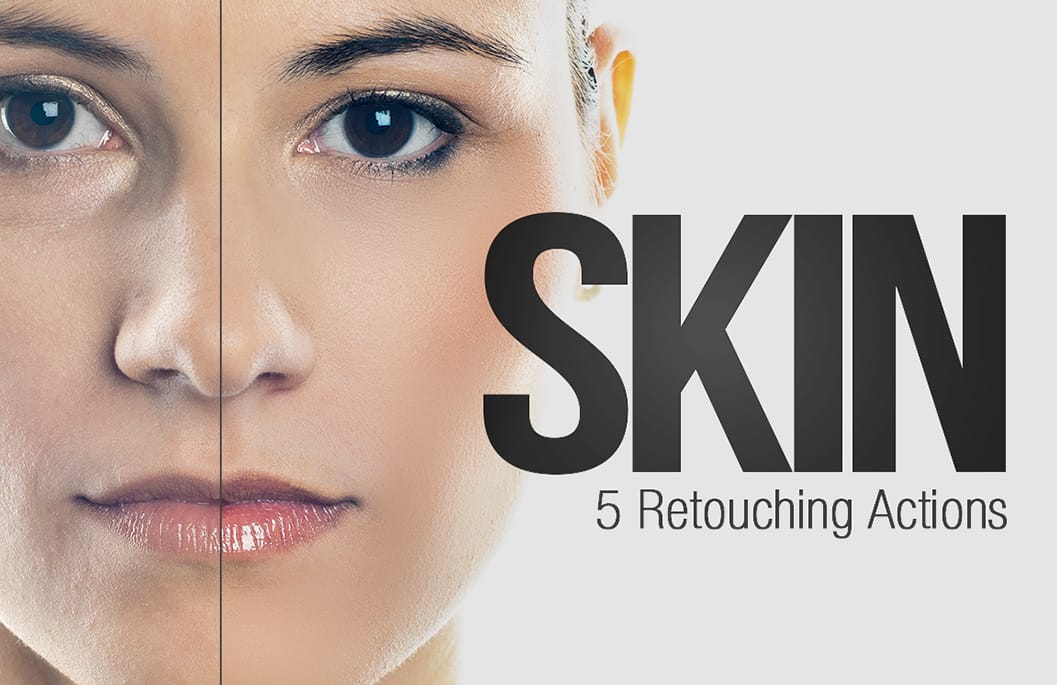
Skin Retouching Photoshop Actions
Discover how to retouch skin effortlessly with a collection of Photoshop actions designed for easy use. These actions allow you to heal, mattify, and airbrush skin with just one click, streamlining your editing process.
In addition to skin retouching, this set includes specific actions for brightening eyes and enhancing contrast. The eye brightening action is particularly effective; it reduces redness while significantly boosting brightness. Meanwhile, the contrast enhancement action improves d
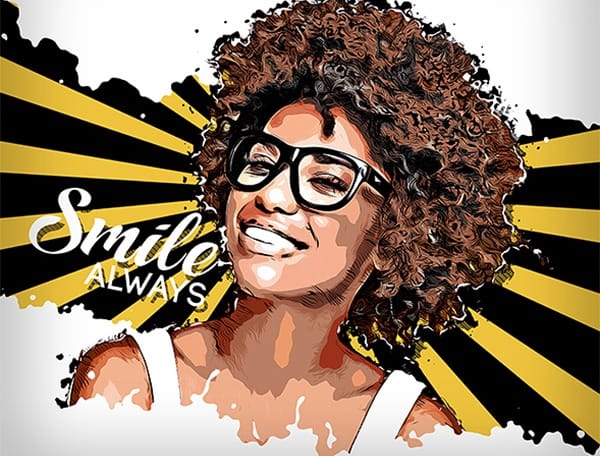
5 hyper-realistic Photoshop sketch actions that are hard to believe aren't actual drawings
It's not a lie to say that Photoshop default artistic effects filters are ugly. Yes, maybe you can find some obscure effects combination that can give you some decent results, but these tools are quite limited overall.
Fortunately some clever artist managed to hack Photoshop to it's maximum extent to create some amazing hyper-realistic effects. Since those effects require multiple and complex steps, they pack them in Photoshop Actions that are almost one-click effects, with just a little interv
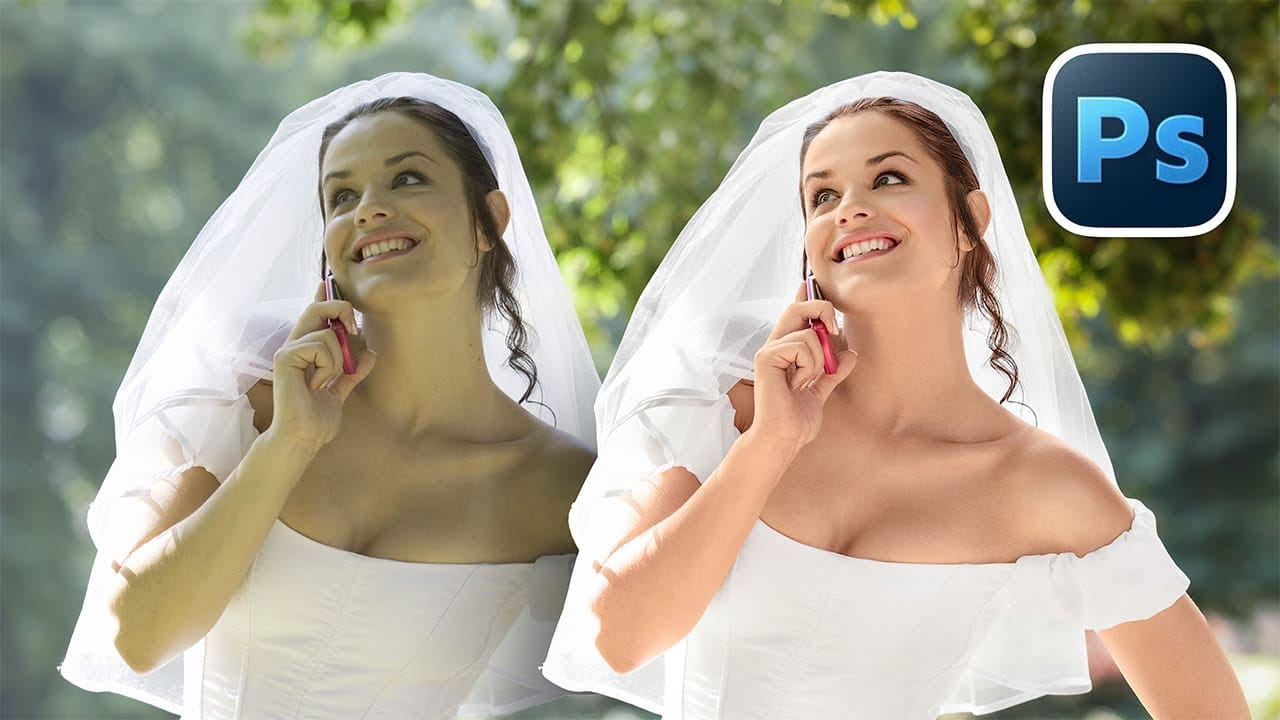
How to Fix Skin Tones in Photoshop - Complete Guide
Skin tones can make or break a portrait, yet color casts and uneven lighting often leave subjects looking unnatural or flat. Whether dealing with mixed lighting conditions, camera white balance issues, or post-processing mishaps, getting skin colors right requires a systematic approach that works consistently across different scenarios.
This comprehensive method addresses the root causes of skin tone problems while preserving natural texture and detail, ensuring your portraits look both polishe
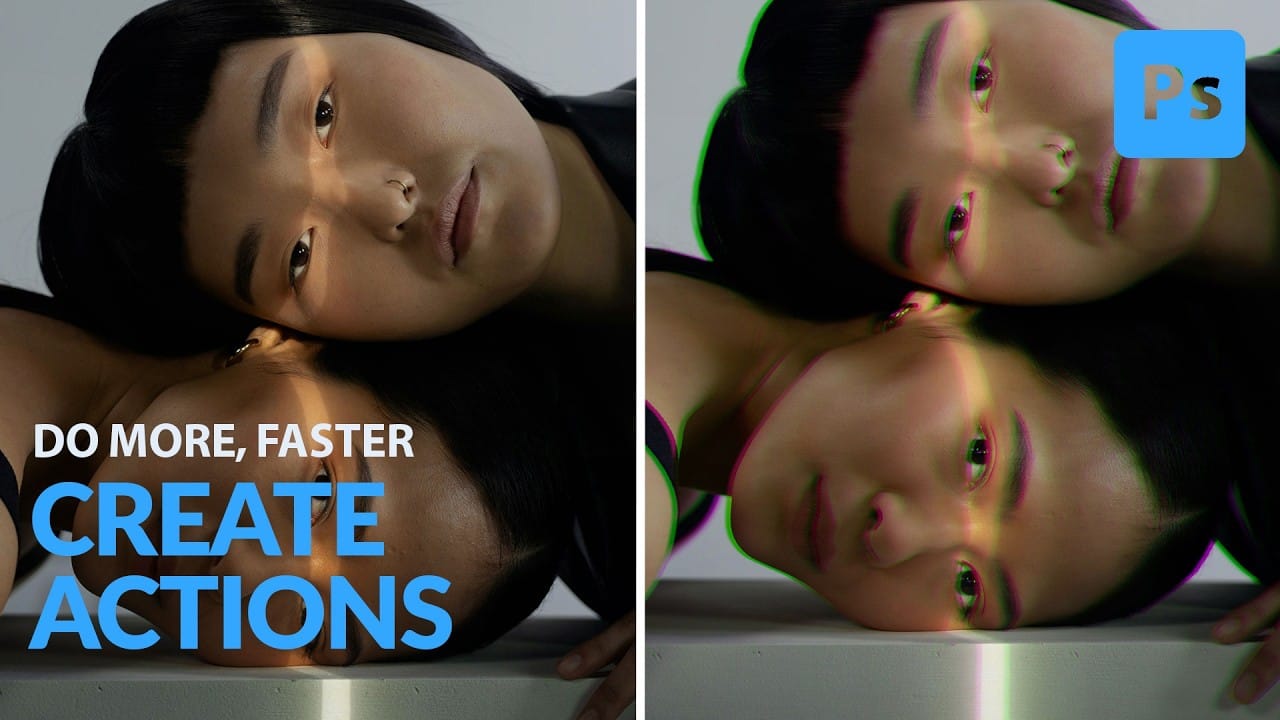
How to Create and Play Back Actions in Photoshop
This Photoshop tutorial from Aaron Nace at Phlearn offers a clear process for blending graphics with portraits. You will learn how to use the Super Zoom feature, which allows you to upscale graphics while maintaining their original resolution. This is crucial for ensuring that your images remain sharp and professional.
The tutorial also covers the use of Gradient Maps to achieve effective color matching between your elements. This technique can enhance the visual coherence of your project. Addi
10 little-known Photoshop features you should really learn (2025 Update)
Photoshop's true power isn't just in its headline features—it's in the hidden gems that can transform your workflow overnight. While everyone knows about layers and the healing brush, these lesser-known capabilities can save you hours and open up creative possibilities you never knew existed.
If you're a seasoned professional or an ambitious beginner, these 10 features will give you that unfair advantage that separates efficient creators from those still clicking through endless menus.
1. Ble

7 easy Photoshop tips to make your composites more realistic
In this tutorial, Jesus Ramirez shares seven essential Photoshop tips and tricks to help you create more realistic composites. If you're struggling to make your composites look convincing, this video is a must-watch.
Jesus covers a range of techniques designed to enhance the realism of your composite images. These tips include how to match lighting and shadows, blend edges seamlessly, and use adjustment layers effectively. You'll also learn about color matching and the importance of perspective