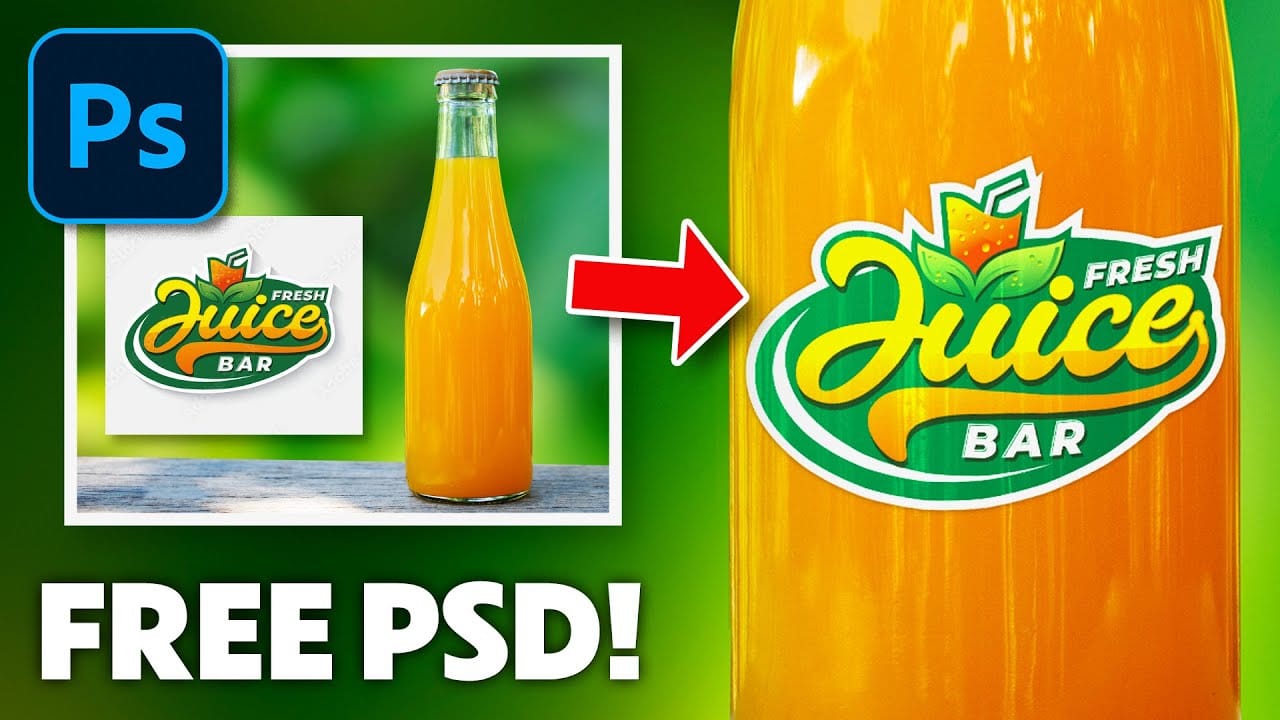
Placing a flat logo onto a waving flag requires more than a simple drag-and-drop. The key is warping the image to follow the flag's folds, then using blend modes and adjustment layers to make the logo look like it belongs on the fabric.
Watch the Video
Video by Anthony Morganti. Any links or downloads mentioned by the creator are available only on YouTube
Practical Tips
Keep these techniques in mind as you work through each stage of the effect:
- Extend the logo past the flag's edges when warping — stopping short or meeting the edge exactly leaves visible gaps; overlapping ensures full coverage.
- Switch to a 3×3 warp grid for finer control — the default grid is too coarse for precise adjustments along the flag's curves.
- Lower the logo layer's opacity while warping — seeing the flag underneath helps you align the logo to the existing folds more accurately.
- Use Multiply blend mode after masking — this lets the flag's natural folds and shadows show through the logo, making it look printed on fabric rather than pasted on top.
- Add a second Levels adjustment layer set to Vivid Light at reduced opacity — this mimics the subtle sheen of a printed or dyed flag surface without overpowering the design.
Related Articles and Tutorials
Explore more techniques for blending graphics onto surfaces and creating realistic composite effects.
How to add a logo or pattern to a shirt in Photoshop
In his Photoshop tutorial, author Colin Smith guides viewers through the process of adding a logo, graphic, pattern, or texture onto clothing. This technique allows for quick and easy customization of apparel, enabling users to swap out designs in a matter of seconds.
Smith's step-by-step instructions demonstrate how to seamlessly incorporate the desired visual element onto a shirt or other garment. By leveraging the power of Photoshop's layers and blending modes, users can achieve a profession
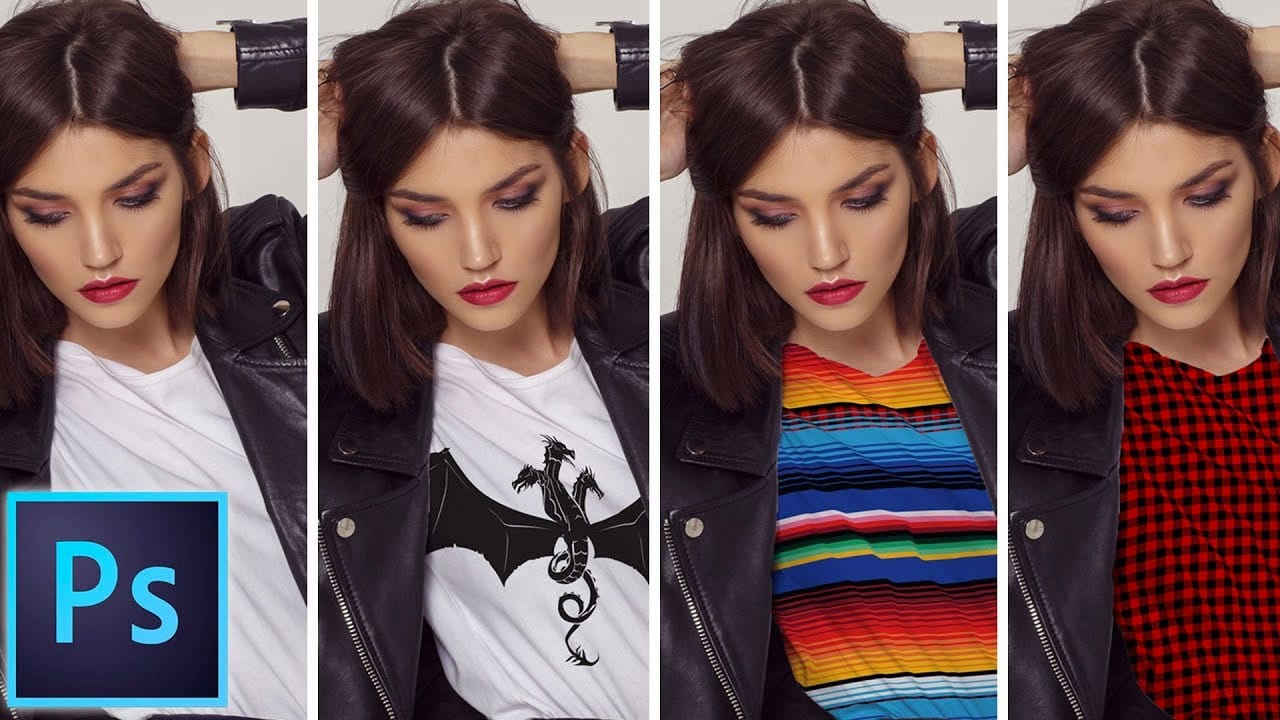
Create a Distorted Wave Glitch Effect in Photoshop
Digital distortion effects transform ordinary portraits into striking visual art by warping reality through deliberate technical manipulation. This technique uses multiple wave filters layered together to create increasingly complex distortions, while selective masking preserves important facial features from becoming completely unrecognizable.
Watch the Video
Practical Tips
Master the wave distortion effect with these essential techniques:
* Convert layers to smart objects before applyin
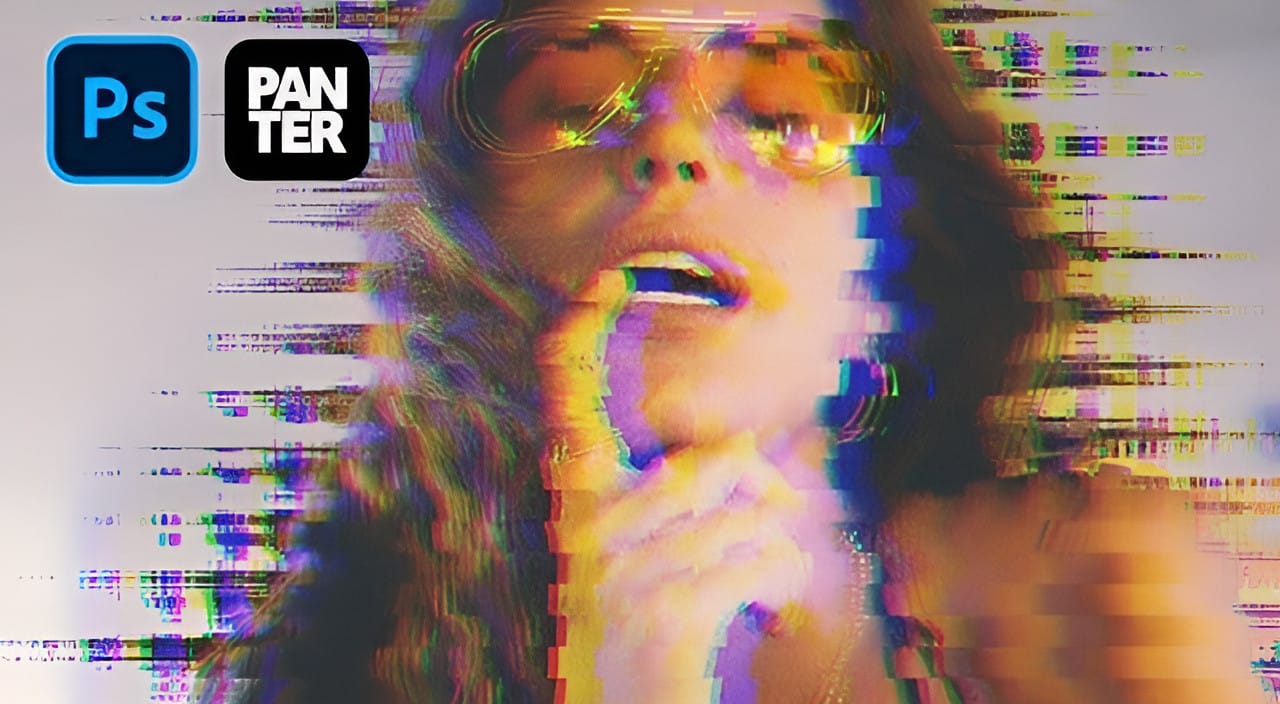
How to Create a Hanging Stencil Banner Photoshop
Warping objects is a fantastic way to achieve realistic effects, and this tutorial by Tuts+ demonstrates how to create a simple yet striking stencil banner text effect in Adobe Photoshop.
You'll learn how to use shape properties, smart objects, textures, layer styles, and brushes to craft each letter as a sheet of paper with the letter cut out, hanging from a string like banner. The tutorial also covers using the Warp command to add realism and depth to your design.
Perfect for creating festiv
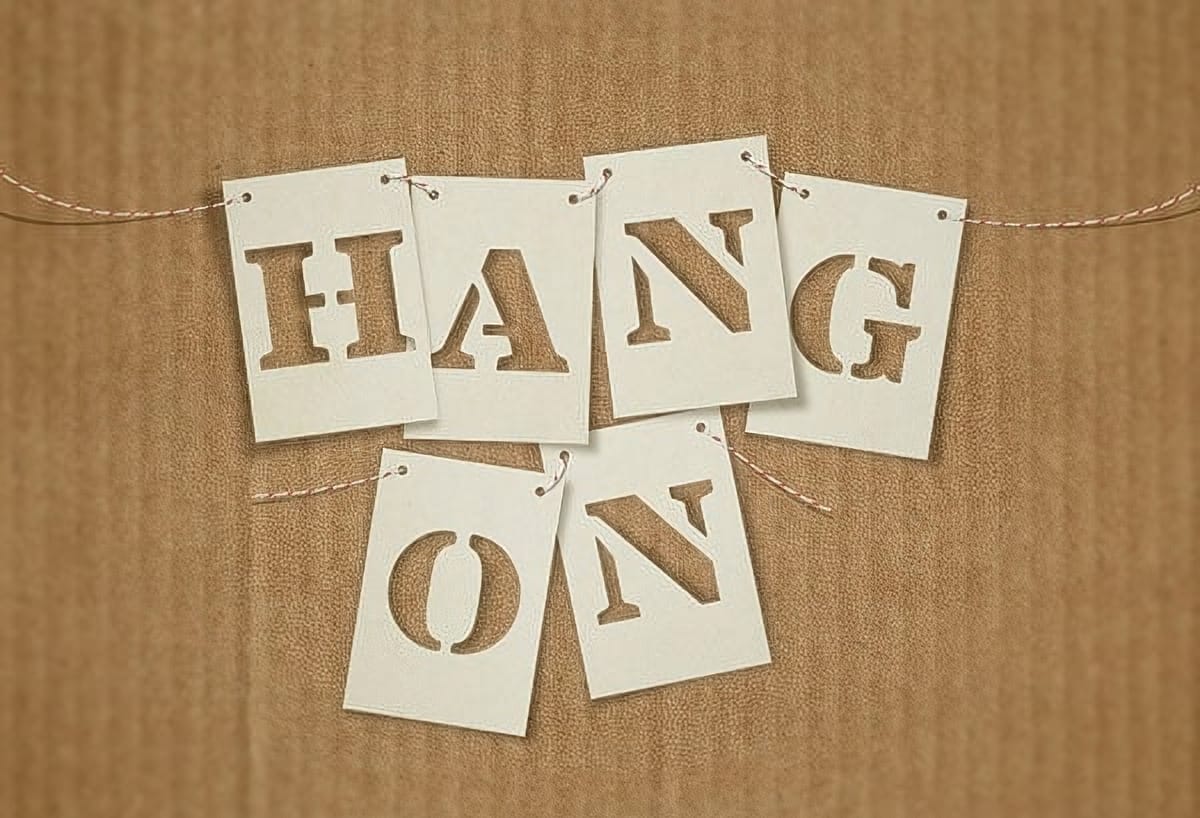
Create a Liquid Gel Logo Effect in Photoshop
Liquid gel effects transform flat logos into dimensional, glossy designs that appear to bubble and flow. This technique uses multiple layer styles and strategic duplication to build depth, creating surfaces that catch light like thick, viscous liquid.
The method combines gradient overlays, bevel effects, and inner glows across several duplicated layers to achieve the signature bubbly, three-dimensional appearance that makes logos stand out with professional polish.
Watch the Video
Practical
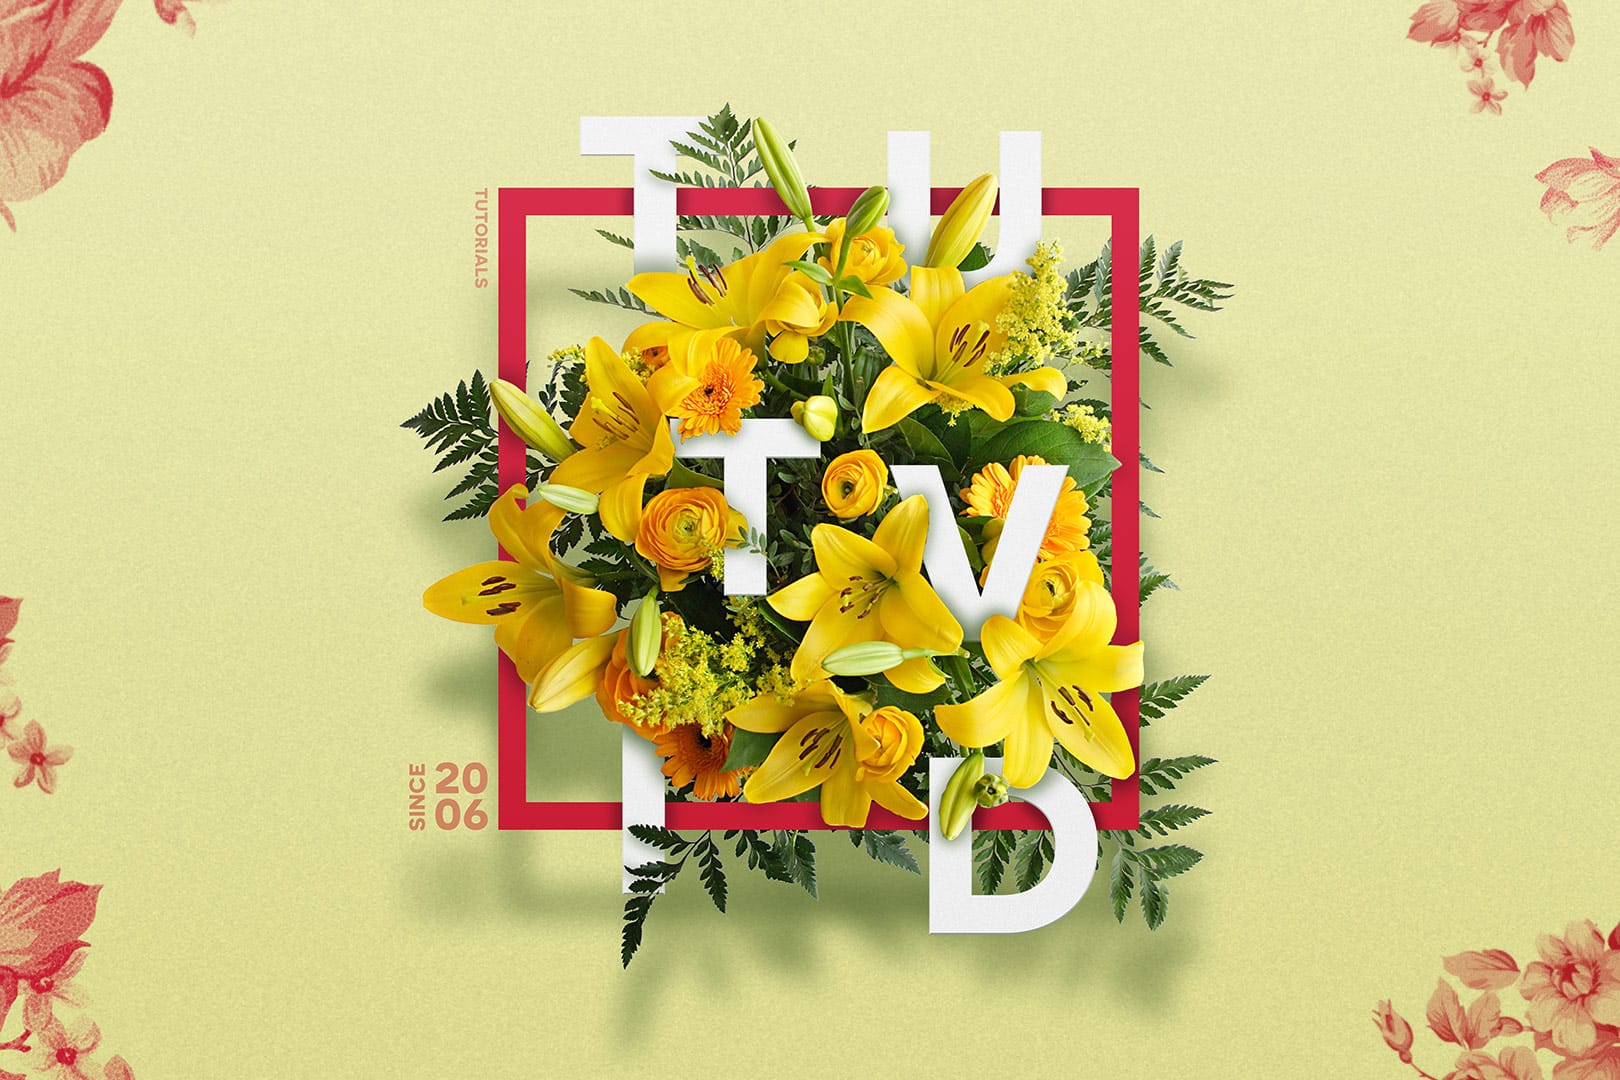
Create a Floral Typography Text Effect in Photoshop
Learn to create stunning floral typography in Photoshop. This tutorial teaches you to blend vibrant flowers with custom text, achieving a captivating visual that seamlessly integrates botanical elements with your design. Master techniques for realistic depth, perfect for unique posters, art, or personal projects.
Watch the Full Tutorial
Practical Tips for Crafting Floral Text Effects
* Convert masked images to Smart Objects early in the process to maintain editability of layer masks and tr
How to create a watercolor text effect in Adobe Photoshop
Achieve a beautiful, artistic watercolor look for your text in Photoshop. This tutorial guides you through applying a unique effect that transforms ordinary text into vibrant, hand-painted artwork, perfect for creative projects.
Watch the Video
Practical Tips for Watercolor Text Effects
Replicating the delicate nuances of watercolor requires careful use of Photoshop's features. Here are key techniques from the tutorial to master this unique effect:
* Convert your text layer to a Smart Obj
Realistic Blend Effect in Photoshop
In this advanced Photoshop tutorial, WebFlippy guides you through creating a realistic blend effect for text, graphics, or logos on any surface. This tutorial is designed to help you seamlessly integrate elements into various backgrounds, making them look like a natural part of the scene.
WebFlippy starts by demonstrating how to properly blend text or logos using Photoshop's powerful tools and techniques. You'll learn how to adjust and match the texture, lighting, and perspective of your surfac

How to add a rainbow to a Photo
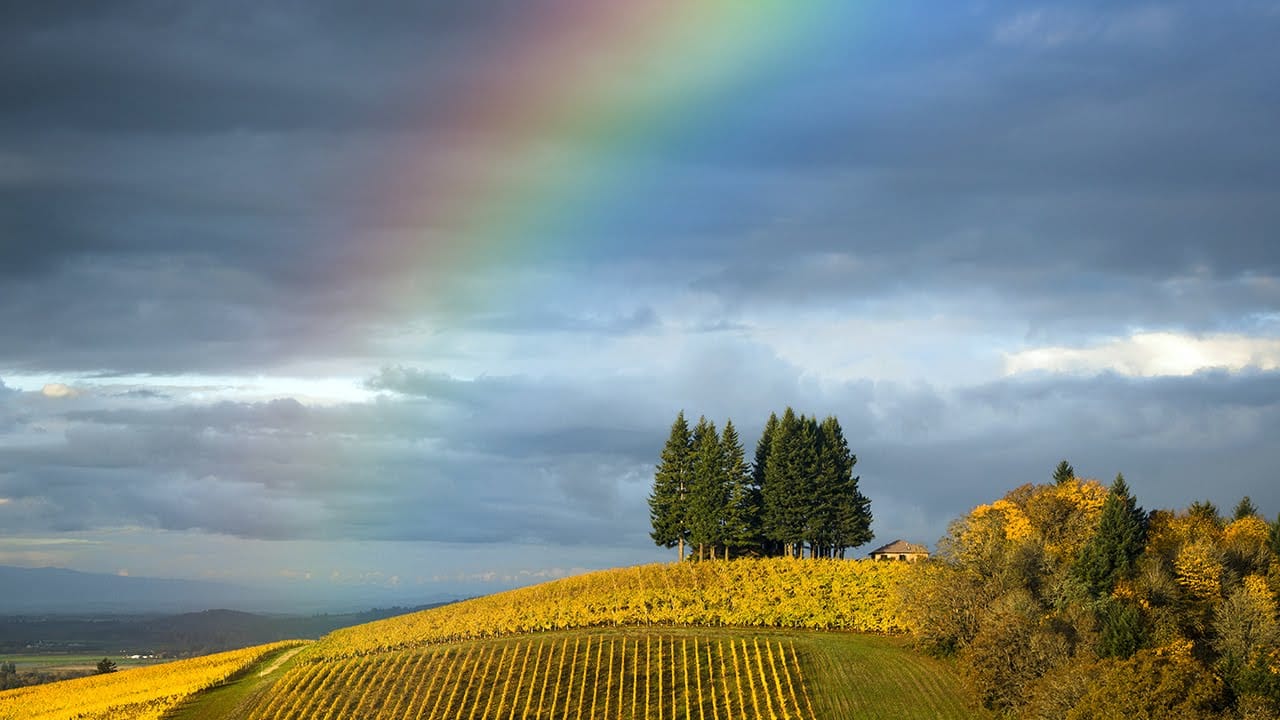
This video explores a simple yet effective method for integrating a vibrant rainbow into your outdoor photographs using Adobe Photoshop. It demonstrates how to leverage a lesser-known built-in feature to achieve a natural-looking atmospheric effect.
Viewers will learn to access Photoshop's hidden "Russell's Rainbow" preset, apply it with proper blending modes, and refine its appearance for a natural, seamless look within their images.
Watch the Tutorial
Integrating Natural Phenomena into Di
Place a logo onto a bottle in Photoshop
In this detailed tutorial, Jesus Ramirez from PTC Photoshop Training Channel walks you through the process of placing any logo onto a bottle using Photoshop. The tutorial is packed with valuable information and techniques that are essential for both beginners and advanced users.
You will learn how to use Smart Objects to ensure your logo retains its quality when resized, and how to apply Clipping Masks to seamlessly integrate the logo onto the bottle's surface. Additionally, the tutorial covers