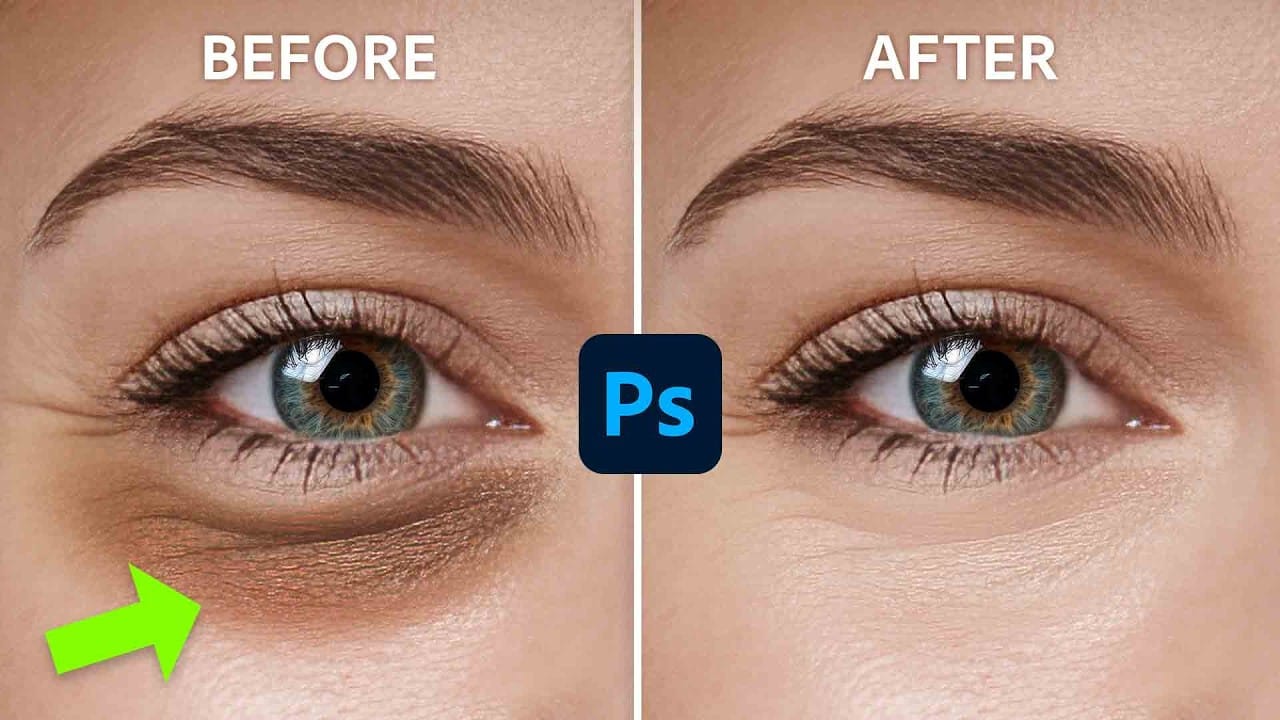
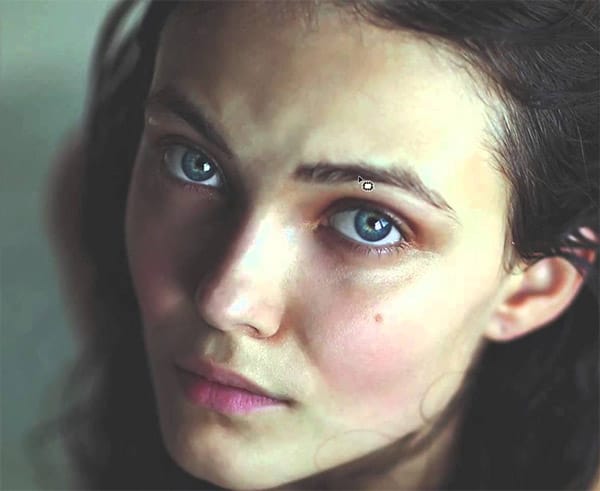
Eye bags can dramatically age a portrait, making subjects appear tired or unhealthy. Traditional removal methods often destroy skin texture or create unnatural results that look obviously retouched.
This professional dodge and burn technique removes even severe eye bags while preserving every detail of natural skin texture. The method uses selective lightening and darkening to reshape facial contours without any blurring or cloning.
Watch the Video
Video by PiXimperfect. Any links or downloads mentioned by the creator are available only on YouTube
Practical Tips
Master this texture-preserving eye bag removal technique with these essential steps:
- Create a gray solid color adjustment layer set to Color blend mode to better see luminosity values while working
- Use a new layer set to Soft Light blend mode with 1% flow brush for precise dodge and burn control
- Paint with white to brighten dark areas and black to darken light areas, building the effect gradually
- Add a separate Color blend mode layer to correct any color shifts after luminosity adjustments
- Sample good skin colors with Alt+click and paint over discolored areas to match surrounding tones
Related Articles and Tutorials
Explore more advanced portrait retouching techniques for professional results:
High-End Skin Retouching in Photoshop
Combining the power of Frequency Separation along with manual Sampling and Painting, learn how to recreate and sculpt the skin, maintaining a beautiful skin texture, in this tutorial by PiXimperfect.
Using this technique, you will not only achieve a smooth skin but also will have the control to naturally remove wrinkles, lift up the cheekbones, and renovate the whole structure of the skin with the skin texture still intact. This is an All-in-One Method whether you want to soften the skin or jus
Start to finish high-end skin retouching in Photoshop
PiXimperfect's tutorial offers a comprehensive guide to high-end beauty retouching in Photoshop. The author explores the power of advanced frequency separation, a technique that enables flawless skin retouching with smooth skin and amazing texture.
The tutorial takes the viewer through the complete process, starting from basic adjustments in Lightroom and then moving on to Photoshop. Viewers will learn how to enhance portraits, addressing various aspects from start to finish, and ultimately exp
How to Remove Dark Eye Circles Using Frequency Separation in Photoshop
Dark under-eye circles can make portrait subjects look tired or unhealthy, even when they're not. Traditional brightening methods often create unnatural results or destroy important skin texture.
This tutorial demonstrates frequency separation, a professional retouching technique that removes dark circles while preserving natural skin texture and realistic lighting transitions.
Watch the Tutorial
Essential Tips for Dark Circle Removal
* Set up frequency separation properly: Create two lay
Remove bags and blemishes from portraits using the patch tool in Photoshop
In this tutorial by Aaron Nace from Phlearn, you'll learn how to effectively remove bags and blemishes in Photoshop.
The Patch Tool is used for retouching large areas, such as skin blemishes, under-eye bags, wrinkles, dark spots, and scars. If the blending isn't perfect, the Fade Tool helps achieve a smooth and natural look.
This tutorial provides techniques for a flawless retouch, ensuring your portraits look their best.
Watch tutorial
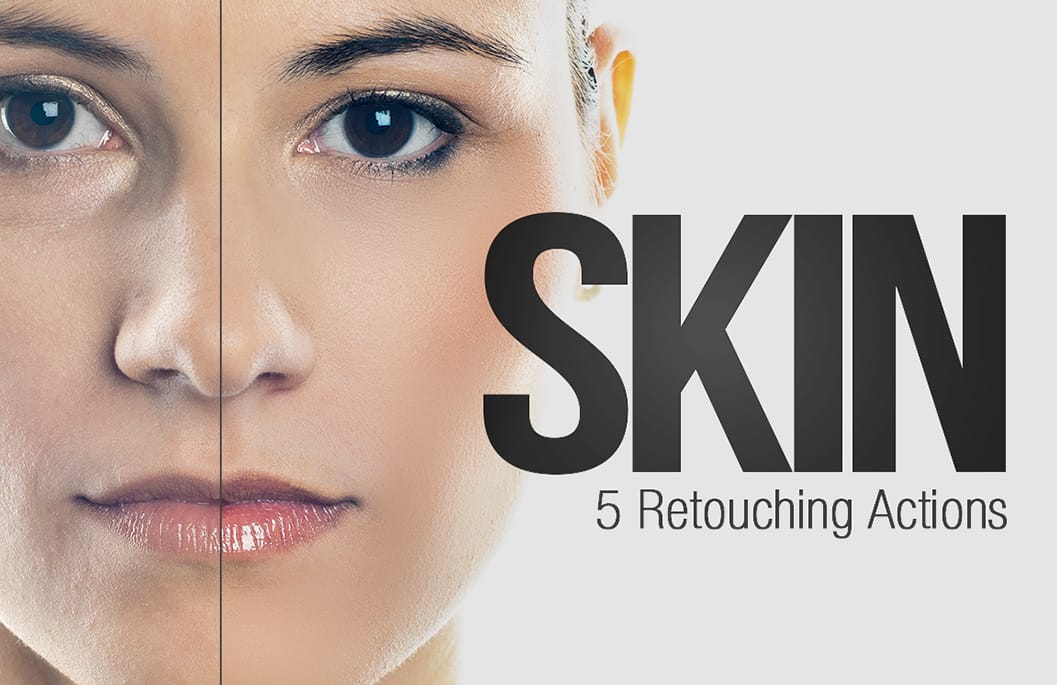
Skin Retouching Photoshop Actions
Discover how to retouch skin effortlessly with a collection of Photoshop actions designed for easy use. These actions allow you to heal, mattify, and airbrush skin with just one click, streamlining your editing process.
In addition to skin retouching, this set includes specific actions for brightening eyes and enhancing contrast. The eye brightening action is particularly effective; it reduces redness while significantly boosting brightness. Meanwhile, the contrast enhancement action improves d
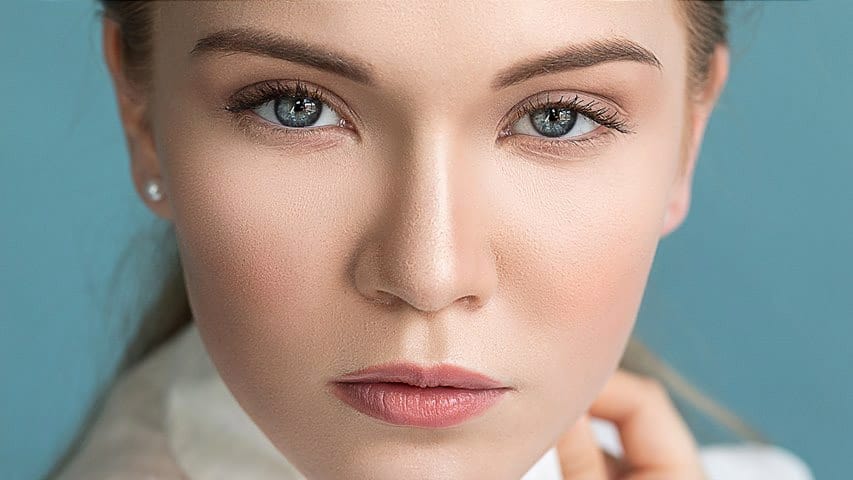
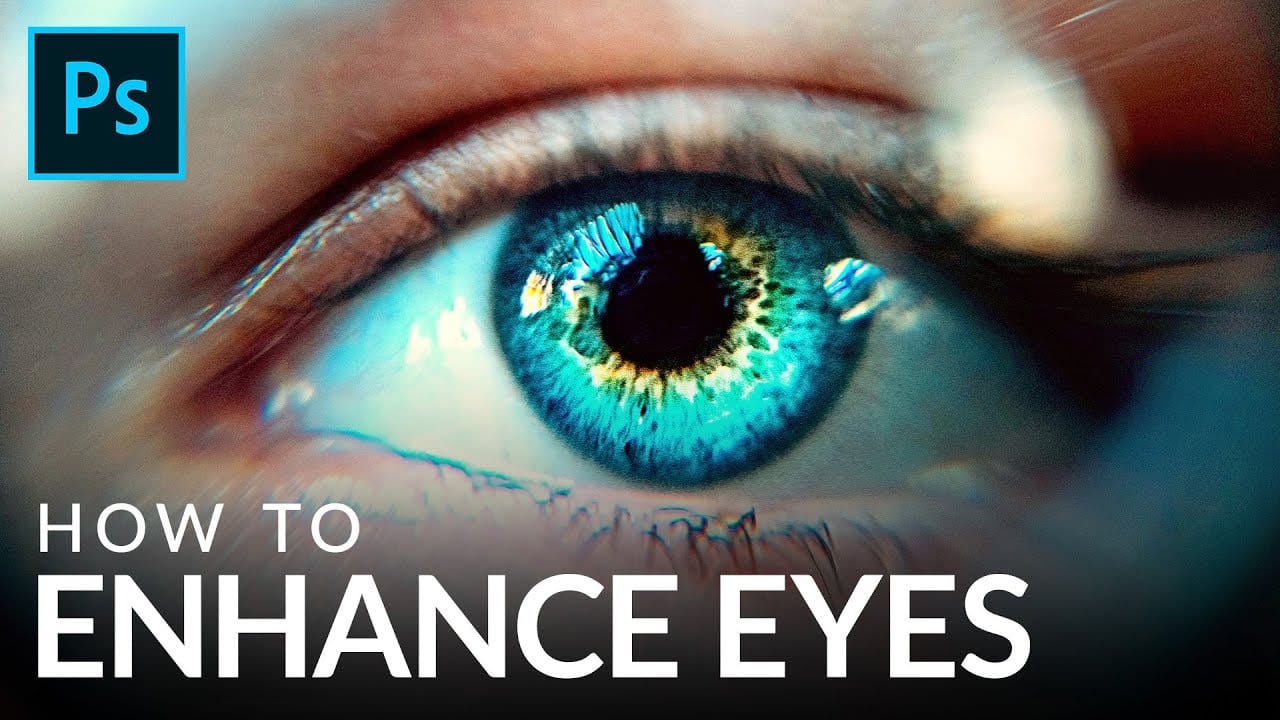
How to Enhance Eyes in Photoshop
In his tutorial, Aaron Nace, the founder of Phlearn, guides viewers through the process of enhancing any set of eyes to achieve their absolute best appearance. Nace demonstrates techniques using Photoshop's powerful tools, including Curves for sculpting highlights and shadows, Solid Color Fill Layers for color enhancement and adjustment, and the Unsharp Mask filter for professional-level sharpening.
The tutorial offers a comprehensive approach to eye retouching, equipping viewers with the skill
How to Enhance Dark Eyes in Photoshop Using Traditional and AI Techniques
Portrait photographers often face the challenge of completely dark, featureless eyes that resist traditional brightening techniques. When standard exposure adjustments fail to reveal detail, specialized methods can restore life and interest to these challenging areas.
This tutorial demonstrates two powerful approaches: a traditional texture-building technique using Photoshop's classic tools, and a modern AI-powered method that generates realistic iris patterns.
Watch the Tutorial
Essential

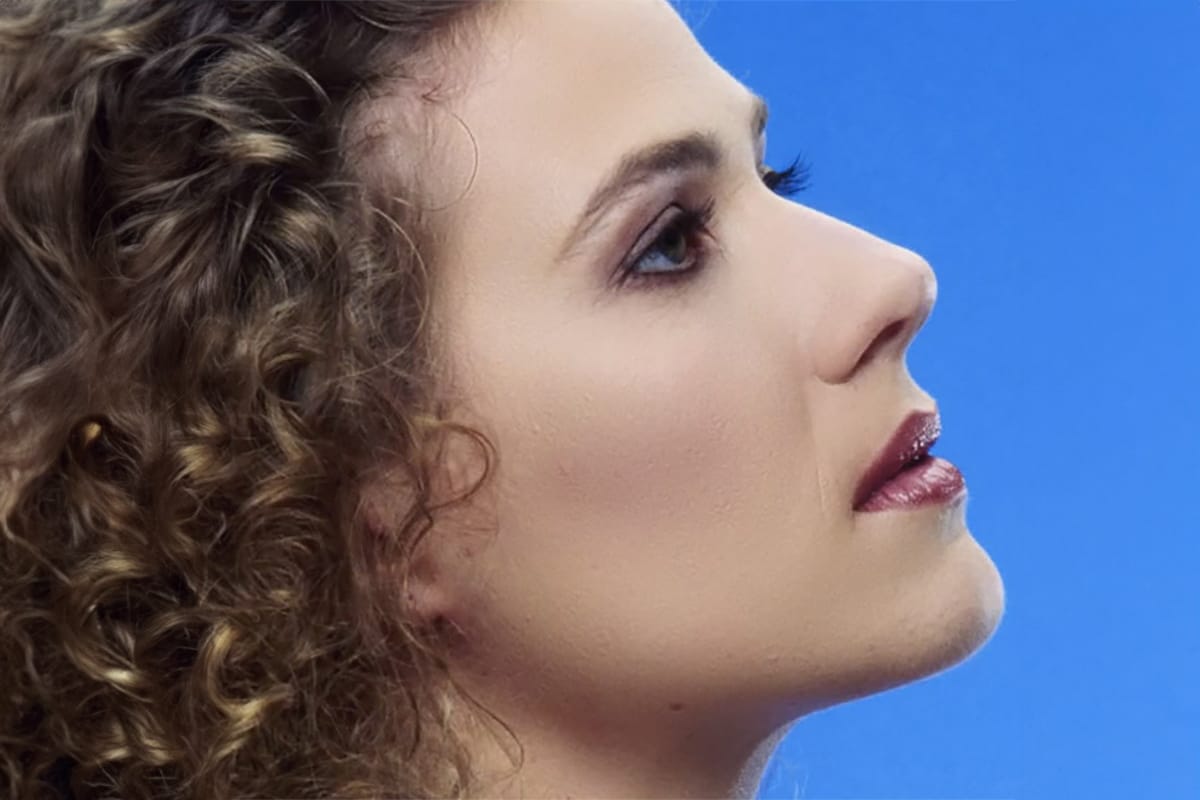
Natural Skin Smoothing in Photoshop
Professional beauty retouching demands techniques that smooth skin while preserving natural texture. This advanced method combines inverted layers with Vivid Light blend mode to create seamless skin enhancement without the artificial "plastic" look common in over-processed images.
The technique works by canceling out layer information through inversion, then selectively applying blur and sharpening filters to reconstruct realistic skin texture while eliminating blemishes and color irregularitie
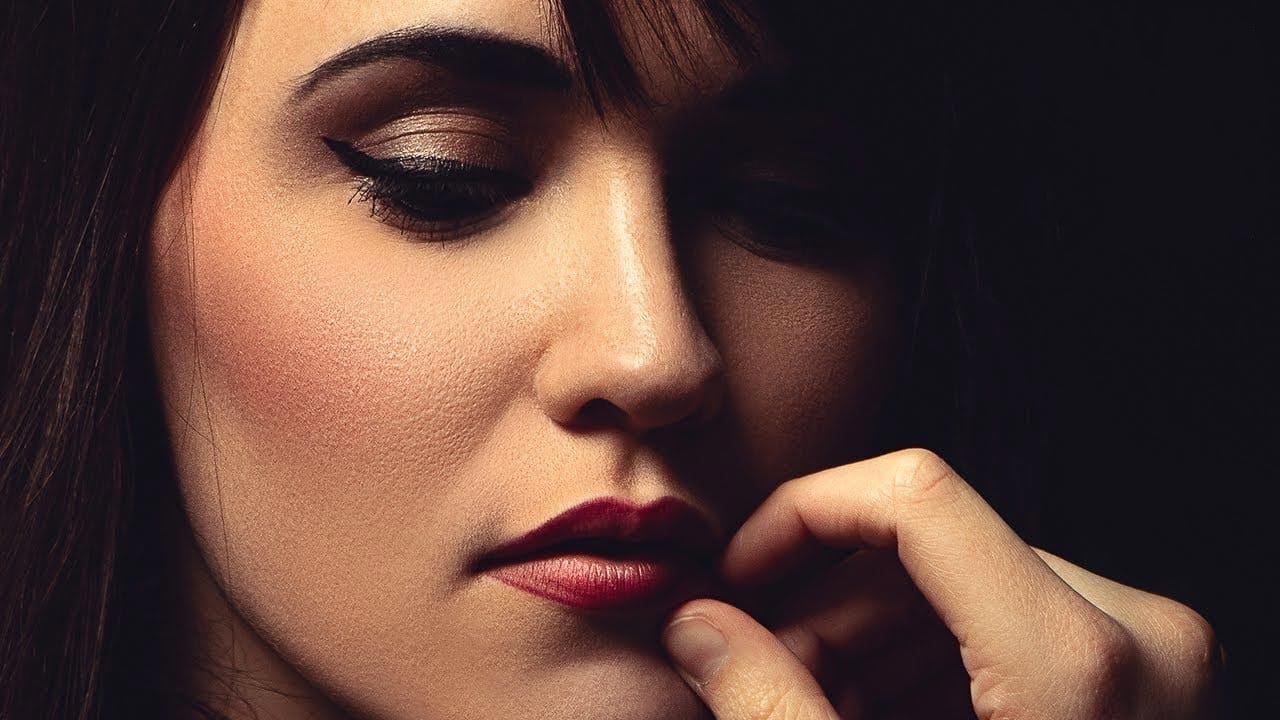
Easy Beauty Retouching in Photoshop
In this comprehensive Photoshop tutorial by PSD Box, you'll explore various fashion retouching techniques.
Learn how to paint realistic hair, retouch skin, and much more. This tutorial is ideal for photographers looking to enhance their studio or fashion portraits, as well as anyone interested in mastering retouching skills in Photoshop. Whether you're a professional or a hobbyist, these techniques will help you create stunning, polished images.
Enhance your retouching expertise and elevate th
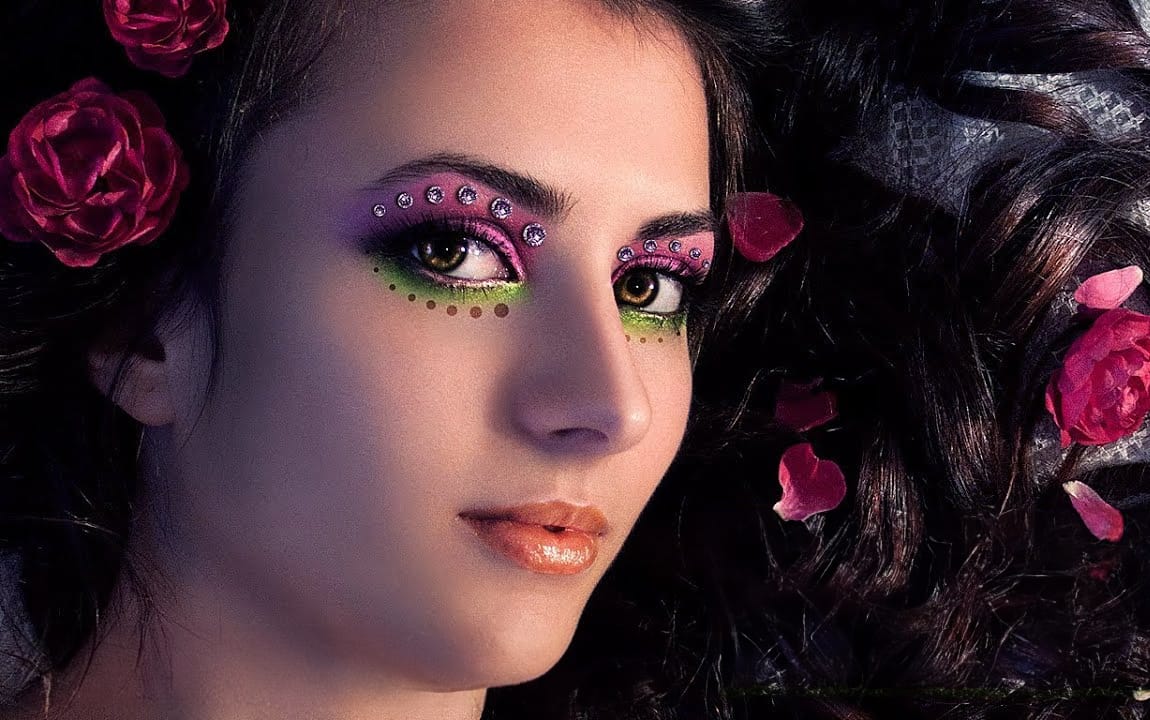
Enhanced Beauty Retouching Techniques
In this video tutorial by Andrei Oprinca from PSDBox, learn basic beauty retouching techniques to enhance a portrait image.
You'll discover how to clear blemishes, apply makeup, and enhance features like the eyes and lips. Additionally, the tutorial goes beyond standard retouching by demonstrating how to add glamour to your portrait with eyelid jewels using stock images.
Perfect for anyone looking to improve their portrait editing skills and add a touch of elegance to their images.
Watch tuto