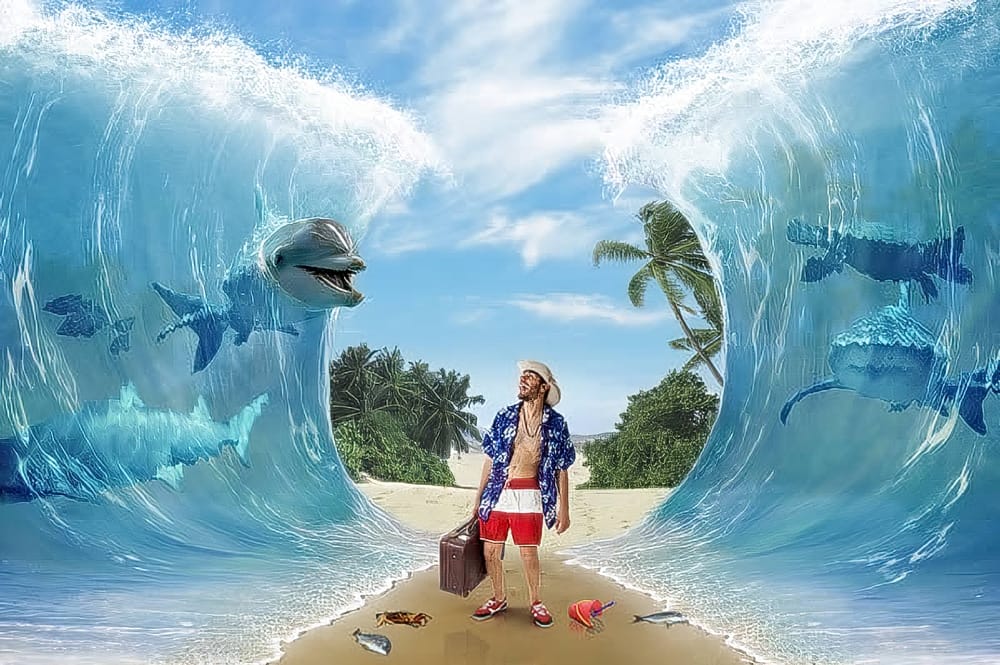
A single water photo, combined with an inverted mask and a blend mode, can add convincing foreground depth to digital art without disrupting the rest of the composition. This technique gives precise control over where the water texture appears, how strongly it shows, and how it interacts with underlying color.
Watch the Video
Video by SandraD Imagery. Any links or downloads mentioned by the creator are available only on YouTube
Practical Tips
These steps reflect the core decisions made throughout the process, each one affecting how naturally the water texture blends into the final image.
- Add an inverted mask (Ctrl/Cmd+I) to hide the water layer entirely, then brush in only the areas where texture is needed rather than masking out unwanted regions afterward.
- Use a low brush opacity — around 40% or less — when painting on the mask to gradually build up the texture without overwhelming the base image.
- Use the Object Selection tool to create a rough selection before painting, so the brush stays within the intended water area and avoids spilling onto adjacent elements like landmasses or sky.
- Switch between white and black on the mask to add or remove texture as you refine — black conceals, white reveals, giving full non-destructive control.
- Test blend modes such as Overlay or Soft Light after masking to strengthen contrast and color integration; Overlay tends to produce richer tonal depth in water areas.
Related Articles and Tutorials
Explore more techniques for working with masks, water effects, and blending in digital image editing.
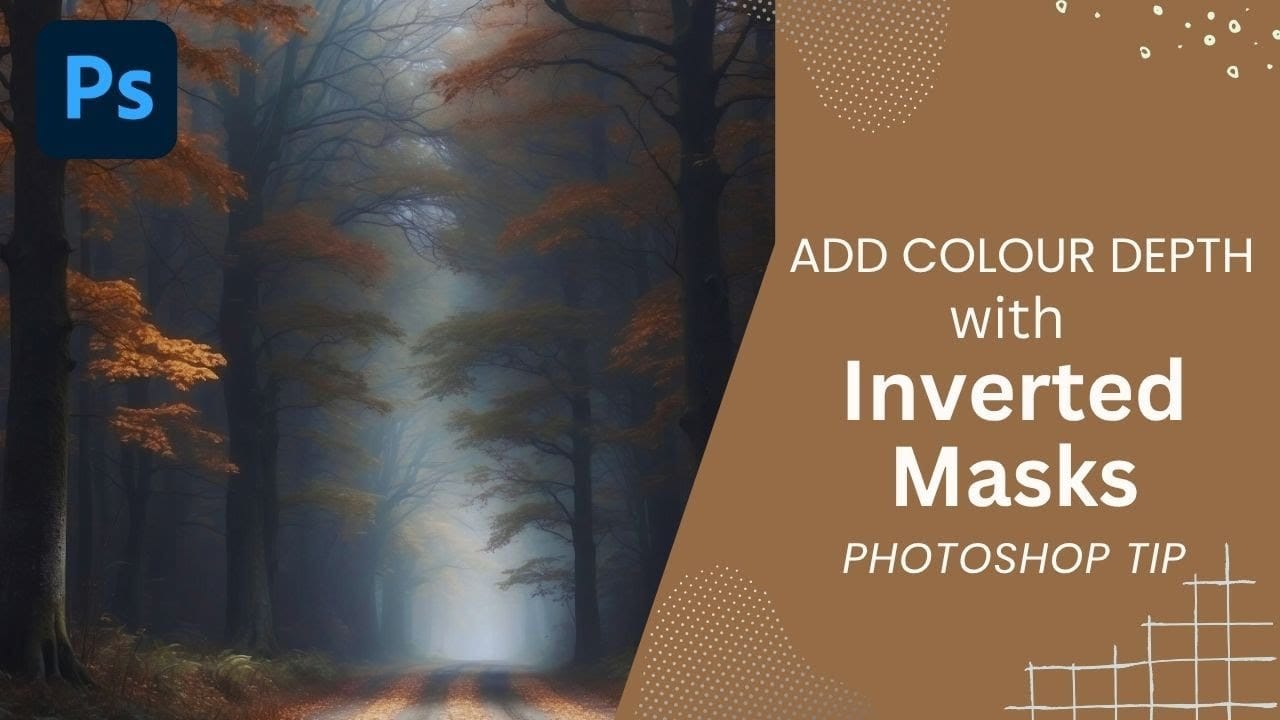
How to Use Inverted Masks in Photoshop to Add Color Depth and Texture
Forest photography often lacks the color depth and texture detail that makes images truly captivating. Flat foliage and monotone tree trunks can leave your landscape photos feeling lifeless, no matter how carefully composed.
Inverted mask offer a precise solution for selectively enhancing specific areas of your images. This technique allows you to brush in texture overlays and targeted color fills exactly where they're needed most, creating dimensional depth that transforms ordinary forest scen
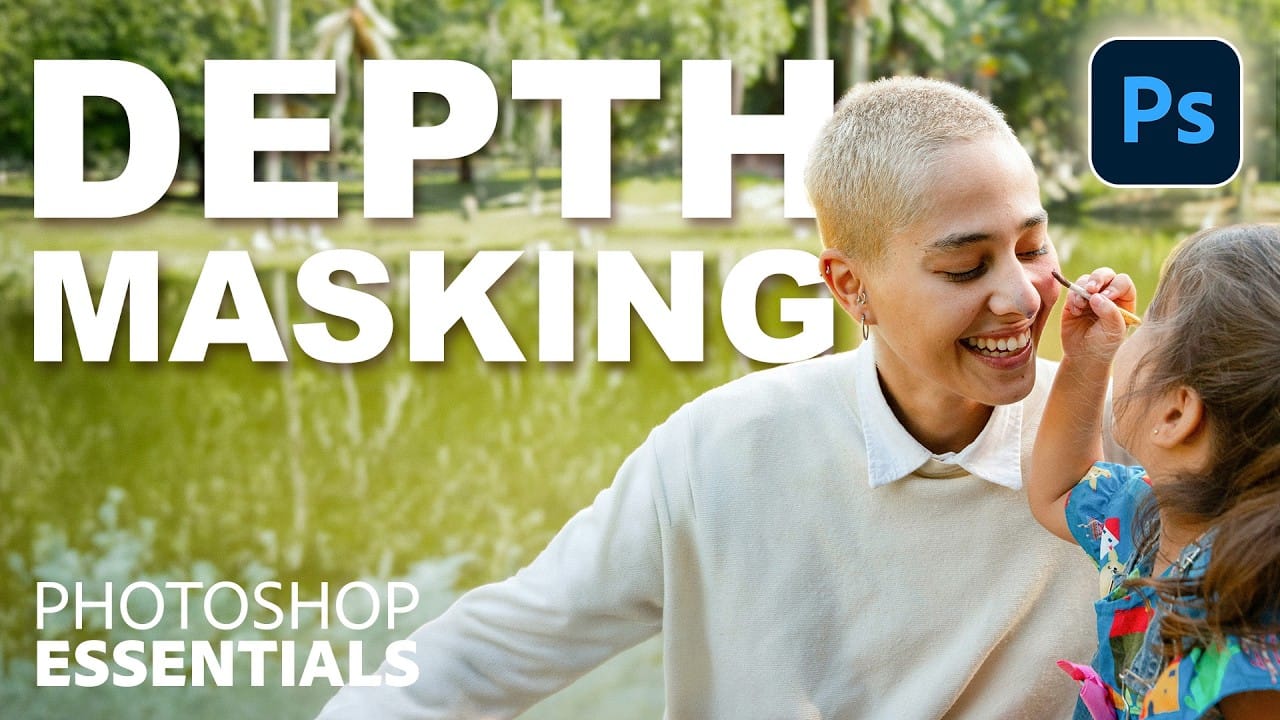
How to Use AI Depth Masking in Photoshop for Targeted Subject and Background Editing
AI depth masking revolutionizes how you select and edit specific areas of your photos by analyzing three-dimensional space rather than shapes or colors. This powerful feature uses artificial intelligence to calculate depth layers, allowing you to brighten subjects while darkening backgrounds or apply targeted adjustments based on distance from the camera.
The technique works within Camera Raw Filter and preserves all your edits when using smart objects, making it perfect for non-destructive wor
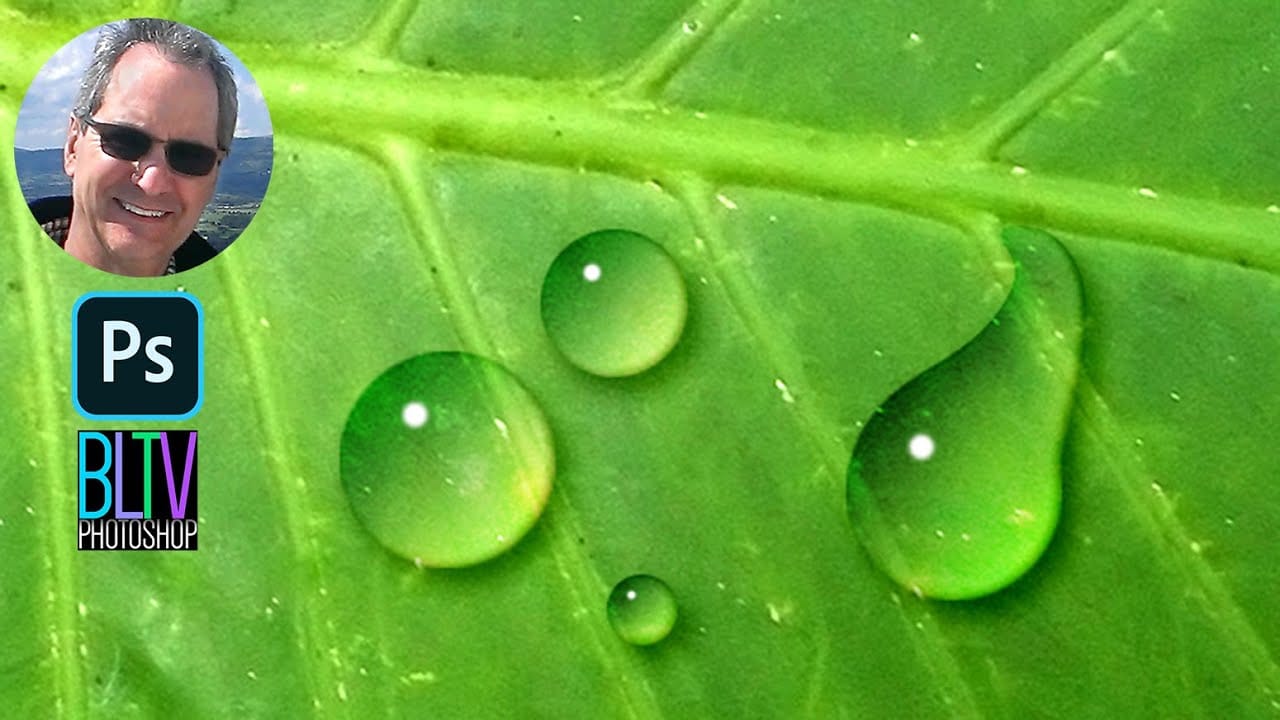
Create waterdrops in Photoshop
A simple gradient applied from the upper left corner to the lower right corner forms the foundation of convincing digital water drops. This technique transforms a basic circular selection into droplets that appear to hold actual depth and weight on any surface. The effect relies on precise layer style combinations and strategic highlight placement rather than complex filters or specialized brushes.
Watch the Video
The Science Behind Digital Water Drop Effects
Water drops appear three-dimens
Learn How to Create a Watercolor Photo Effect in Photoshop
Transforming a photograph into a convincing watercolor painting opens up a world of creative possibilities. This artistic effect adds depth and emotion, turning ordinary images into unique pieces of art. The result captures the delicate washes and textures of traditional watercolor, bringing a hand-painted feel to your digital art.
This tutorial guides you through creating a hand-painted effect in Photoshop, going beyond basic filters. By using a combination of smart blurs, glowing edges, and c
Create a Surreal Beach Themed Photomanipulation in Photoshop
Water can be a challenging element to work with in visual compositions. This tutorial offers a step-by-step guide to help you navigate these challenges. You will explore various techniques that will enhance your photo manipulation skills significantly.
The focus will be on advanced masking techniques and blending modes, which are essential for achieving a seamless look. You will learn how to use adjustment layers to maintain color balance and create depth in your images. Additionally, clever us