KISS! Apply Gene Simmons' Makeup to a Photo in Photoshop

KISS!  Apply Gene Simmons' Makeup to a Photo in Photoshop

Transforming a person's face into a recognizable character look requires precise digital techniques. This tutorial explores how to recreate the iconic Gene Simmons makeup from KISS within Adobe Photoshop, offering a detailed guide for digital artists.

Viewers will learn how to utilize various Photoshop tools, including advanced selection methods, blend modes, adjustment layers, and displacement maps, to achieve a realistic and integrated makeup effect on any photo.

Watch the Tutorial

Video by Blue Lightning. Any links or downloads mentioned by the creator are available only on YouTube

Achieving Realistic Digital Face Paint

Applying digital makeup to a photograph involves more than simply coloring an area. To ensure the painted elements appear natural and conform to the subject's features, advanced Photoshop techniques are essential. This process often mimics traditional makeup artistry by considering contours, light, and shadow.

Key to this realism is the use of displacement maps, which allow painted textures or shapes to warp and bend according to the underlying topography of the face. This creates the illusion that the makeup is truly wrapped around the facial features, rather than merely laid flat on top. Other crucial elements include:

  • Precise selections for isolating areas like the face, eyes, and lips.
  • Strategic use of blend modes to integrate colors and textures seamlessly.
  • Adjustment layers to control color, brightness, and contrast for the desired effect.

Mastering these techniques enables a wide range of creative transformations, from character makeup for fantasy and cosplay to subtle beauty enhancements.

Essential Photoshop Tips for Character Makeup

  • Create a displacement map from a blurred grayscale version of your photo to make makeup conform to facial contours.
  • Utilize the Pen Tool for precise selections around complex shapes like the face and hairline, then refine edges for accuracy.
  • Employ Quick Mask mode with the Pencil Tool for drawing intricate shapes like lip makeup, converting them easily into selections.
  • Use Clipping Masks with adjustment layers (e.g., Hue/Saturation, Levels) to restrict their effects to specific underlying layers.
  • Apply the Displace filter with appropriate scales to make painted elements subtly shift and wrap around the face's topography.

More Tutorials about Digital Face Transformations

Explore additional techniques for enhancing and altering faces in Photoshop with these related guides.
How to Paint Your Face in Photoshop
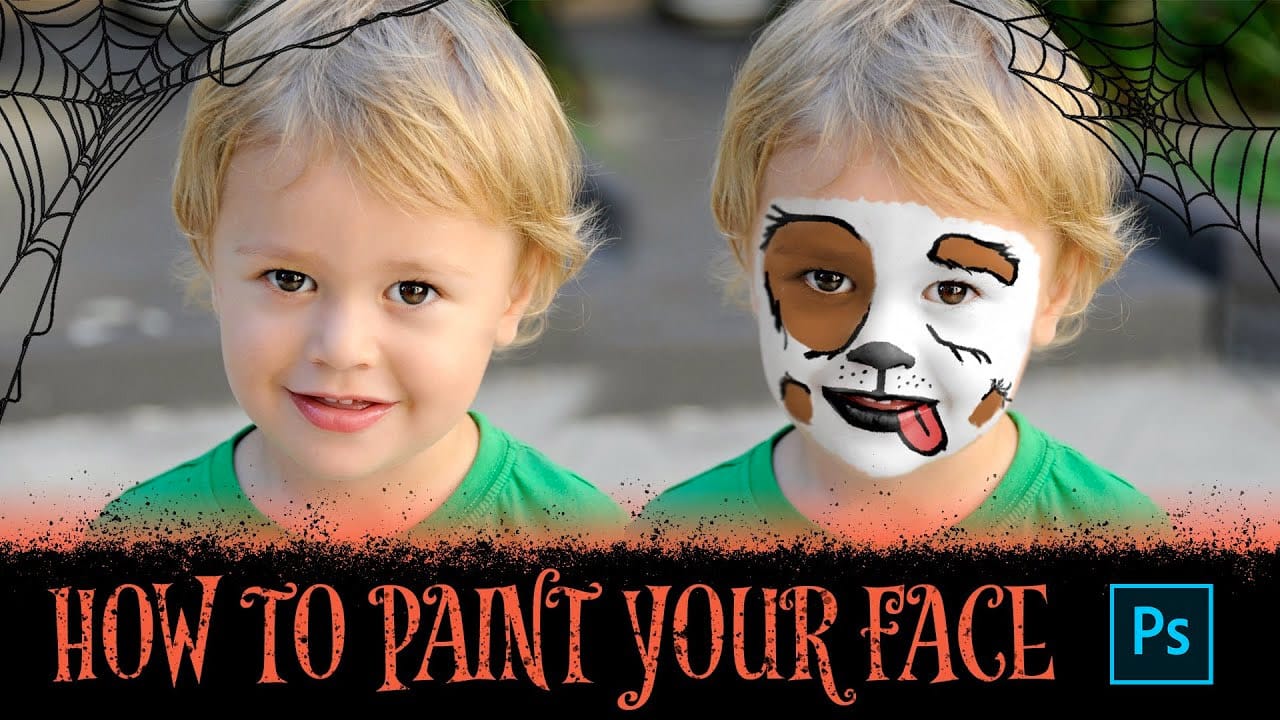
This exciting tutorial by PHLEARN dives into the world of digital face paint. Learn how to utilize a custom face paint brush (potentially included in the video) and Adjustment Layers to create vibrant and realistic designs, perfect for both adorable Halloween looks or spooky transformations. The video will guide you through the process, allowing you to unleash your creativity and design unique face paint effects for any project. Watch tutorial
How to Create Facial Hair in Photoshop
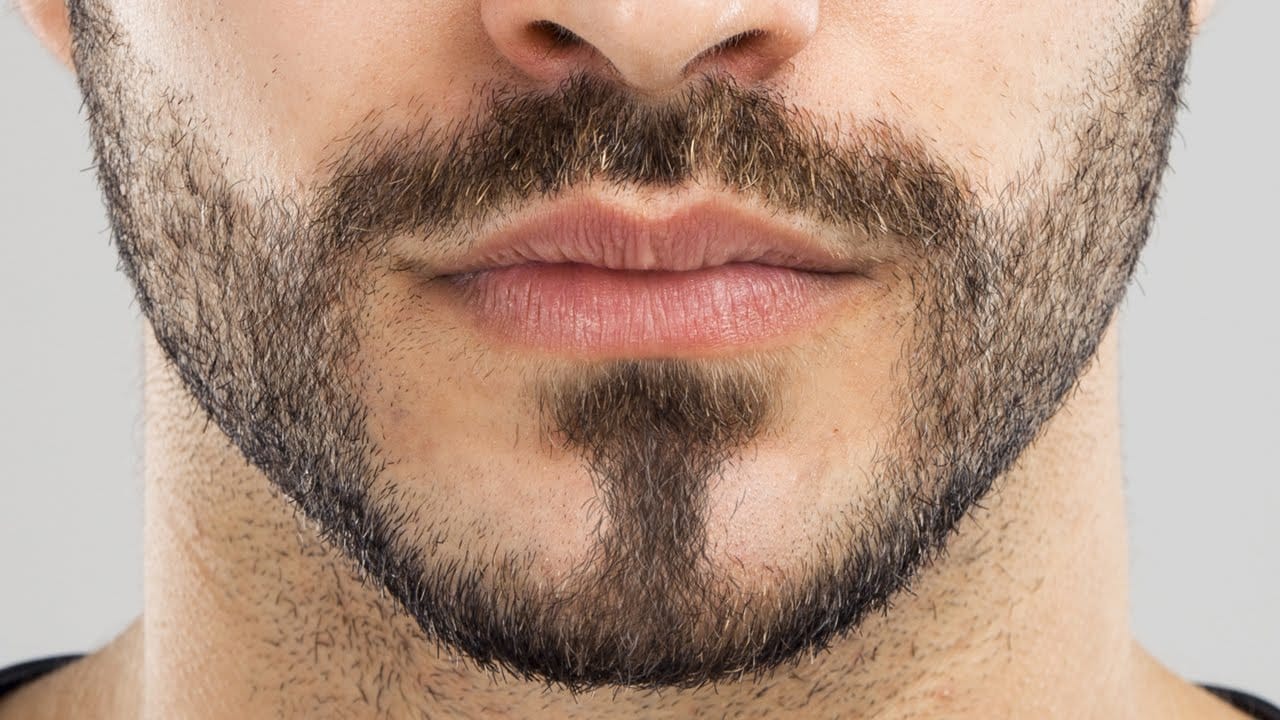
This video by PHLEARN will teach you how to add realistic facial hair to your photos in Photoshop. Aaron Nace breaks down the process into clear steps. Whether you’re looking to fill in patchy beard areas or give someone a complete makeover with a mustache, goatee, or full beard, this tutorial will show you the ropes. You’ll even learn how to create your own custom hair brush from scratch using a single hair! In short, this video is perfect for anyone who wants to master the art of adding facia
How to Paint Graphics onto a Face in Photoshop
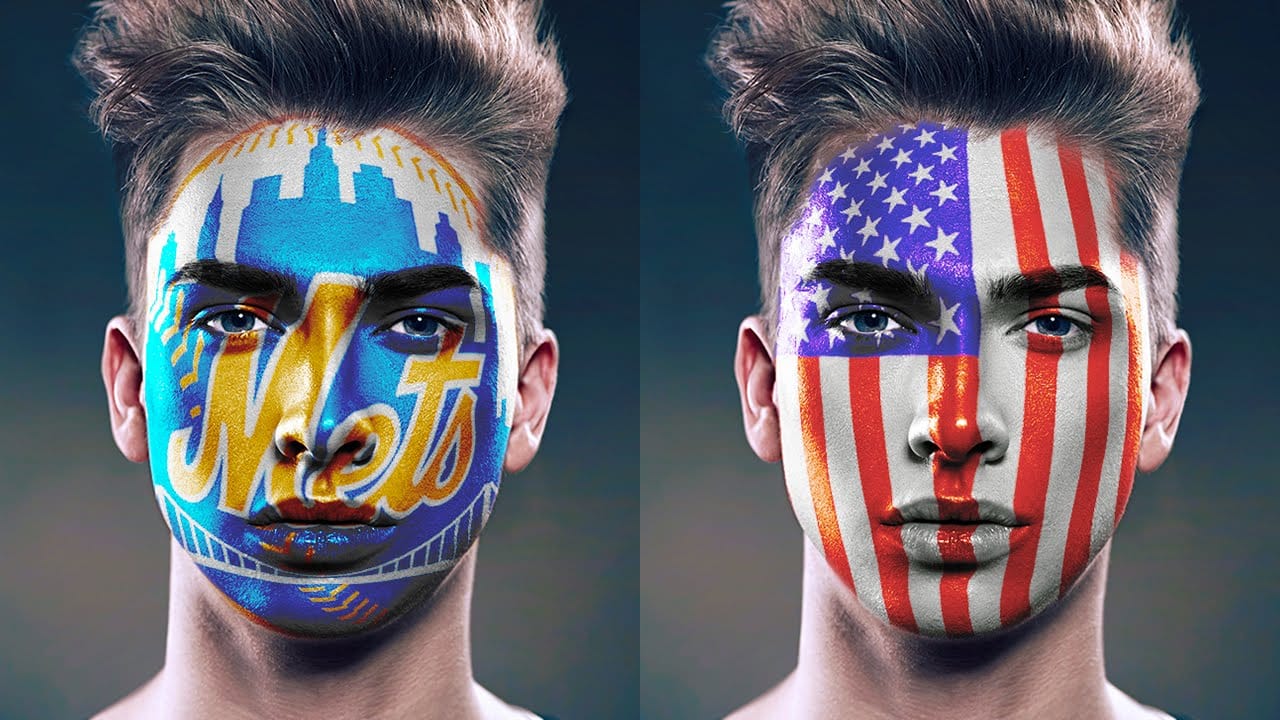
This video, by Marty from Blue Lightning TV, will teach you a technique for painting images onto someone's face in Photoshop. The introduction walks you through the initial setup: opening the images you'll be working with, including a portrait and the graphic you want to paint onto the face. Then, it covers how to convert your subject into a smart object and create a duplicate layer. The next steps involve blurring the duplicated layer and converting it to black and white. After that, you'll le
Learn How to Create Beauty Makeup and Face Painting Effects in Photoshop
This guide is designed to help you learn how to create beauty makeup and face painting effects using Photoshop. With clear instructions, you'll discover how to apply makeup digitally, utilizing techniques that professional makeup artists rely on in their work. The focus is not limited to beauty makeup alone. You will also explore various effects, including horror themes, bruises, and scars. The content is suitable for anyone interested in enhancing their portrait skills, whether for personal pr

Get tutorials & freebies delivered to you.

Subscribe to the Photoshop Roadmap newsletter, a weekly roundup of new tutorials, insights and quality downloads, trusted by 6500+ readers.

You might also like

How Photoshop's Enhance Edge Feature Removes Hair Masking Halos

Hair masking has long been one of the most tedious tasks in photo compositing — especially when switching between dark and light backgrounds reveals unwanted halos along the edges. Photoshop's new Enhance Edge feature, available in beta 27.11, offers an AI-powered approach to this problem by generating...

How to Use Quick Compare and Dynamic Layers in Photoshop Beta

Photoshop Beta's latest update introduces two tools worth knowing: a Quick Compare toggle for instant before/after previews, and a Dynamic Layer feature that lets you control AI-generated effects with a simple slider. Together, they streamline how you review edits and apply prompt-based changes like adding...

Retouching Pet Portraits in Photoshop: Cleaning Fur, Eyes, and Fine Details

Pet photos rarely arrive perfectly clean — staining around the eyes, discolored fur near the mouth, and stray hairs are common problems that need fixing before any serious portrait work begins. This workflow covers how to remove those distractions manually using overpaint and fur brushes, then finish with eye enhancement techniques...

Before and After View Plus Dynamic Layers in Photoshop Beta

Photoshop Beta currently includes two features that work quite differently from each other. The first adds a straightforward before-and-after comparison tool directly into the editing workspace — something that sounds simple but solves a real problem when a file already has multiple layers. The second, Dynamic Layers, uses AI...

How to Blend Multiple Exposures for Car Light Trails in Photoshop

Stacking multiple exposures of a night scene lets you capture far more light trail detail than any single shot can deliver. This technique uses the Lighten blending mode to combine a bright base image with several car light trail frames, keeping only the brightest pixels from each layer for a...

You’ve successfully subscribed to Photoshop Roadmap
Welcome back! You’ve successfully signed in.
Great! You’ve successfully signed up.
Success! Your email is updated.
Your link has expired
Success! Check your email for magic link to sign-in.