How to Apply a Quilt Effect to a Photo

How to Apply a Quilt Effect to a Photo

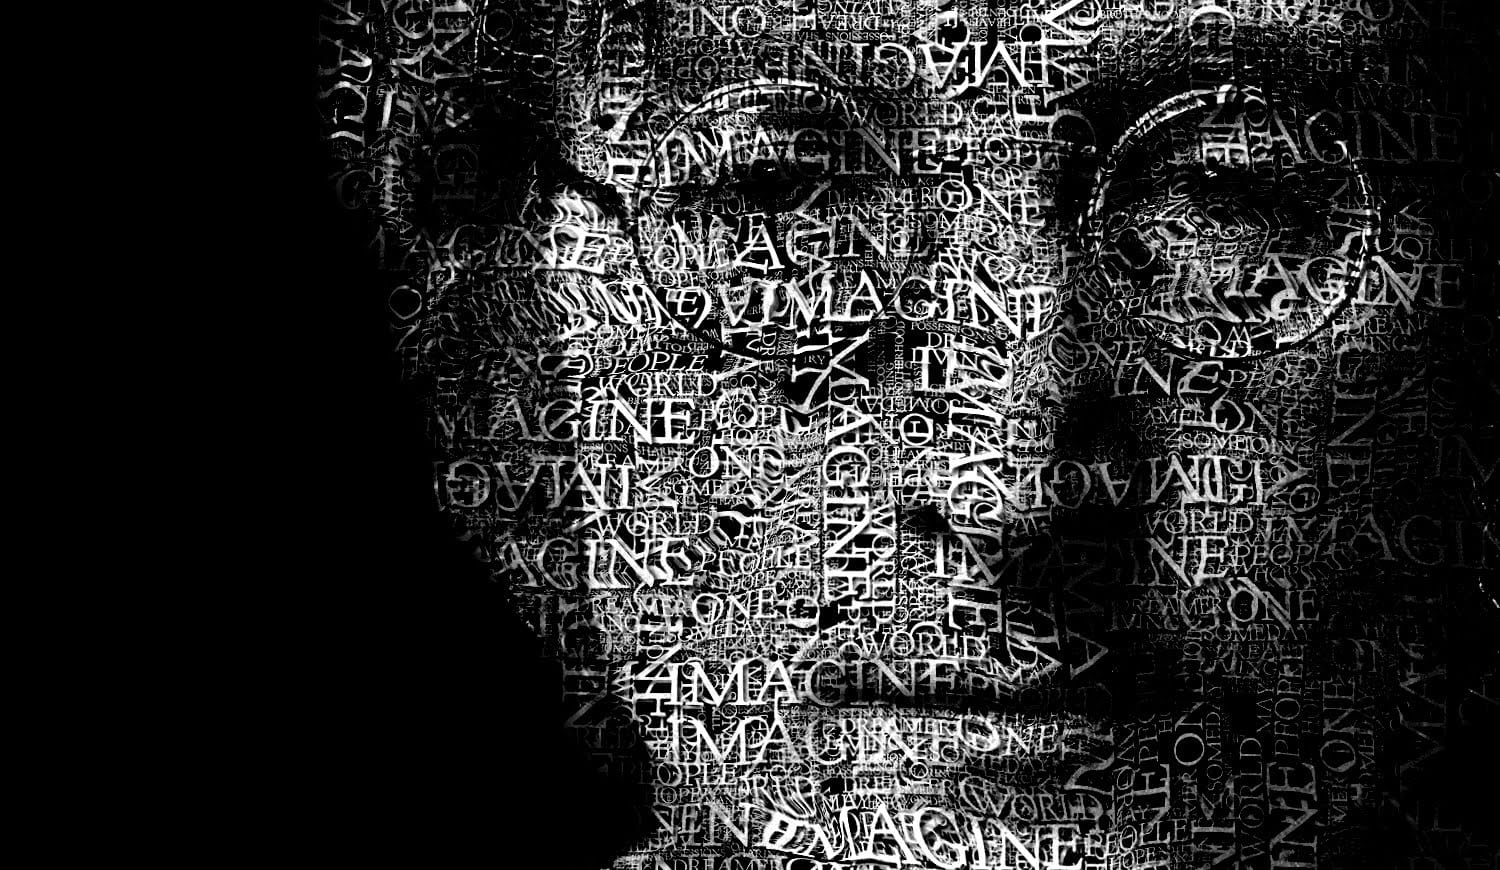
This video explores a creative Photoshop technique for transforming a standard photograph into a unique quilted portrait. It delves into the steps required to give an image the textured appearance of a fabric quilt, complete with stitching and tufted patterns.

Viewers will learn how to prepare their photos for this effect, apply various filters and adjustment layers, and integrate custom patterns to achieve a realistic quilted look. The tutorial also demonstrates a valuable workflow for easily replacing the subject photo without redoing all the applied effects, enhancing efficiency in creative projects.

Watch the Video

Video by Blue Lightning. Any links or downloads mentioned by the creator are available only on YouTube

Layering Textures for Digital Fabric Effects

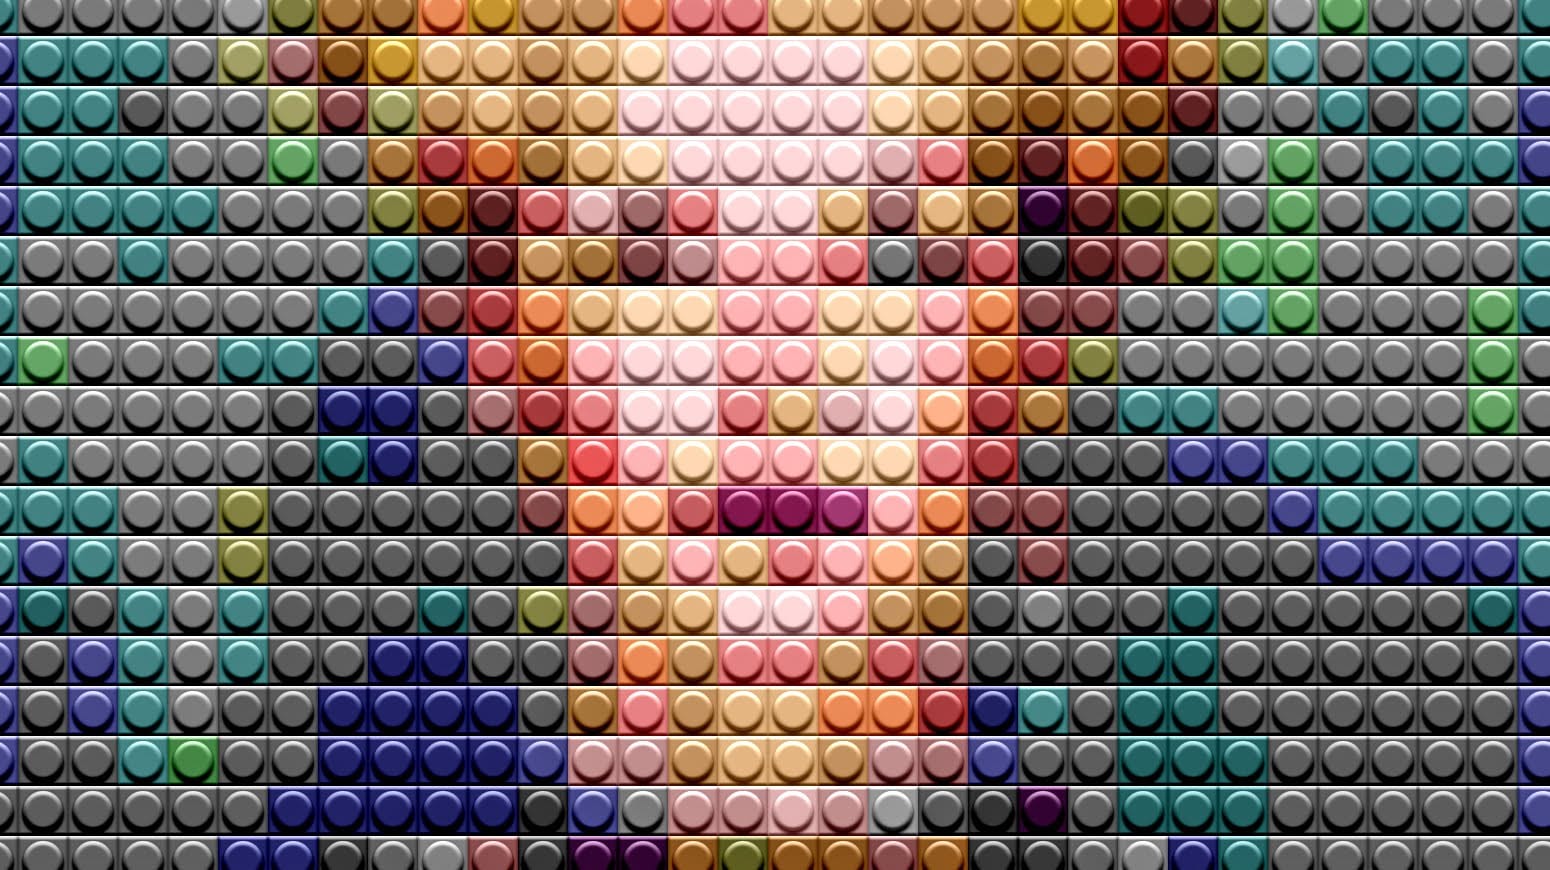
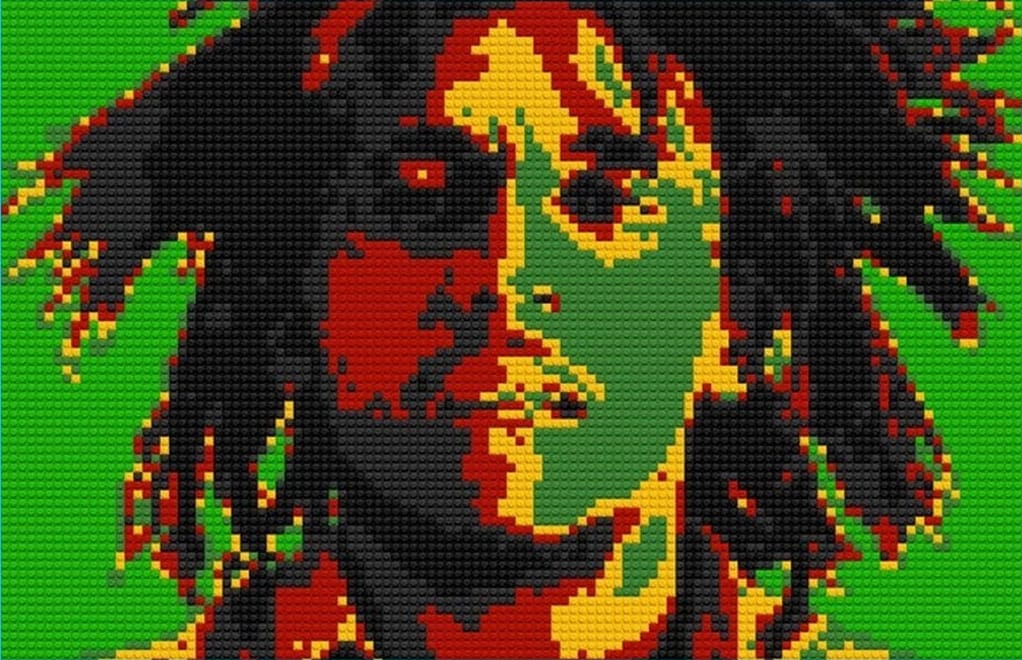
Creating digital fabric effects, such as a quilted look, in Photoshop involves a sophisticated interplay of pixel manipulation and texture application. The core principle often relies on breaking down an image into discernible "blocks" or "cells," much like real quilt pieces. This initial pixelation provides the foundational grid upon which subsequent textures are built, mimicking the individual fabric squares.

Beyond simple pixelation, the illusion of depth and tactility is achieved through the strategic use of patterns and layer blend modes. A tufted pattern, for instance, adds subtle highlights and shadows that suggest raised areas, while a stitched thread pattern overlays the entire composition with the characteristic lines of sewing. The choice of blend modes, such as Linear Burn, helps integrate these patterns seamlessly with the underlying image, allowing the original photo's tones and colors to show through while adopting the texture of the applied patterns.

Furthermore, the non-destructive nature of Smart Objects in Photoshop is crucial for iterative design and flexibility. By converting the initial image into a Smart Object, all subsequent filters and adjustments are applied as Smart Filters. This allows for effortless modification or complete replacement of the source image without dismantling the entire effect stack. This approach is particularly beneficial for artists who wish to:

  • Experiment with different subjects
  • Adjust parameters of individual effects
  • Maintain a flexible workflow

Practical Tips for Quilt Portrait Creation

  • Convert your initial photo to a Smart Object to enable non-destructive editing and easy future modifications.
  • Crop your image to a specific width, height, and resolution early in the process to match the desired quilt dimensions.
  • Define custom patterns for tufted effects and stitched threads, ensuring they align with the chosen cell size for a cohesive look.
  • Utilize Pattern Fill adjustment layers with appropriate blend modes, like Linear Burn, to integrate textures effectively.
  • Clip solid color adjustment layers to pattern layers (using Ctrl + Alt + G or Cmd + Option + G) to selectively lighten or darken specific textures.
  • Group all layers into a single Smart Object before applying final effects like Inner Glow, giving the entire quilt a subtle, pillow-like edge.

More Tutorials about Photo Manipulation

Explore additional creative techniques to transform your photos into unique art pieces with these related articles and tutorials.

Create a Typographic Portrait in Photoshop
This Photoshop tutorial by Blue Lightning TV takes you through crafting a stunning portrait built entirely from words. Learn to prep your photo, create a text cloud filled with the subject's special words, and position and manipulate the text to perfectly follow the contours of the face. The video guides you through using displacement maps, smart objects, and adjustment layers to achieve a cohesive and personalized final image. It's a creative twist on portraiture, perfect for adding a unique t
How to Transform a Photo Into a LEGO Portrait
Have you ever wondered how to transform a regular photo into a LEGO portrait? In this Photoshop tutorial by Marty Geller from Blue Lightning TV, we'll dive into the fascinating process of converting a photo into a colorful and distinctive LEGO-inspired masterpiece. By using creative techniques and adjustments, you'll learn how to unleash your inner LEGO artist to create stunning digital portraits. Let's get started on this fun and exciting journey of merging photography and LEGO artistry. Watc
Create a Lego Portrait Effect in Photoshop
In this tutorial, you will learn how to create a portrait made of Legos in Adobe Photoshop. The process may seem daunting at first, but with the clear step-by-step instructions, you'll be able to achieve impressive results. The tutorial covers the basics of setting up your canvas, selecting the right Lego colors, and arranging them to form the desired portrait. You'll also learn how to add realistic shadows and highlights to make the Lego pieces look more authentic. By the end of this tutorial
Learn how to make a Pop Art portrait from a photo in Photoshop
This video tutorial by Marty from Blue Lightning TV focuses on creating a pop art portrait from a photo using Adobe Photoshop. It provides an easier and faster method to achieve this artistic effect. T he key takeaways include using the selection and paint bucket tools to separate the subject from the background, applying halftone and sharpen filters, and employing different blend modes and colors to create the pop art style. Overall, this technique allows users to produce creative pop art por

Get tutorials & freebies delivered to you.

Subscribe to the Photoshop Roadmap newsletter, a weekly roundup of new tutorials, insights and quality downloads, trusted by 6500+ readers.

You might also like

Complete Photoshop Editing Workflow: 5 Steps from Raw to Polished

Photoshop offers endless possibilities for photo enhancement, but many photographers never move beyond basic adjustments because the software feels overwhelming. This comprehensive workflow breaks down photo editing into five manageable stages that work consistently across different photography styles. The systematic approach covers everything from initial raw processing to advanced lighting...

Photoshop Workspace Basics: Navigation, Zooming, and Essential Interface Elements

Photoshop's interface can feel overwhelming when you first open the program. Dozens of panels, tools, and menus compete for attention, making simple tasks feel complicated. This tutorial breaks down the essential workspace elements and teaches fundamental navigation skills that form the foundation of efficient Photoshop work. Watch the...

How to Restore Old Damaged Photos Using Nano Banana in Photoshop

Old family photos with scratches, tears, and missing sections can seem beyond repair. Google's Nano Banana AI model, now integrated into Photoshop, makes full restoration possible in minutes rather than hours. This powerful tool excels at maintaining facial characteristics while automatically filling in damaged areas and adding realistic...

How to Get Higher Quality Results from Photoshop's Generative Fill Tool

Photoshop's Generative Fill creates impressive AI extensions, but the results often look blurry and pixelated when viewed at full size. This quality limitation makes many AI-generated areas unusable for printing or large displays. This technique shows how to work around the 1024x1024 pixel quality limit to create much...

How to Use Photoshop's Liquify Tool for Non-Destructive Portrait Retouching

Clothing wrinkles, hair that lacks volume, and awkward fabric bunching can distract from an otherwise great portrait. Photoshop's Liquify tool offers a powerful solution for smoothing out these issues while preserving the natural look of your subject. This tutorial demonstrates how to use the Liquify tool non-destructively with...

You’ve successfully subscribed to Photoshop Roadmap
Welcome back! You’ve successfully signed in.
Great! You’ve successfully signed up.
Success! Your email is updated.
Your link has expired
Success! Check your email for magic link to sign-in.