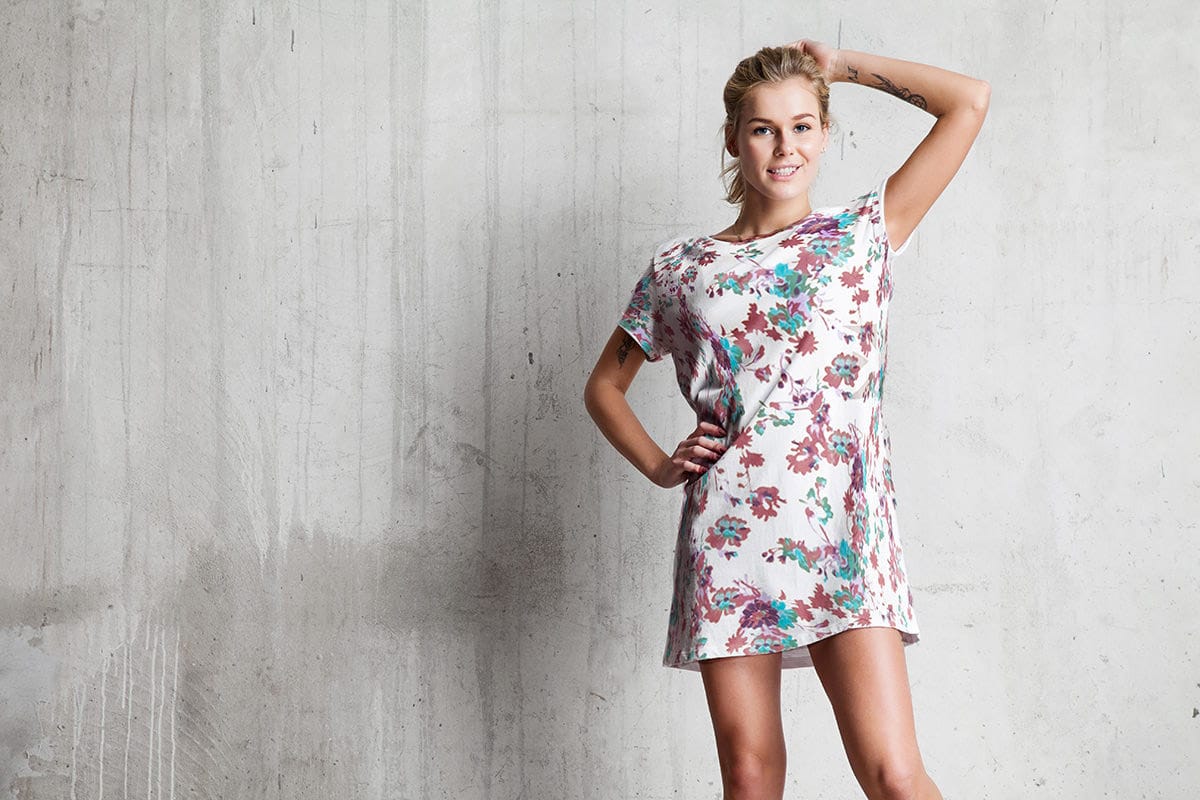
Digital artists and designers often face the challenge of integrating patterns onto fabric textures in a way that looks natural and convincing. Simply overlaying a pattern rarely achieves the desired realism, as fabric surfaces are rarely flat and uniform. Understanding how to make patterns conform to the unique contours of textiles is essential for creating believable composites and product mockups.
This video tutorial provides a comprehensive guide to applying patterns to various fabric types, ensuring they conform realistically to the material's perspective, peaks, valleys, and folds. Viewers will learn techniques to achieve a seamless blend and even how to instantly swap patterns without redoing the entire process, offering significant flexibility in design workflows.
Watch the Video
Mastering Fabric Texture and Pattern Integration
The illusion of realism in digital composites hinges on how well elements interact with their environment, especially when dealing with textures like fabric. Fabric, by its nature, is rarely a flat, two-dimensional surface. It drapes, folds, and wrinkles, creating complex light and shadow interactions that must be accurately reflected in any applied pattern.
A common pitfall in pattern application is neglecting these three-dimensional characteristics. Without proper manipulation, a pattern can appear painted on rather than woven into the fabric. Achieving this realism requires more than just simple blending modes; it demands careful consideration of perspective, distortion, and the interplay of light and shadow across the material's contours.
While tools like displacement maps can offer a starting point for surface distortion, they often lack the precision needed for intricate folds and nuanced fabric behavior. Manual shaping and targeted adjustments become crucial for truly convincing results, allowing artists to sculpt the pattern to the unique topography of the fabric.
Practical Tips for Realistic Pattern Application
- Convert your pattern layer to a Smart Object early in the process to maintain editability and allow for non-destructive transformations.
- Utilize the Warp transform option to initially shape the pattern according to the fabric's basic flow and larger bends.
- Refine intricate folds and irregularities using the Liquify filter, ensuring the pattern follows the subtle contours of the fabric.
- Blend the pattern using the Multiply blend mode, then use Curves or Levels adjustment layers with masks derived from channel brightness to enhance highlights and shadows.
- Apply a subtle Gaussian Blur to the pattern layer to match the softness of the fabric, preventing an overly sharp or artificial appearance.
- Leverage the Smart Object functionality to instantly swap out patterns by double-clicking its thumbnail, saving significant time for design variations.
Related Articles and Tutorials about Pattern Application
Explore additional resources to deepen your understanding of pattern creation and application in Photoshop.