Create impressionist paintings from your photos in Photoshop

Create impressionist paintings from your photos in Photoshop

One intriguing technique in digital art involves leveraging a master's work as a direct reference for color and tone. This tutorial demonstrates how to use a Claude Monet painting to guide the color matching of your own photographs, achieving a cohesive impressionist style.

The process also emphasizes a non-destructive workflow by converting images to Smart Objects, allowing for flexible adjustments and easy photo replacement without redoing effects. Additionally, it highlights efficient content removal using Photoshop’s Remove Tool, streamlining the preparation of your source image before applying artistic filters.

Watch the Video

Video by Blue Lightning. Any links or downloads mentioned by the creator are available only on YouTube

Exploring Impressionism and Pointillism Through Digital Filters

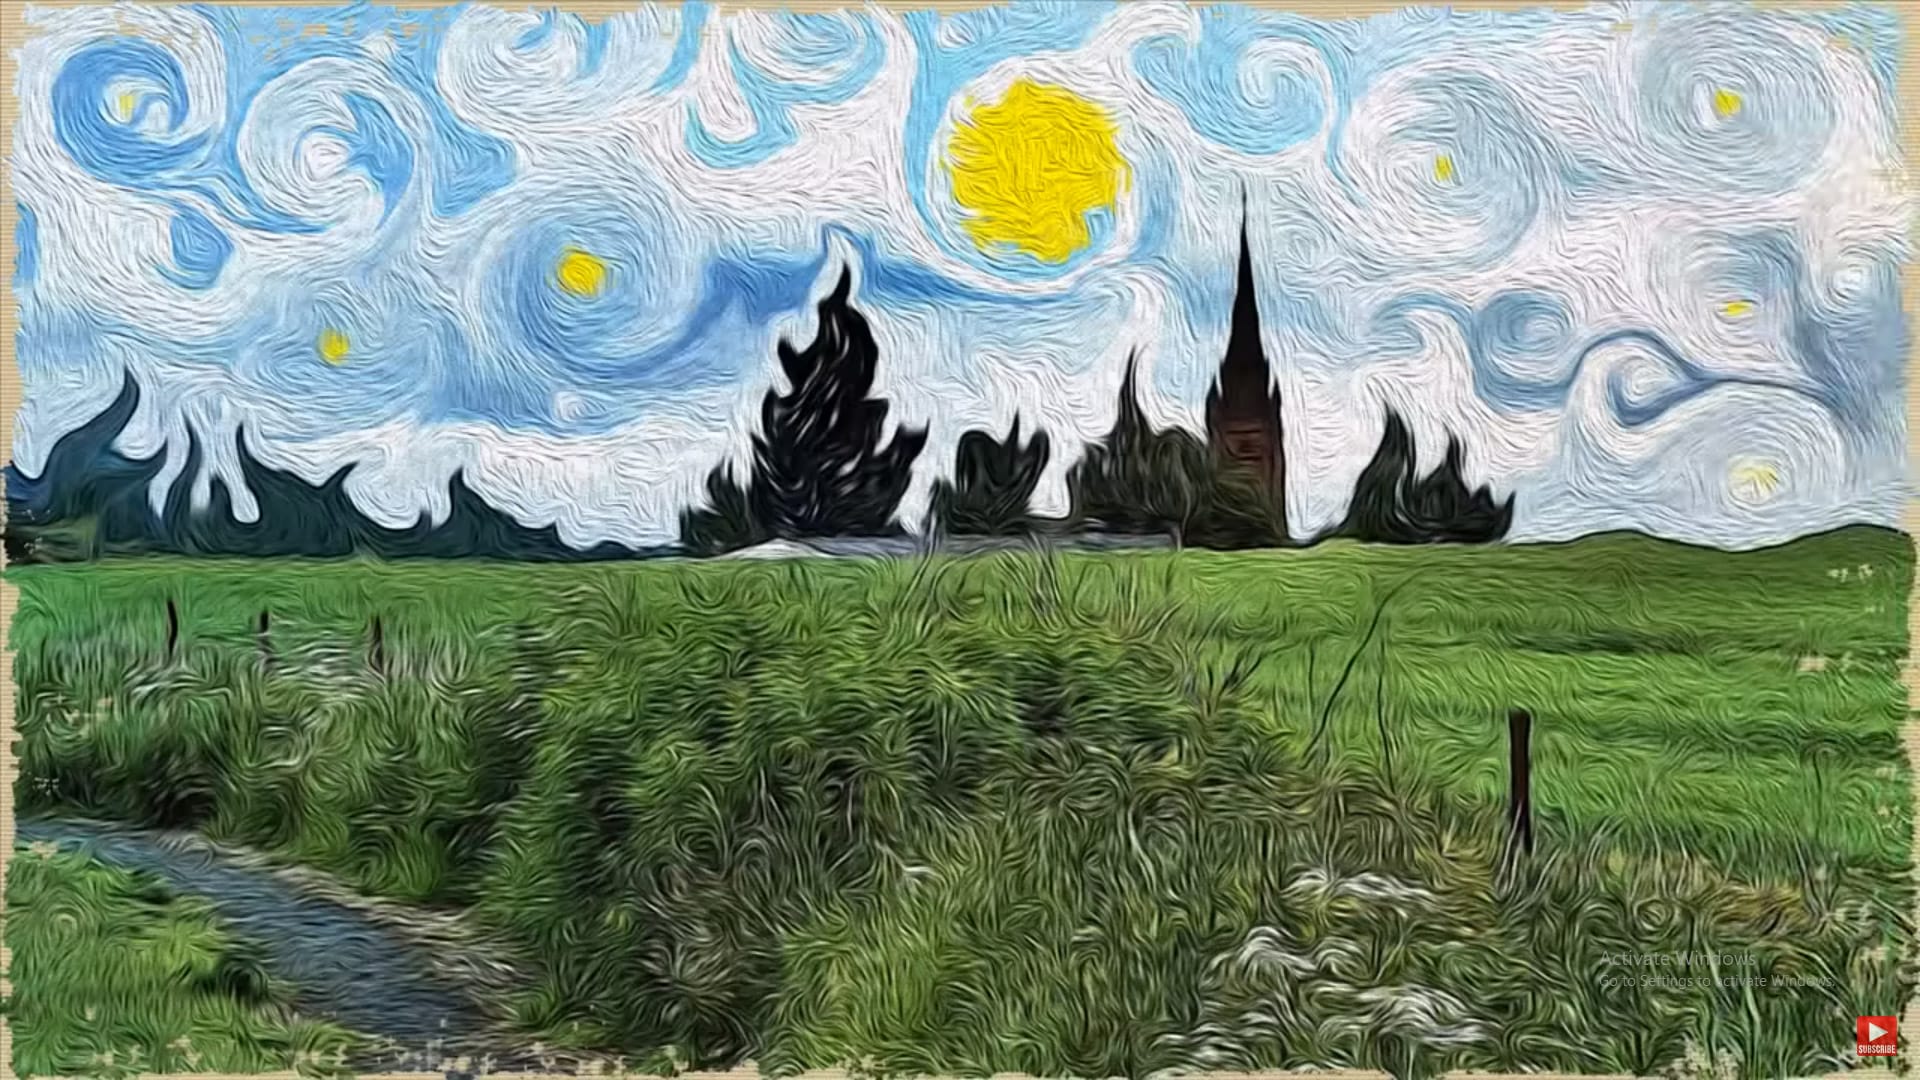
Impressionism, an art movement of the 19th century, focused on capturing the fleeting impression of light and atmosphere rather than precise detail. Artists like Claude Monet used visible brushstrokes and vibrant colors to convey the subjective experience of a scene. Pointillism, a later offshoot, took this further by applying small, distinct dots of pure color, relying on the viewer's eye to optically blend them into a coherent image.

Translating these traditional painting techniques into digital art involves emulating their characteristic visual qualities. Photoshop filters are designed to mimic the textures and color applications of physical mediums. For instance, the Pointillize filter simulates the dotted appearance of Pointillist works, while the Palette Knife filter can replicate the broad, textured strokes often seen in Impressionist paintings.

The digital workflow allows for precise control over these effects, enabling artists to blend the spontaneity of traditional art with the flexibility of software. By combining multiple filters and adjustment layers, one can achieve a nuanced artistic interpretation that respects the original movements while leveraging modern tools.

Practical Tips for Creating Pointillist Photo Effects

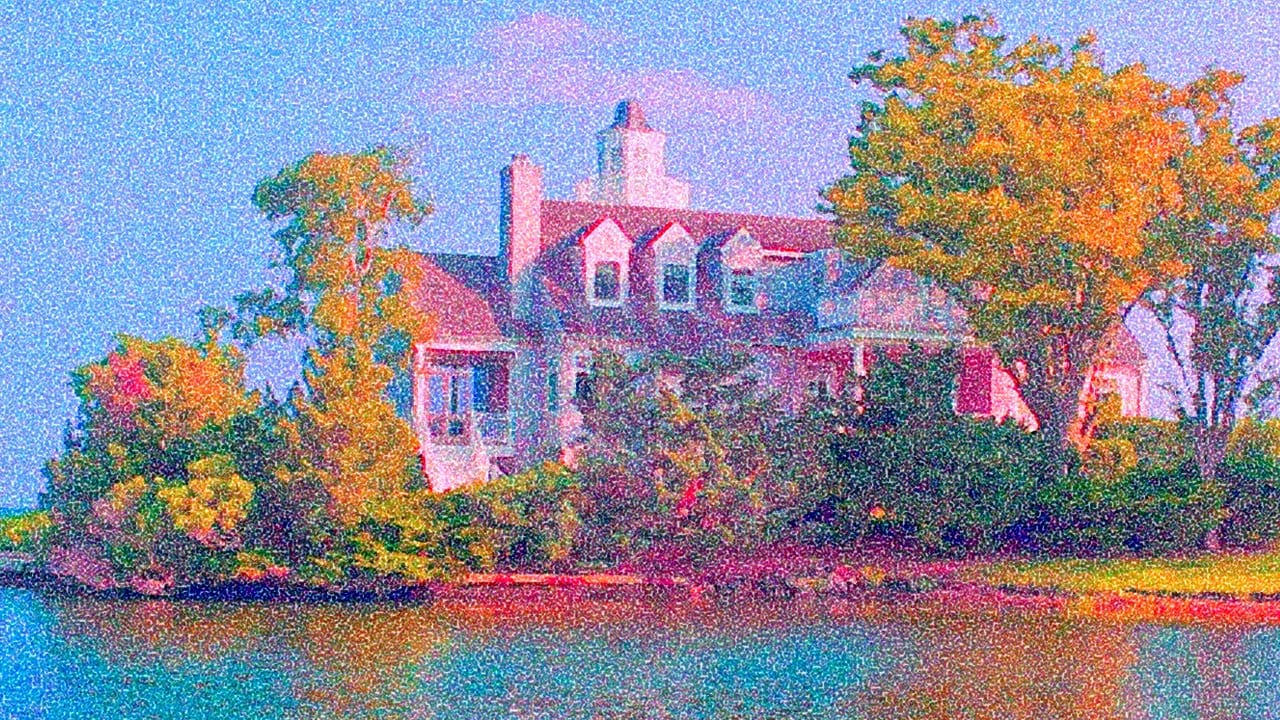
  • Optimize Image Size: Before applying effects, resize your photo to 150 pixels per inch, ensuring the lower dimension is 750 pixels, to prepare it for optimal filter application.
  • Refine Your Composition: Utilize the Remove Tool (Photoshop CC 2023+) or Spot Healing/Healing brush to seamlessly eliminate unwanted elements from your photo, enhancing the overall composition.
  • Harmonize Colors: Employ Image > Adjustments > Match Color and select a reference painting, such as the provided Monet image, to unify the color palette and stylistic tone of your photograph.
  • Enable Non-Destructive Editing: Convert your image to a Smart Object prior to applying filters; this preserves the original image data and allows for re-editing or replacing the photo without redoing all steps.
  • Layer Artistic Filters: Apply the Pointillize filter (Cell Size: 3, Opacity: 50%) on one layer and the Palette Knife filter (Stroke Size: 8, Stroke Detail: 3, Softness: 10) on another, then blend them to achieve a rich, multi-layered artistic effect.

More Tutorials about Artistic Photo Effects

Explore additional resources to further enhance your photo manipulation skills and create diverse artistic styles.

Create an Action to Transform your Photos into Impressionist Paintings
Marty Geller from Blue Lightning TV shares a Photoshop tutorial that teaches you how to create an action to transform your photos into impressionist paintings. This action allows you to instantly apply the look of beautiful, impressionist paintings to your images. The tutorial guides you through the step-by-step process of creating the action. You'll learn how to use various Photoshop tools and techniques to achieve the desired impressionist effect. The author provides detailed instructions and
How to Apply an Impressionist Oil Painting Effect to a Photo
Marty Geller from Blue Lightning TV will demonstrate how to transform a regular photo into a painting reminiscent of Vincent van Gogh’s iconic “Starry Night” using Photoshop. This tutorial is tailored for Photoshop CS6 users with the oil paint filter, but CS5 users can follow along by downloading Adobe’s Pixel Bender plug-in. Marty provides a step-by-step guide, starting with a 1920 by 1080 pixels document, to recreate the swirling, dynamic brushstrokes characteristic of Van Gogh’s style. The t
Create a Magritte Style Surrealist Painting in Photoshop
In this Blue Lightning TV tutorial, Marty demonstrates how to recreate René Magritte’s surrealist masterpiece “The False Mirror” using Photoshop. This iconic painting, known for its thought-provoking imagery of an eye with clouds within the iris, is meticulously reproduced using a combination of photo manipulation techniques. Marty begins by setting up the document with dimensions of 600 by 1200 pixels at a resolution of 72 pixels per inch. The tutorial involves blending a photo of an eye with a
How to make a stylish pop art portrait from a photo in Photoshop
In this Photoshop tutorial by Marty Geller from Blue Lightning Tv, you will learn how to create a stylish, pop art portrait from a photo and how to replace it with another without having to redo the effects. Basically, the author not only will show you how to create an interesting artistic effect, but also how to create a template for any photo you insert in the layered file. Watch tutorial

Get tutorials & freebies delivered to you.

Subscribe to the Photoshop Roadmap newsletter, a weekly roundup of new tutorials, insights and quality downloads, trusted by 6500+ readers.

You might also like

Professional Portrait Retouching with the B.S.T. Method in Photoshop

Professional portrait retouching requires artistic choices that automated tools can't make. The B.S.T. method breaks retouching into three focused steps: removing blemishes with precision, smoothing skin while preserving natural texture, and equalizing skin tones throughout the image. This systematic approach gives you complete control over every...

Create Motion Blur Light Effects in Photoshop

Transform ordinary portraits into dynamic, cinematic images by combining path blur effects with creative background textures. This technique creates the illusion of camera movement while maintaining focus on key elements like the subject's eyes, resulting in professional-looking motion blur effects that add energy and visual interest to static...

How to Paint Realistic Jewelry on Portraits in Photoshop

Adding painted jewelry to portraits transforms ordinary photos into fantasy portraits with ornate accessories that never existed. This digital painting technique uses careful layering, proper lighting, and realistic shadows to create convincing rings, earrings, and decorative headpieces. The method combines basic brush work with advanced blending techniques to build up...

How to Sharpen Images Using the High Pass Filter in Photoshop

The High Pass filter method remains one of the most versatile sharpening techniques in Photoshop, offering precise control over which image areas receive enhancement. This non-destructive approach works by identifying edge details and allowing you to selectively apply sharpening exactly where it's needed most. Unlike automated sharpening tools,...

How to Find Missing Actions in the New Photoshop Actions Panel

The redesigned Actions panel in Photoshop can catch users off guard when their custom actions seem to disappear. With the new tabbed interface, your previously created actions are still there—they're just located in a different tab than before. Understanding the new layout will help you quickly access...

Fast Portrait Retouching: Remove Stray Hairs, Clothing Wrinkles, and Fix Backgrounds

Every portrait photographer knows the feeling: you've captured a beautiful shot, but stray hairs, wrinkled clothing, and messy backgrounds turn editing into hours of tedious work. These common retouching challenges can drain your time and energy, especially when dealing with high-volume projects or tight deadlines. This tutorial demonstrates...

You’ve successfully subscribed to Photoshop Roadmap
Welcome back! You’ve successfully signed in.
Great! You’ve successfully signed up.
Success! Your email is updated.
Your link has expired
Success! Check your email for magic link to sign-in.