Create a Magritte Style Surrealist Painting in Photoshop

Create a Magritte Style Surrealist Painting in Photoshop

Surrealism, with its dreamlike imagery and unexpected juxtapositions, offers a powerful way to challenge perception and spark imagination. René Magritte, a master of this genre, created iconic paintings that continue to inspire artists today. You can learn to emulate his signature style in your own digital art.

This tutorial recreates Magritte's famous "The False Mirror" using a photograph of an eye and some clouds. Follow along to blend reality and illusion, transforming ordinary elements into a captivating surreal composition.

Watch the Video

Video by Blue Lightning. Any links or downloads mentioned by the creator are available only on YouTube

Understanding Surrealist Techniques

Surrealism emerged in the early 20th century as a cultural movement that sought to unlock the creative potential of the unconscious mind. Artists like Magritte aimed to liberate imagination by defying logic and embracing irrationality. His "False Mirror" exemplifies core surrealist strategies, blending familiar objects in disorienting ways. The painting challenges viewers to question what they see, inviting them into a world where the ordinary transforms into the extraordinary.

Magritte's work often features a juxtaposition of contrasting elements, such as:

  • The realistic depiction of everyday objects.
  • The unexpected combination of these elements in illogical settings.

These techniques disrupt our sense of reality, prompting us to reconsider the nature of perception and the boundaries of possibility. The eye, in this context, becomes a window into another reality, reflecting not the external world but an inner landscape of dreams and imagination.

Practical Tips for Surrealist Photo Manipulation

  • Use layer masks effectively: Precisely control the visibility of different image elements, and seamlessly blend textures and details.
  • Experiment with blurring: Achieve a dreamlike or ethereal quality by softening edges and reducing sharpness in certain areas of the image.
  • Create custom selections: Refine edges and isolate specific areas of your image to target adjustments and effects with greater precision.
  • Adjust blending modes: Blend layers together in creative ways, such as using "Darken" for shadows or "Screen" for highlights, to achieve unique visual effects.

Explore the boundaries of digital art by creating mind-bending visual compositions, manipulating reality, and sparking the imagination of your audience.
Create a Surreal Miniature Portrait in Photoshop
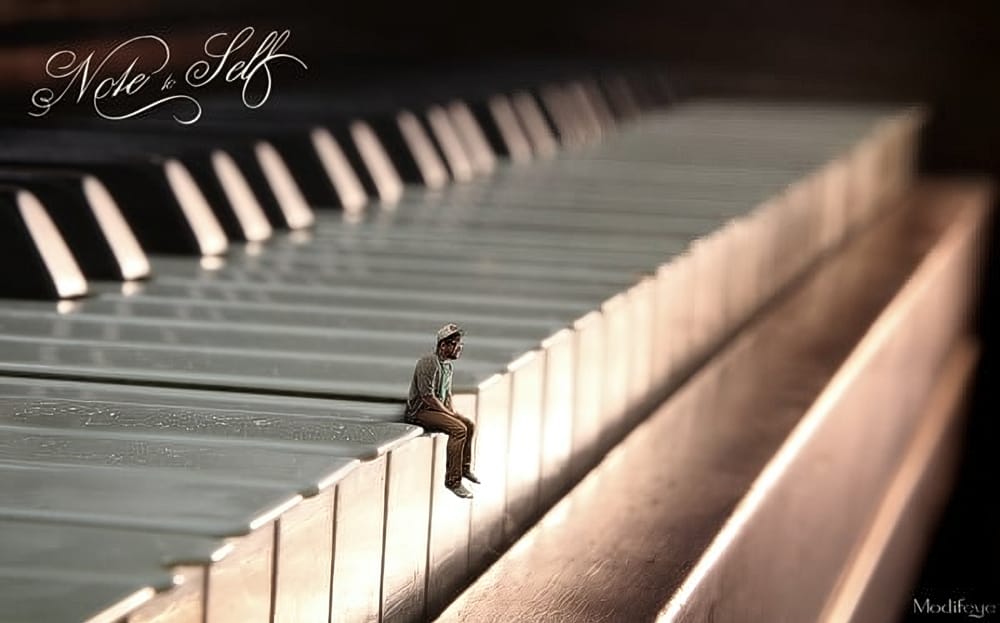
In this Photoshop tutorial, you'll learn how to create a surreal and miniature portrait photo manipulation. You'll start by working with a small image of a solitary man sitting on the edge of a piano key. Using various Photoshop techniques, you'll transform this image into a captivating and mysterious piece of art. Through step-by-step instructions, you'll explore ways to blend the man into a surreal landscape, playing with scale and perspective to achieve a sense of wonder and intrigue. You'll
Create an Action to Transform your Photos into Impressionist Paintings
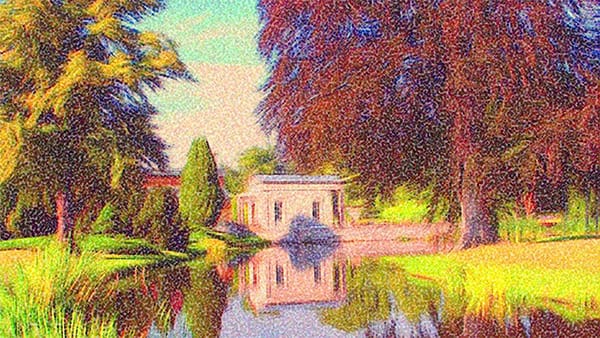
Marty Geller from Blue Lightning TV shares a Photoshop tutorial that teaches you how to create an action to transform your photos into impressionist paintings. This action allows you to instantly apply the look of beautiful, impressionist paintings to your images. The tutorial guides you through the step-by-step process of creating the action. You'll learn how to use various Photoshop tools and techniques to achieve the desired impressionist effect. The author provides detailed instructions and
How to Make a Bauhaus Inspired Graphic Design in Photoshop
This tutorial offers an engaging approach to creating a Bauhaus-inspired graphic design using Photoshop CS6. Perfect for both beginners and seasoned designers, it guides you through the process of designing a vibrant, modernist piece that features a name. You will learn to incorporate fundamental elements of the Bauhaus style, including bold color palettes and geometric shapes. The tutorial breaks down each step, ensuring you understand how to manipulate various tools and layers within Photosho
Apply a beautiful impressionist paint effect to your photos in Photoshop
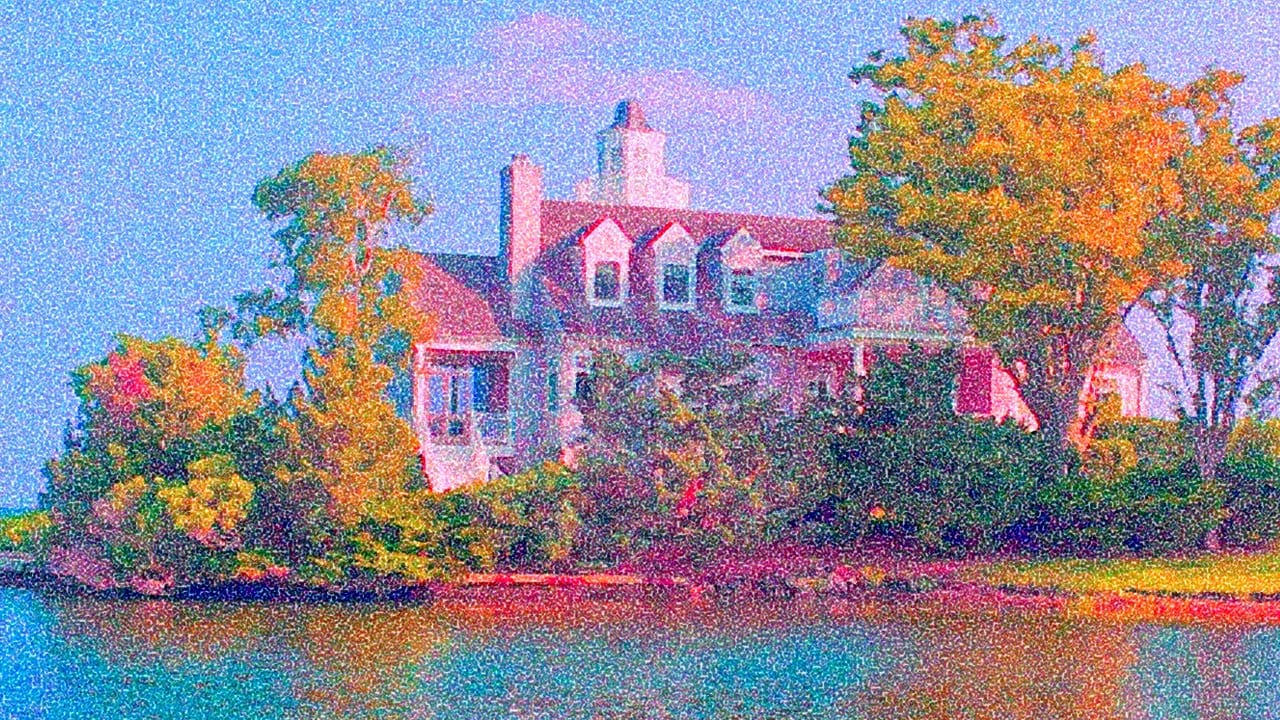
This tutorial by BlueLightningTV will show you how to transform your outdoor photos into the look of beautiful, impressionist paintings. You can also apply these techniques to your other photos, as well. Source Files: Monet painting. If working with Photoshop CS5 or earlier: Pixel Bender Windows, Pixel Bender Mac. Final Image Video Tutorial

Get tutorials & freebies delivered to you.

Subscribe to the Photoshop Roadmap newsletter, a weekly roundup of new tutorials, insights and quality downloads, trusted by 6500+ readers.

You might also like

Professional Portrait Retouching with the B.S.T. Method in Photoshop

Professional portrait retouching requires artistic choices that automated tools can't make. The B.S.T. method breaks retouching into three focused steps: removing blemishes with precision, smoothing skin while preserving natural texture, and equalizing skin tones throughout the image. This systematic approach gives you complete control over every...

Create Motion Blur Light Effects in Photoshop

Transform ordinary portraits into dynamic, cinematic images by combining path blur effects with creative background textures. This technique creates the illusion of camera movement while maintaining focus on key elements like the subject's eyes, resulting in professional-looking motion blur effects that add energy and visual interest to static...

How to Paint Realistic Jewelry on Portraits in Photoshop

Adding painted jewelry to portraits transforms ordinary photos into fantasy portraits with ornate accessories that never existed. This digital painting technique uses careful layering, proper lighting, and realistic shadows to create convincing rings, earrings, and decorative headpieces. The method combines basic brush work with advanced blending techniques to build up...

How to Sharpen Images Using the High Pass Filter in Photoshop

The High Pass filter method remains one of the most versatile sharpening techniques in Photoshop, offering precise control over which image areas receive enhancement. This non-destructive approach works by identifying edge details and allowing you to selectively apply sharpening exactly where it's needed most. Unlike automated sharpening tools,...

How to Find Missing Actions in the New Photoshop Actions Panel

The redesigned Actions panel in Photoshop can catch users off guard when their custom actions seem to disappear. With the new tabbed interface, your previously created actions are still there—they're just located in a different tab than before. Understanding the new layout will help you quickly access...

Fast Portrait Retouching: Remove Stray Hairs, Clothing Wrinkles, and Fix Backgrounds

Every portrait photographer knows the feeling: you've captured a beautiful shot, but stray hairs, wrinkled clothing, and messy backgrounds turn editing into hours of tedious work. These common retouching challenges can drain your time and energy, especially when dealing with high-volume projects or tight deadlines. This tutorial demonstrates...

You’ve successfully subscribed to Photoshop Roadmap
Welcome back! You’ve successfully signed in.
Great! You’ve successfully signed up.
Success! Your email is updated.
Your link has expired
Success! Check your email for magic link to sign-in.