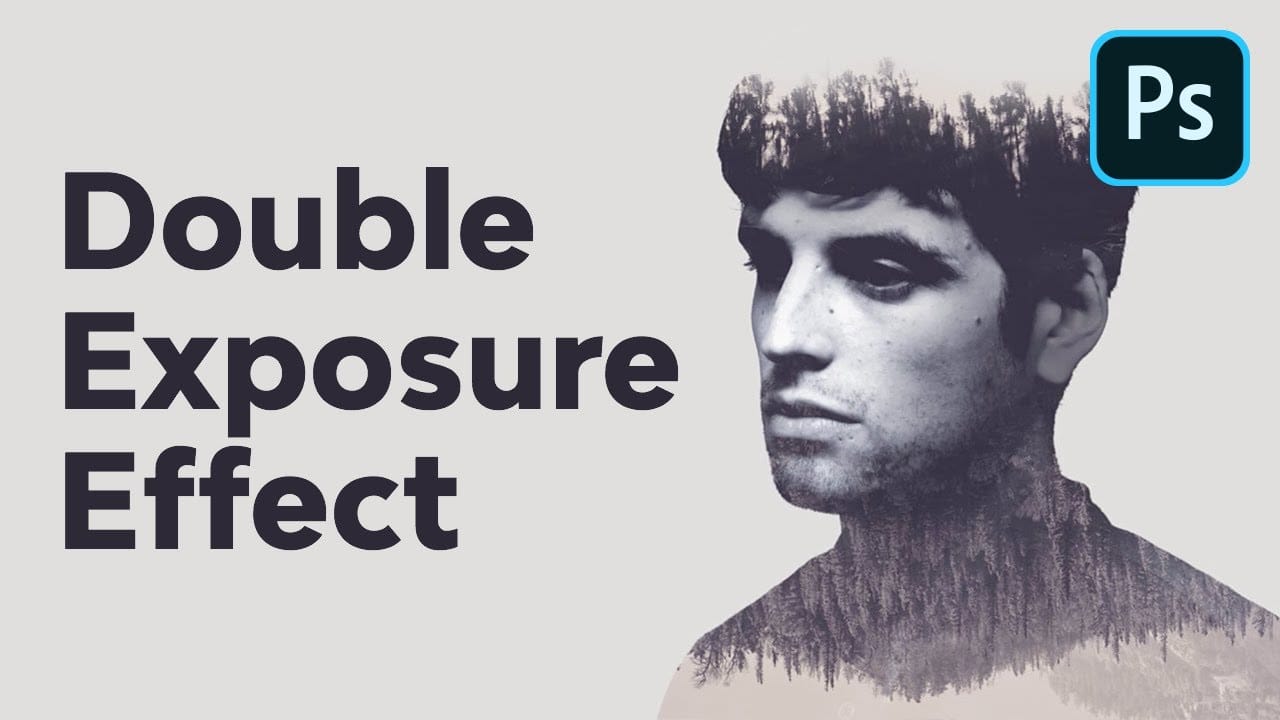
Double exposure creates striking artistic portraits by blending two photographs into one seamless image. This classic photography technique transforms ordinary portraits into surreal compositions where subjects merge with landscapes, textures, or abstract elements.
This tutorial demonstrates how to recreate the traditional film photography effect digitally using selection tools, layer masks, and blending modes in Photoshop.
Watch the Tutorial
Video by Howard Pinsky. Any links or downloads mentioned by the creator are available only on YouTube
Key Techniques for Double Exposure
Master these essential steps to create convincing double exposure effects:
- Use Quick Selection Tool with Refine Edge to isolate your main subject cleanly from the background
- Apply Color Range selection to remove unwanted sky or background colors that bleed through
- Create clipping masks to contain the second image within your subject's silhouette
- Adjust Blend If sliders in Layer Styles to reveal underlying textures through shadows and highlights
- Use layer masks with gradients to create smooth transitions between the portrait and background elements
More Tutorials About Double Exposure Effects
Explore additional techniques and creative approaches for this popular photographic effect.
Double Exposure Effect Photoshop Tutorial
In this tutorial, learn to create a surreal double exposure effect in Adobe Photoshop, inspired by the authentic technique used by photographers. Traditionally, this involves exposing two photographs onto the same film to blend the images. This digital version guides you through selecting the right photos and blending them seamlessly using Photoshop's powerful tools.
The result is a striking and artistic effect that adds depth and creativity to your projects. Perfect for both beginners and seas
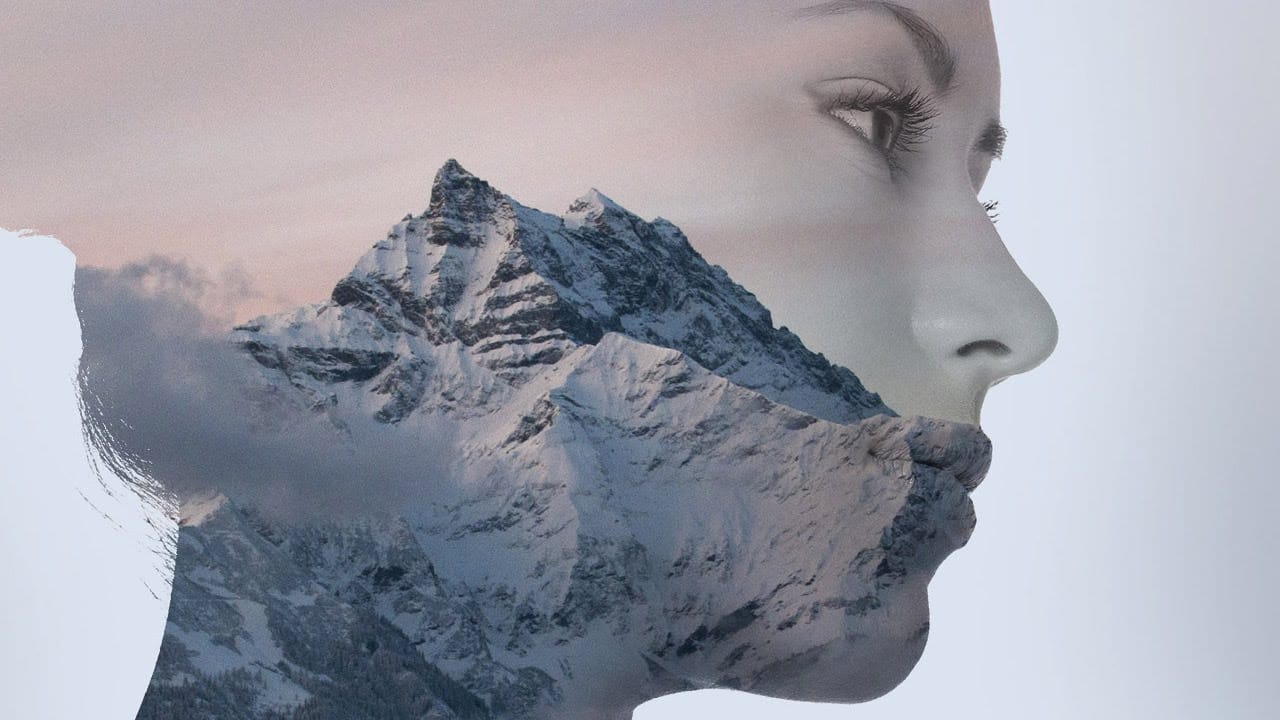
Double Exposure Glitch Poster Design in Photoshop
In this Photoshop tutorial you will learn how to create double exposure glitch poster design step by step. You can use this technique to create a double exposure effect for your own photos. Download tutorial images here… More
 Click3D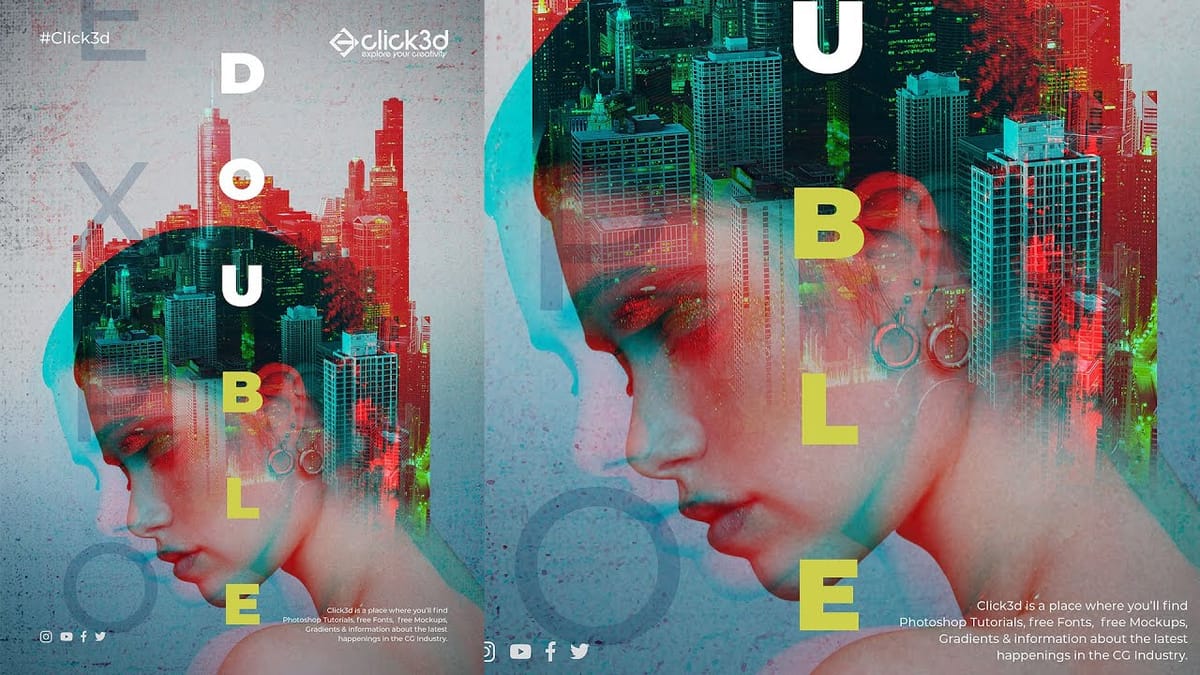
How to Quickly Create a Monochrome Double-Exposure Photo Portrait in Photoshop
The double exposure effect, a classic technique originating from film photography, allows for the striking fusion of two distinct images into a single, cohesive composition. This method is particularly effective for creating surreal and evocative portraits, blending a subject with landscapes, textures, or abstract elements to convey deeper meaning or artistic vision.
This video tutorial provides a practical guide to achieving a powerful monochrome double-exposure photo portrait using Adobe Phot
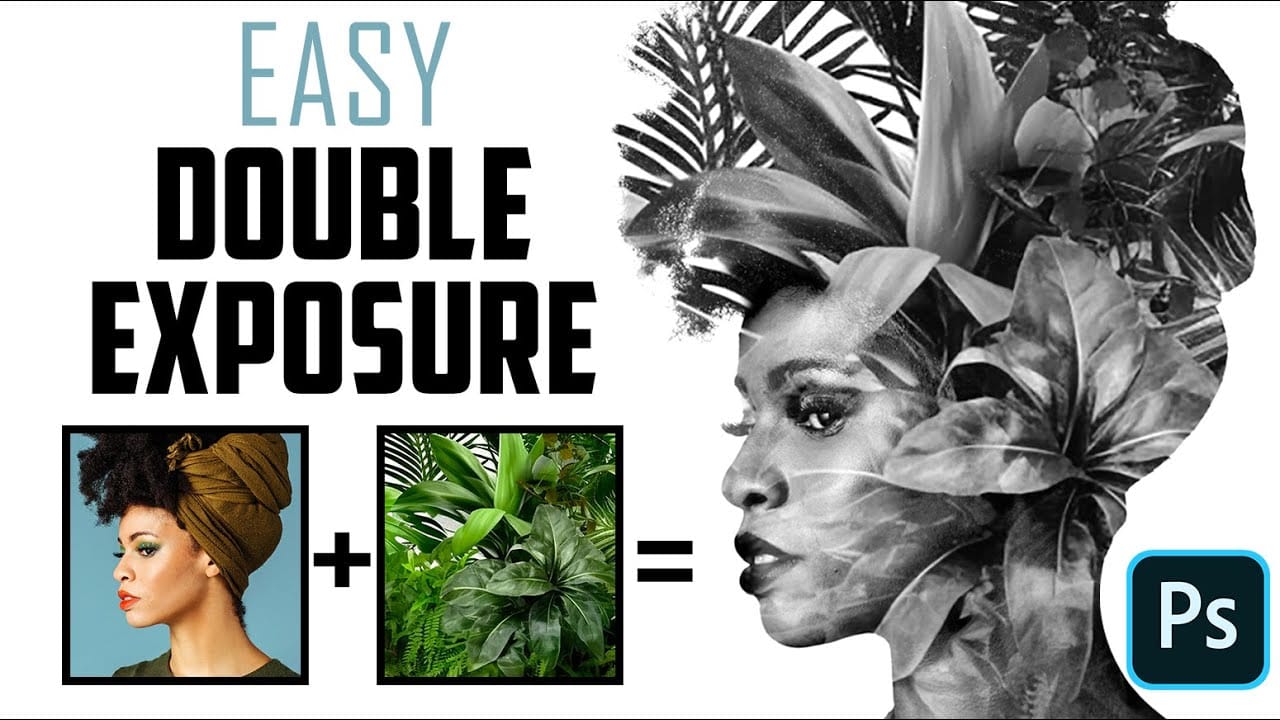
Make a trendy double exposure effect in Photoshop
You've probably seen this interesting effect of two or more overlapping photos on the covers of music albums, in modern magazines and in advertisements. In this video, we'll create a trendy double exposure effect in Adobe Photoshop with the help of Blending Modes and Clipping Masks in a few steps.
In photography and cinematography, a multiple exposure is a combination of two or more exposures to create a single image. Initially, this is a technique in which the camera shutter is opened more tha