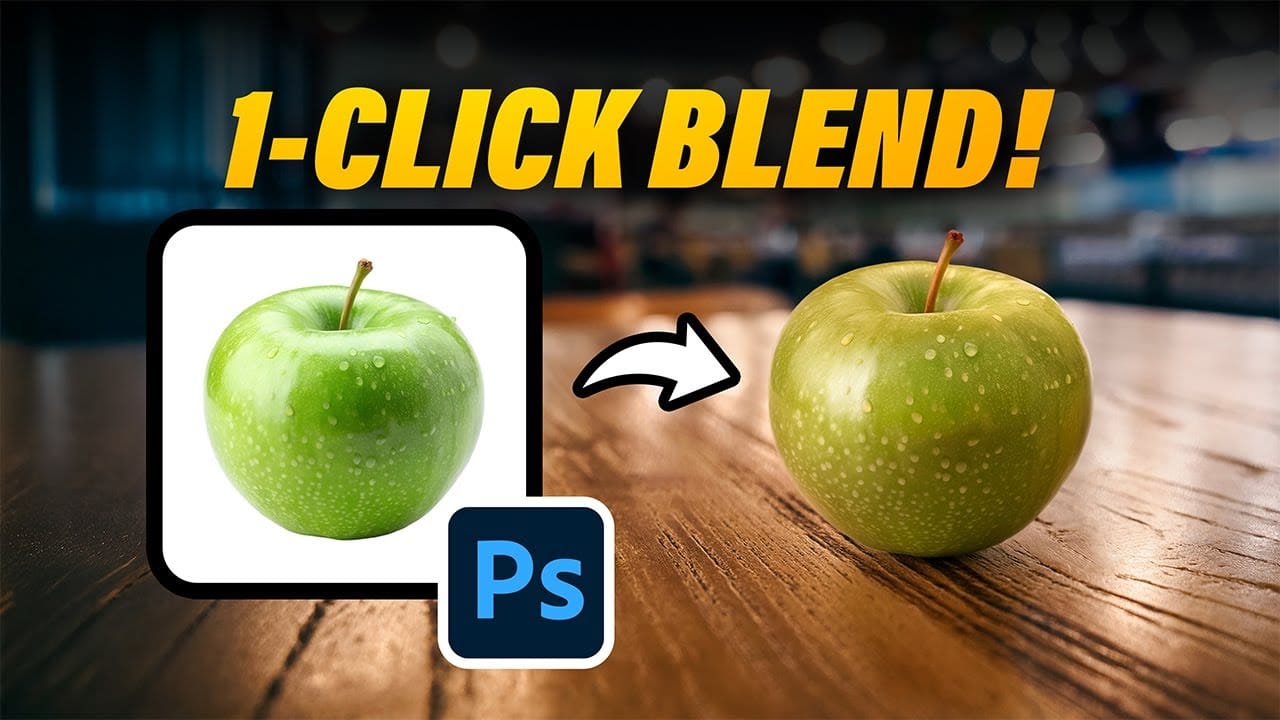
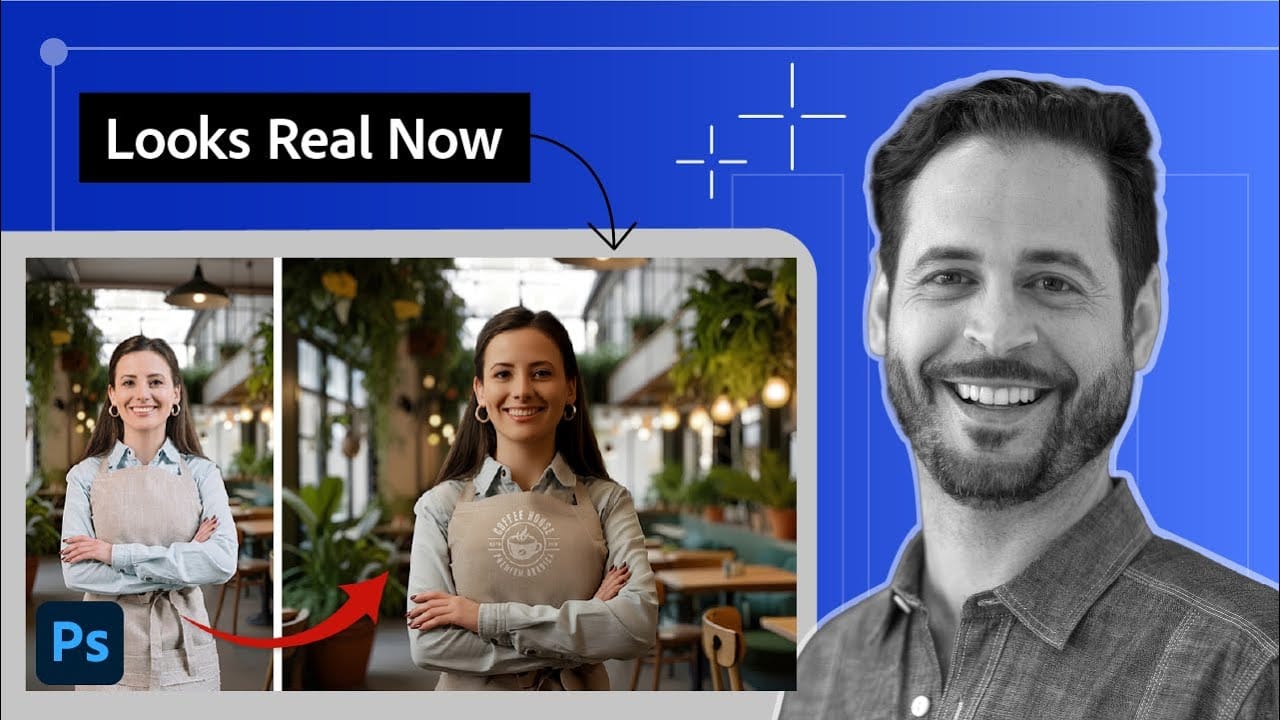
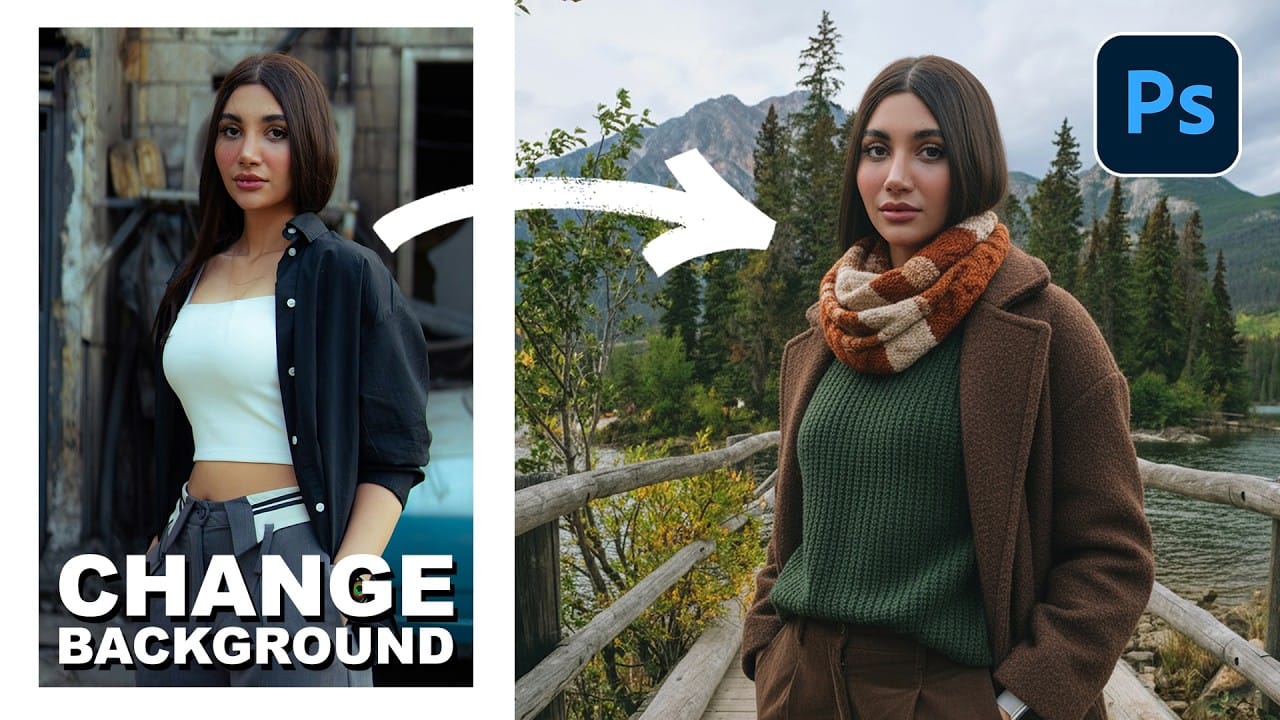
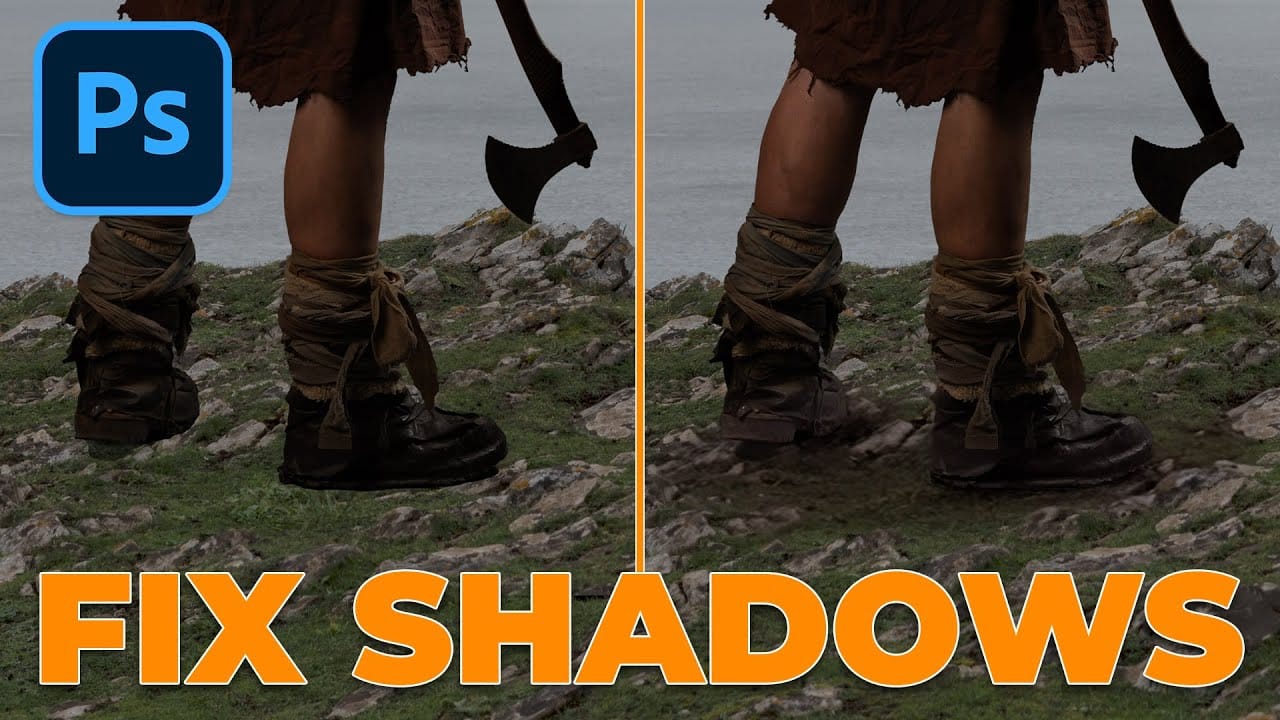
The Harmonize tool transforms compositing by automatically adjusting lighting, color, and shadows to blend objects seamlessly into new backgrounds. This AI-powered feature analyzes both your subject and background, then creates realistic color bleed, reflections, and contact shadows with a single click.
While the tool delivers impressive results instantly, combining it with traditional layer techniques creates professional composites that maintain fine detail and natural appearance. The key lies in understanding when to use the full effect and when to isolate specific elements like shadows or color adjustments.
Watch the Video
Video by Nucly • Photoshop and Creative Design Training. Any links or downloads mentioned by the creator are available only on YouTube
Practical Tips
These essential techniques help you get professional results while preserving image quality and maintaining creative control.
- Clip the harmonized layer to your original subject and set the blend mode to Color to apply only color adjustments while preserving original detail and luminosity
- Use multiple copies of the harmonized result at different opacities and blend modes - one on Color mode for tone matching, another on Normal with reduced opacity for subtle lighting
- Isolate ground shadows by duplicating the harmonized layer, masking out everything except the shadow, and placing it below your original subject layer
- Apply Blend If adjustments in Layer Style options to control where the harmonization effect appears, particularly useful for protecting highlights or shadows from over-processing
- Generate multiple variations if the first result looks too artificial - the tool often produces better results on subsequent attempts, especially with complex lighting scenarios
Related Articles and Tutorials
Explore more advanced compositing techniques and creative workflows to enhance your photo editing skills.