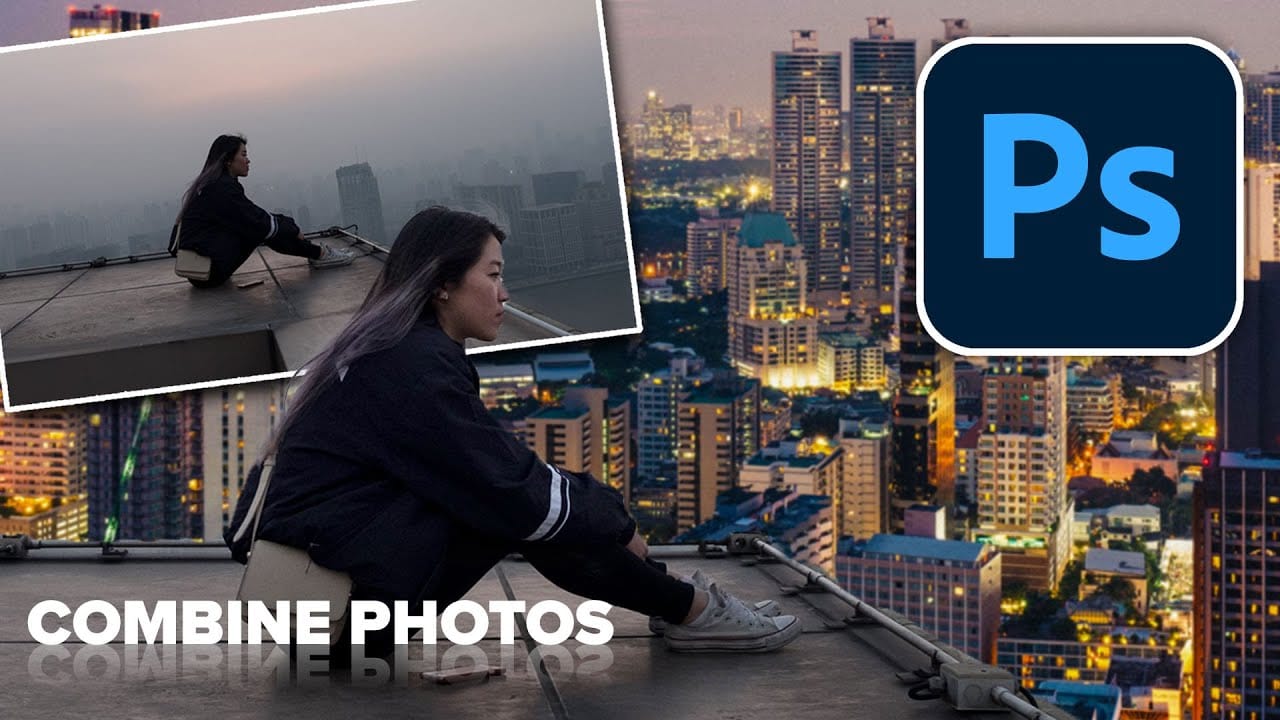
Photoshop's new Harmonize feature excels at compositing objects but struggles with human subjects. This clever workaround uses Harmonize specifically for creating realistic contact and cast shadows when compositing people into new backgrounds.
The technique involves adding a fake light source to improve shadow generation, then isolating only the shadow elements for the final composite.
Watch the Tutorial
Video by Glyn Dewis. Any links or downloads mentioned by the creator are available only on YouTube
Key Tips for Shadow Compositing with Harmonize
- Add a fake light source by duplicating the background and brushing white in the sky area with a 0% hardness brush before running Harmonize
- Duplicate your subject layer before applying Harmonize to preserve the original high-quality version
- Rasterize the harmonized layer first, then apply the layer mask to properly isolate the shadow elements
- Use a black layer mask on the harmonized layer and paint with white to reveal only the contact and cast shadows
- Replace difficult flyaway hair using Generative Fill with a 100% hardness selection brush for better results
Related Articles and Tutorials
Explore more advanced compositing techniques and Photoshop's latest AI features.
How to Use Photoshop's New Harmonize Feature to Blend Images Automatically
Photoshop's latest AI feature promises to solve one of compositing's biggest challenges: making cut-out objects look naturally integrated into new backgrounds. The new Harmonize tool automatically matches lighting, creates shadows, and adds reflections with a single click.
This breakthrough technology eliminates hours of manual work that traditionally required advanced knowledge of color theory, lighting principles, and complex adjustment layers. While still in beta, Harmonize represents a sign

Photoshop 2025 New Features: Harmonize, Improved Remove Tool, and Model Picker
Photoshop 2025 introduces ambitious new features that promise to streamline complex editing tasks. The latest update brings automated compositing through the new Harmonize feature, significant improvements to the Remove tool, and enhanced collaboration options for creative teams.
These updates represent Adobe's push toward AI-assisted workflows that handle technical aspects while preserving creative control. Each feature addresses common pain points in professional editing workflows.
Watch th

Quick and Easy Method for Color Matching Images in Photoshop
Achieving visual harmony in composite images is a cornerstone of professional photo editing. When combining elements from different sources, discrepancies in color and lighting can immediately break the illusion of a unified scene, making the final image appear unnatural or poorly constructed.
This tutorial demonstrates a straightforward yet powerful method within Photoshop to perfectly align the color profiles of disparate images. Viewers will learn how to leverage Photoshop's built-in tools t

How to combine and blend photos in Photoshop
Creating captivating photo composites involves seamlessly bringing different elements together. Mastering the art of combining and blending images allows you to expand your creative possibilities, whether you are crafting surreal landscapes or integrating subjects into new environments.
This guide provides a foundational understanding of how to merge multiple photos into a single canvas and then blend them naturally within Photoshop. You will explore various techniques for combining images and