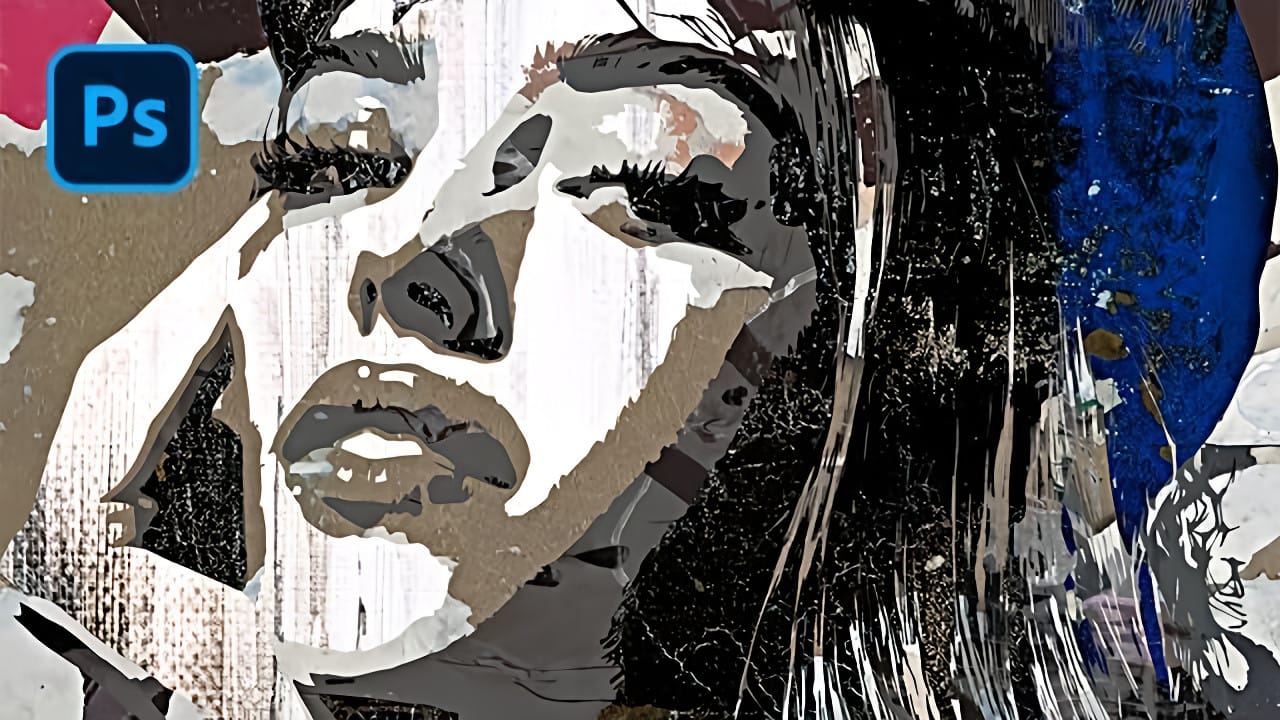
Give your Photoshop collages a convincingly handmade torn paper edge. This in-depth tutorial breaks down how masks, gradients and a blur–crystallize filter sequence create paper-cut shapes, from clean to delightfully rough.
It also covers texture, wear and subtle shadows to add depth. Watch the video below and follow along to build the effect yourself.
Video by Design syndrome. Any links or downloads mentioned by the creator are available only on YouTube.
Practical Tips & Workflow Insights
These adjustments help build a convincing paper cut-out edge while preserving variation, texture, and depth.
- Create uneven overlap before distorting the edges: Add a gradient Stroke through Layer Style > Stroke, using opacity stops to vary where the paper edge extends beyond the image. Rasterize the layer style before using its pixels to create the paper mask, so the stroke doesn’t keep shifting as you distort the mask.
- Build the torn edge gradually on each mask: Apply Gaussian Blur, then Crystallize, repeating with smaller values to add detail without losing the overall shape. Finish with Add Noise and Levels to bring out a more natural, irregular edge; adjust the masks separately because the image and paper need different results.
- Keep texture and shadows subtle: Clip a transparent paper texture to the image layer, then use Blend If to soften how the texture fades across the image. Add a restrained Inner Glow for worn ink and a soft Drop Shadow for depth—the shadow should be felt more than seen.
Related Articles and Tutorials
Here are some related articles and tutorials from Photoshop Roadmap that you may find useful.
35 Artistic Photoshop Effects Tutorials and Actions That Actually Look Good
Creating illustration effects from a photo has never been easier. AI tools can generate a sketch, a painting, or a cartoon version in seconds, and the first result can look surprisingly good.
The problem is control. Even with conversational AI models (like ChatGPT or Gemini Nano Banana) that let you describe exactly what you want, adjusting a detail or keeping a consistent style across multiple images is never fully reliable. These tools recreate the image from scratch each time based on your i
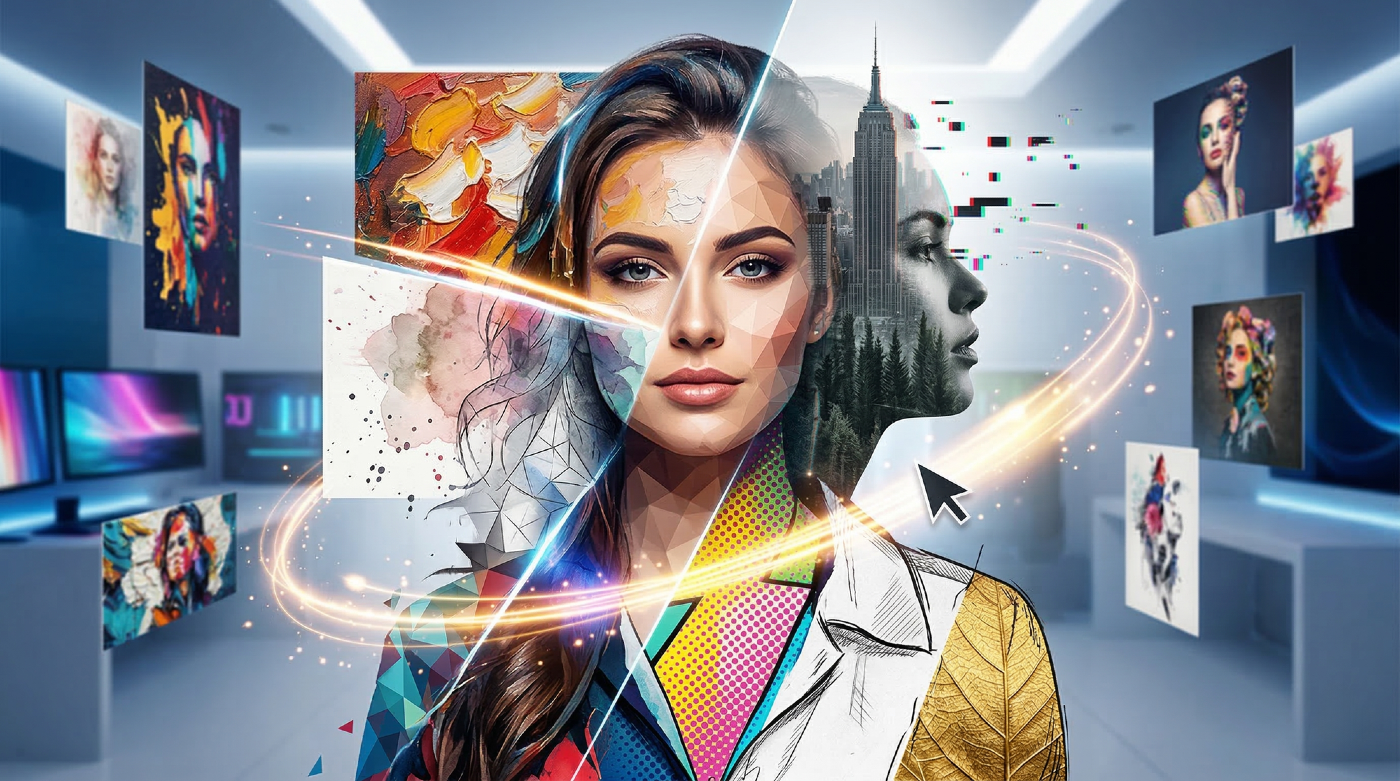
12 Visually Striking Photoshop Effects You'll Want to Add to Your Portfolio Right Now
Most people learning Photoshop quit way too early.
Here's why:
You start with excitement. Finally getting your hands on the world's most powerful image editing software. 'You'll create amazing things with just one click', they said.
You eagerly dive into generative fill, experiment with artistic brushes, play with those magical one-click filters.
Then reality hits.
Your creations look like amateur hour. The kind of work you'd be embarrassed to show your friends, let alone a potential client

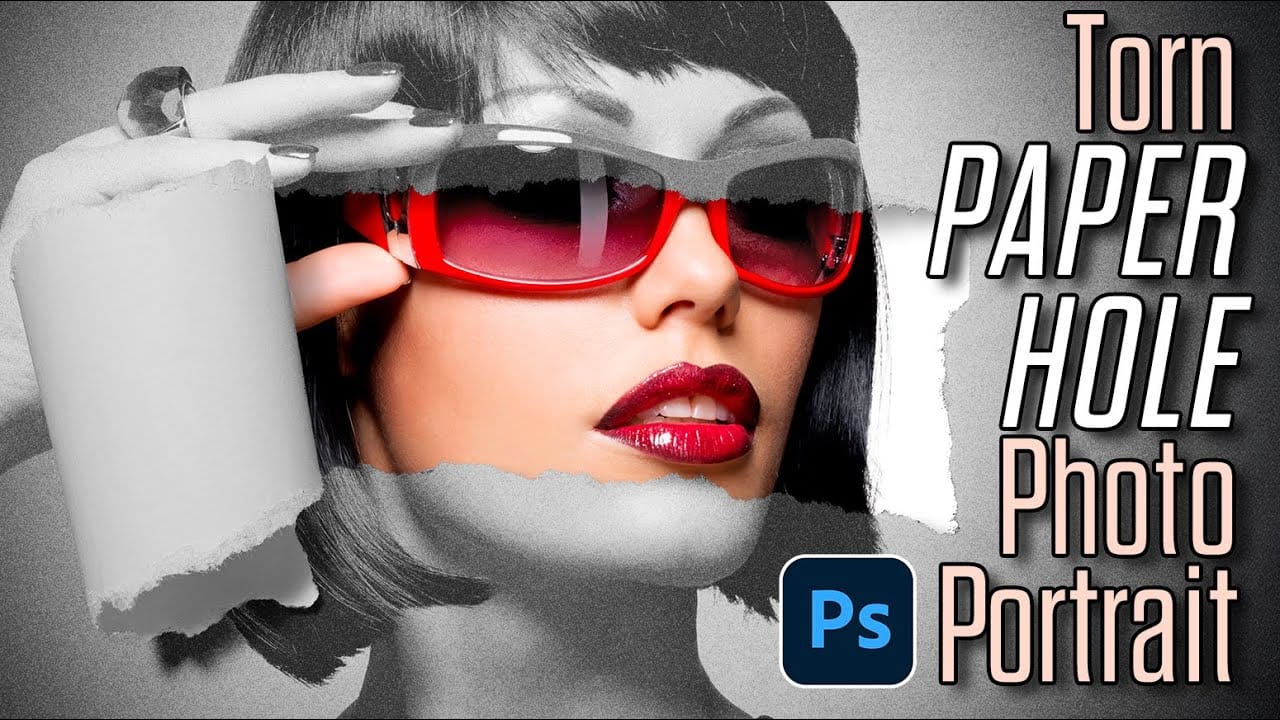
How to Create a Torn Paper Portrait Effect in Photoshop
Torn paper portraits create dramatic visual storytelling by revealing layers of meaning beneath the surface. This artistic technique transforms ordinary portraits into compelling compositions that suggest hidden depths, contrasts, or dual perspectives.
The effect works particularly well when combining different treatments of the same subject—such as color and black-and-white versions—or when creating symbolic narratives about identity, memory, or transformation.
Watch the Video
Understandin
How to Create Textured Portrait Collages in Photoshop
Portrait collages open up creative possibilities that go far beyond traditional photo editing. By combining artistic filters, color manipulation, and texture mapping, you can transform ordinary portraits into striking visual compositions that blend photography with graphic design elements.
This technique breaks down complex imagery into simplified color zones, then maps different textures to each area. The result is a unique artistic effect that maintains the subject's recognizable features whi