Create a Photorealistic Planet Jupiter in Deep Space Image in Photoshop.

Create a Photorealistic Planet Jupiter in Deep Space Image in Photoshop.

Creating realistic celestial bodies in digital art offers a unique blend of scientific accuracy and creative expression. Photoshop provides powerful tools that allow artists to transform simple textures into dynamic planets, complete with atmospheric effects and intricate lighting.

This tutorial guides you through the process of rendering a compelling depiction of Jupiter, set against a backdrop of deep space, using a provided texture map and various Photoshop filters and blending modes.

Watch the Video

Video by Blue Lightning. Any links or downloads mentioned by the creator are available only on YouTube

The Art and Science of Digital Planet Creation

Crafting a believable planet in a digital environment extends beyond simply applying a spherical shape to an image. It involves understanding the interplay of light, shadow, and atmospheric characteristics that define a celestial body. Artists leverage techniques such as texture mapping, where a flat image is wrapped onto a 3D-like surface, and then manipulate light sources to simulate the sun's illumination.

Key elements that contribute to realism include: accurate spherical distortion, the application of subtle glows to mimic atmospheric scattering, and the strategic placement of shadows to convey depth and form. These visual components work together to transform a flat texture into a dynamic, three-dimensional object that appears to float convincingly in the void of space.

The process often requires a non-destructive workflow, allowing for adjustments and refinements without permanently altering the original image data. This iterative approach is crucial for achieving the desired level of detail and realism, ensuring that each element, from the planet's surface to the distant stars, contributes to the overall immersive experience.

Practical Tips for Creating Planets in Photoshop

  • Convert layers to Smart Objects early to enable non-destructive editing and filter adjustments.
  • Apply the Spherize filter multiple times to enhance the planet's curvature and realism.
  • Use the Elliptical Marquee Tool with the Shift key to create a perfect circular selection for the planet's shape, then apply a Layer Mask.
  • Create a starry background on a separate Smart Object layer using the Noise filter and then Gaussian Blur, followed by Levels adjustments for control.
  • Utilize Outer Glow and Inner Glow Layer Styles to simulate atmospheric effects and subtle lighting around the planet.
  • Enhance surface details by using the High Pass filter set to Linear Light blend mode on a duplicated layer, then group it with the base planet layer into a Smart Object.
  • Create realistic shadows using a feathered selection filled with black, resized, and then clipped to the planet layer for precise masking.
  • Add a dramatic Lens Flare on its own layer by first creating a composite snapshot, applying the flare, then deleting the snapshot and reapplying the flare to a new black layer with Screen blend mode.

Explore more techniques for crafting cosmic scenes and planets in Photoshop with these additional resources.
Creating a Nebula and Planet Scene in Photoshop: Step-by-Step Tutorial
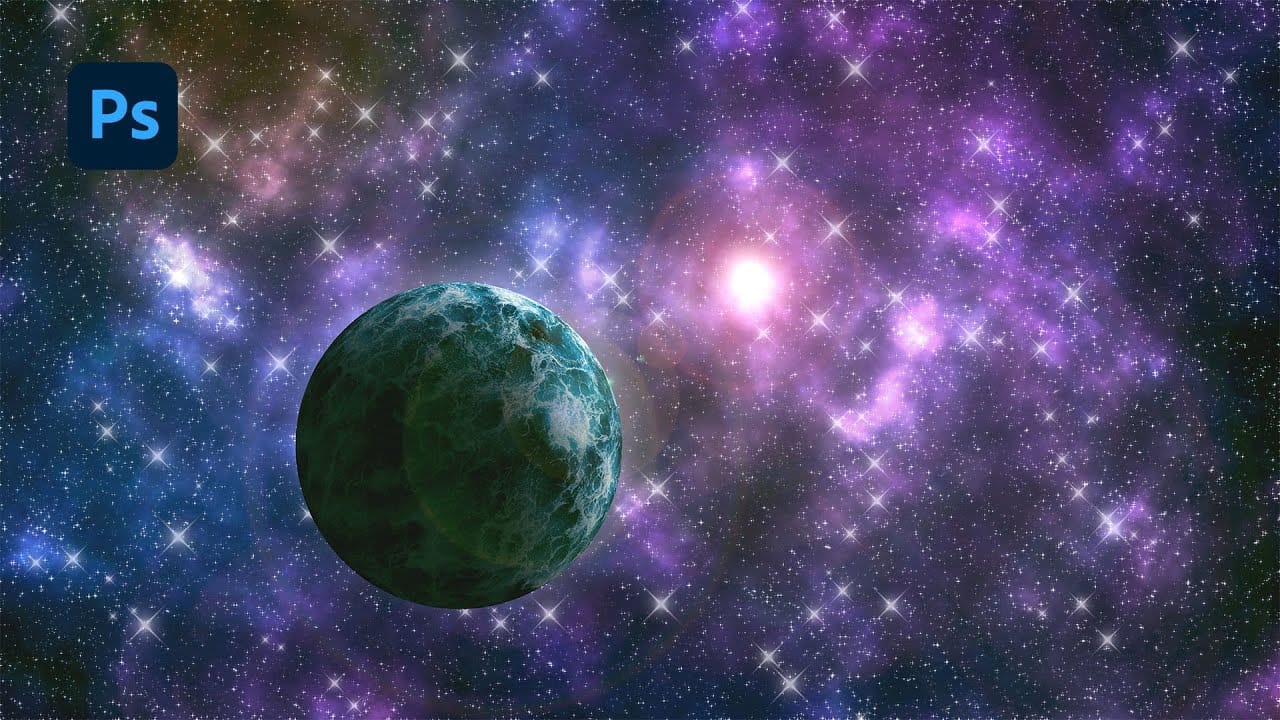
In this tutorial, you will learn how to use Photoshop to create a breathtaking nebula and planet scene from scratch. It walks you through a step-by-step process to design a detailed outer space composition. With techniques like blending modes, smart objects, and advanced brushes, it’s suitable for both beginners and experienced users looking to improve their design skills. You’ll explore how to make a realistic star field, apply vibrant nebula colors, and create planets with lifelike textures.
Create a nice tiny planet out of a landscape photo in Photoshop
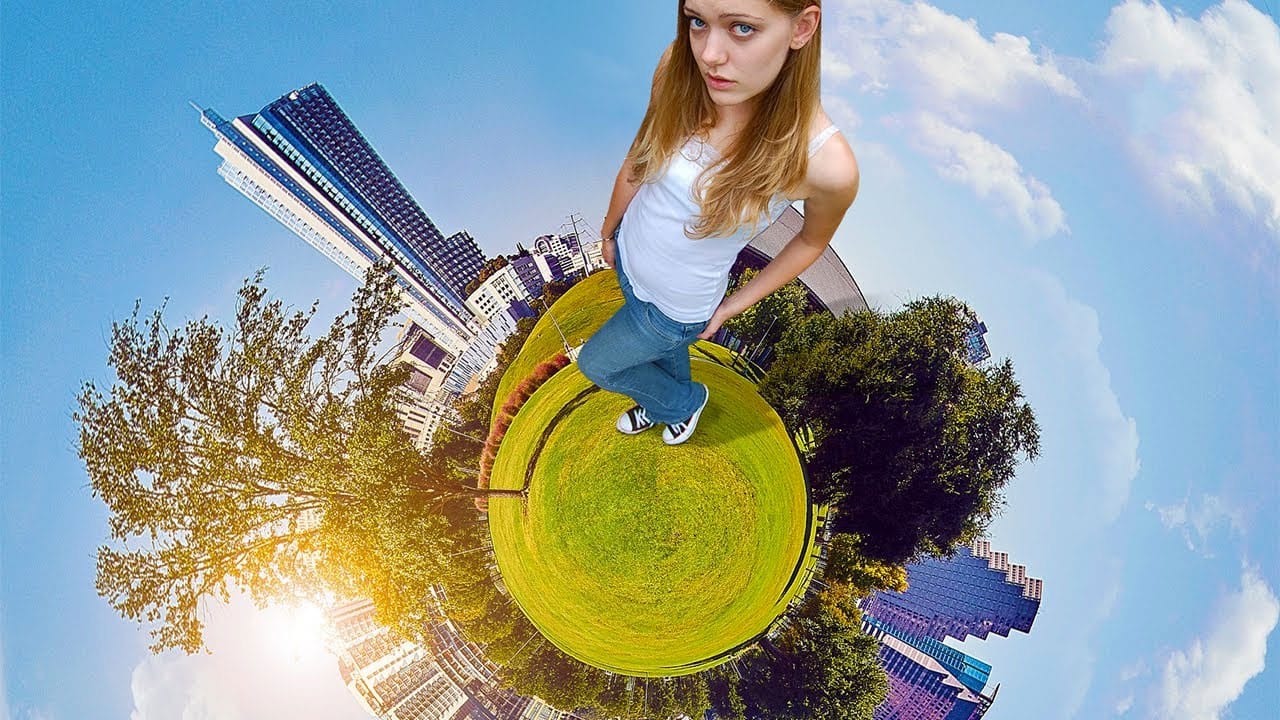
According to Tutorials Junction, creating a nice tiny planet out of a landscape photo in Photoshop is a straightforward process. The tutorial explains how to achieve this 3D effect using Adobe Photoshop. The video may seem lengthy, but the photo effect itself is quite quick. The majority of the time is spent composing the model and using lighting effects. The key is to start with the right image and make it square, as the filter used for this effect works best with a square format. While the p
How to Create an Amazing Space Battle Sci-Fi Scene in Photoshop
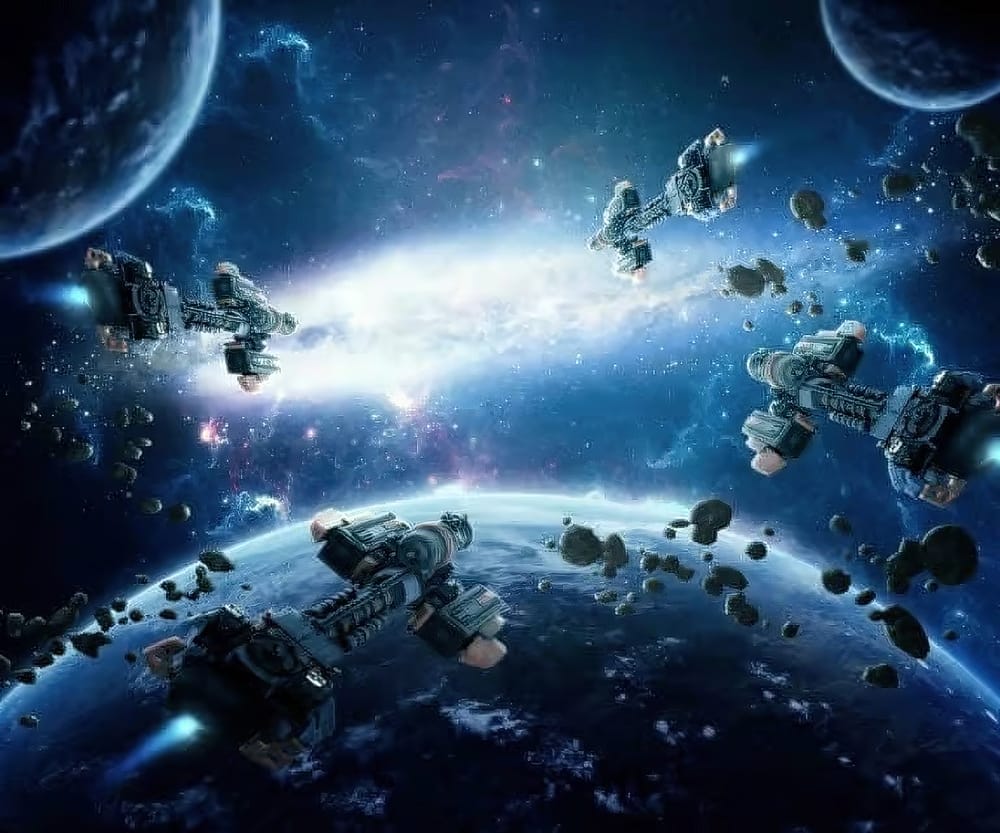
In this tutorial by Jenny Le, you will discover how to create stunning sci-fi artwork featuring spaceships, planets, and a galaxy backdrop. The step-by-step guidance provided makes it accessible for artists of all skill levels. You will gain insights on how to compose various space elements effectively. This includes techniques for manipulating and blending these elements to achieve a cohesive and appealing final piece. Jenny Le shares practical tips that simplify the process and enhance your
Create an Alien Invasion Photo Manipulation in Photoshop
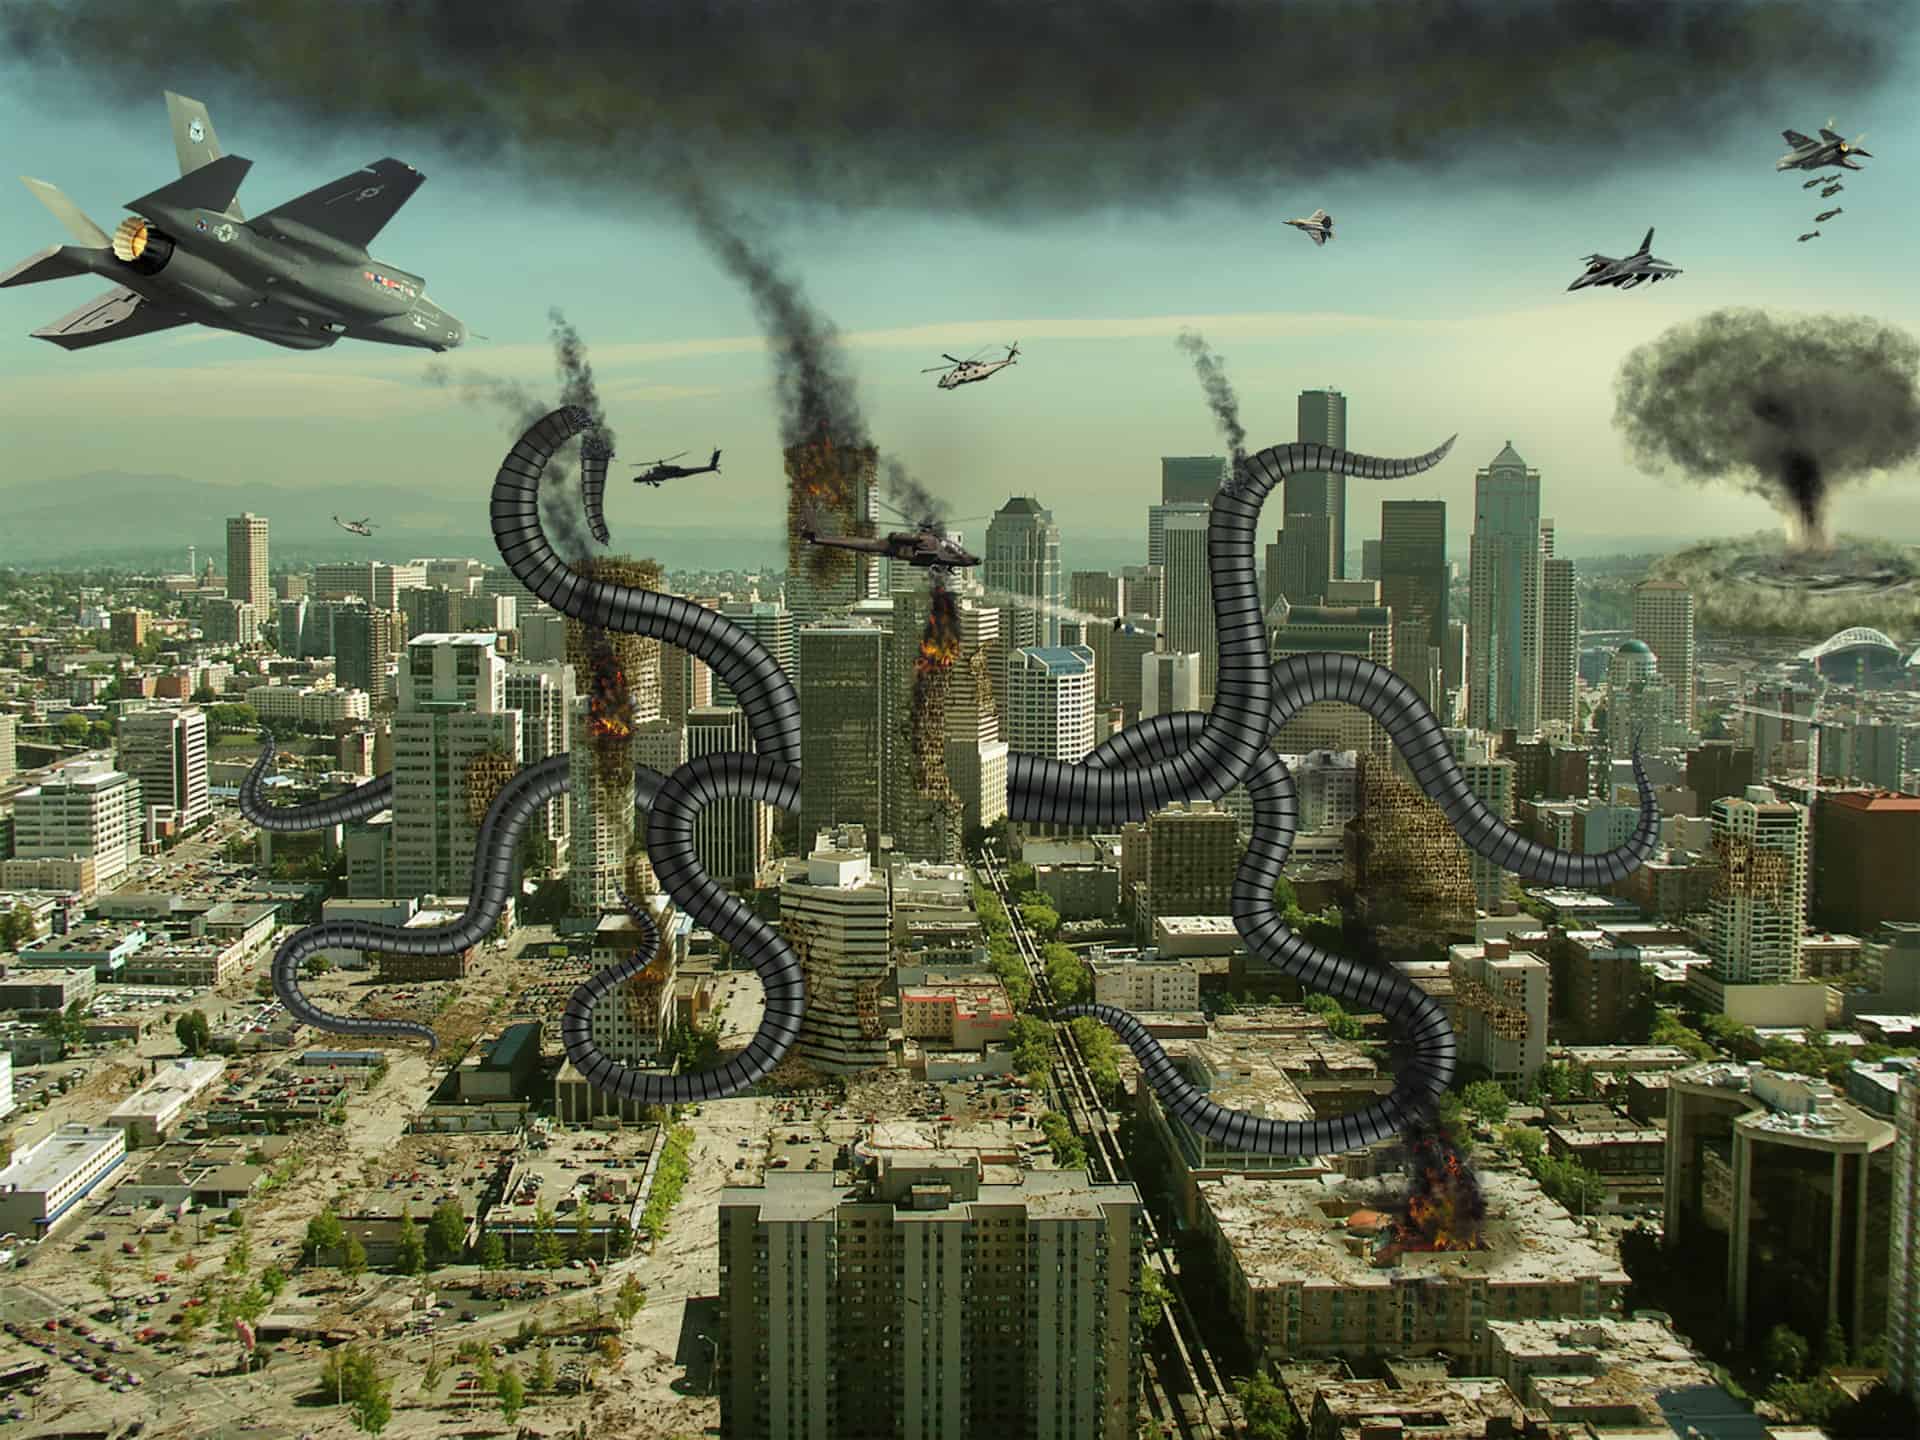
In this tutorial, you'll learn how to create an alien invasion photo manipulation in Photoshop. The focus is on building a convincing destruction scene, which is often one of the most challenging aspects of this type of work. The guide walks you through the process step-by-step, covering essential techniques to achieve a realistic result. You'll explore color correction methods to ensure your composite elements blend seamlessly. The tutorial also explains effective masking techniques to integra

Get tutorials & freebies delivered to you.

Subscribe to the Photoshop Roadmap newsletter, a weekly roundup of new tutorials, insights and quality downloads, trusted by 6500+ readers.

You might also like

Professional Portrait Retouching with the B.S.T. Method in Photoshop

Professional portrait retouching requires artistic choices that automated tools can't make. The B.S.T. method breaks retouching into three focused steps: removing blemishes with precision, smoothing skin while preserving natural texture, and equalizing skin tones throughout the image. This systematic approach gives you complete control over every...

Create Motion Blur Light Effects in Photoshop

Transform ordinary portraits into dynamic, cinematic images by combining path blur effects with creative background textures. This technique creates the illusion of camera movement while maintaining focus on key elements like the subject's eyes, resulting in professional-looking motion blur effects that add energy and visual interest to static...

How to Paint Realistic Jewelry on Portraits in Photoshop

Adding painted jewelry to portraits transforms ordinary photos into fantasy portraits with ornate accessories that never existed. This digital painting technique uses careful layering, proper lighting, and realistic shadows to create convincing rings, earrings, and decorative headpieces. The method combines basic brush work with advanced blending techniques to build up...

How to Sharpen Images Using the High Pass Filter in Photoshop

The High Pass filter method remains one of the most versatile sharpening techniques in Photoshop, offering precise control over which image areas receive enhancement. This non-destructive approach works by identifying edge details and allowing you to selectively apply sharpening exactly where it's needed most. Unlike automated sharpening tools,...

How to Find Missing Actions in the New Photoshop Actions Panel

The redesigned Actions panel in Photoshop can catch users off guard when their custom actions seem to disappear. With the new tabbed interface, your previously created actions are still there—they're just located in a different tab than before. Understanding the new layout will help you quickly access...

Fast Portrait Retouching: Remove Stray Hairs, Clothing Wrinkles, and Fix Backgrounds

Every portrait photographer knows the feeling: you've captured a beautiful shot, but stray hairs, wrinkled clothing, and messy backgrounds turn editing into hours of tedious work. These common retouching challenges can drain your time and energy, especially when dealing with high-volume projects or tight deadlines. This tutorial demonstrates...

You’ve successfully subscribed to Photoshop Roadmap
Welcome back! You’ve successfully signed in.
Great! You’ve successfully signed up.
Success! Your email is updated.
Your link has expired
Success! Check your email for magic link to sign-in.