Create a Spinning Melting Fire Text Effect in Photoshop

Create a Spinning Melting Fire Text Effect in Photoshop

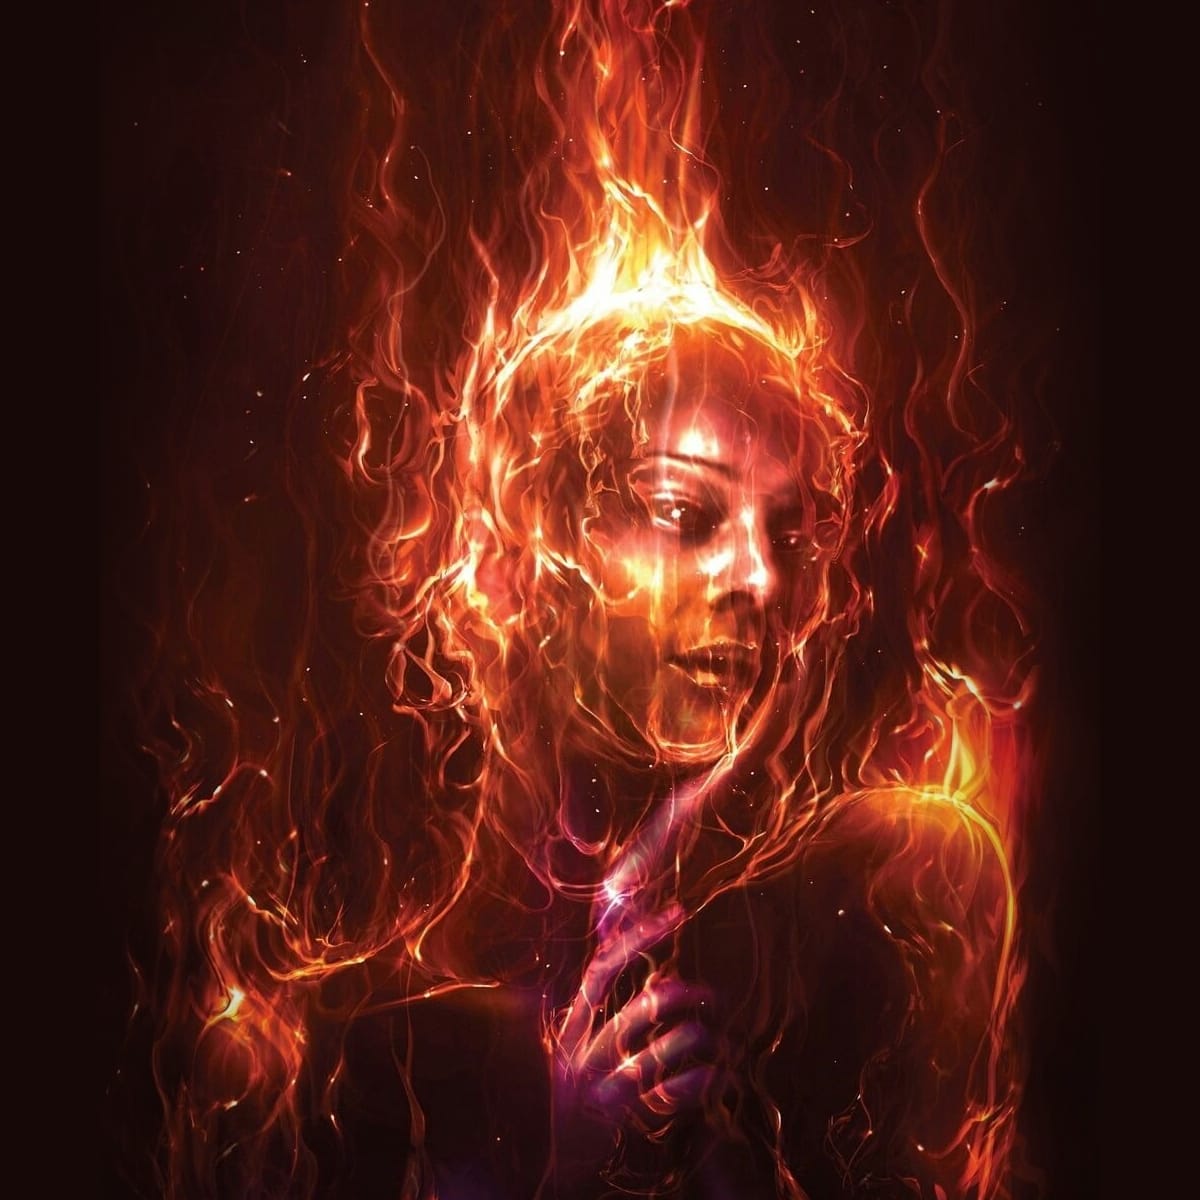
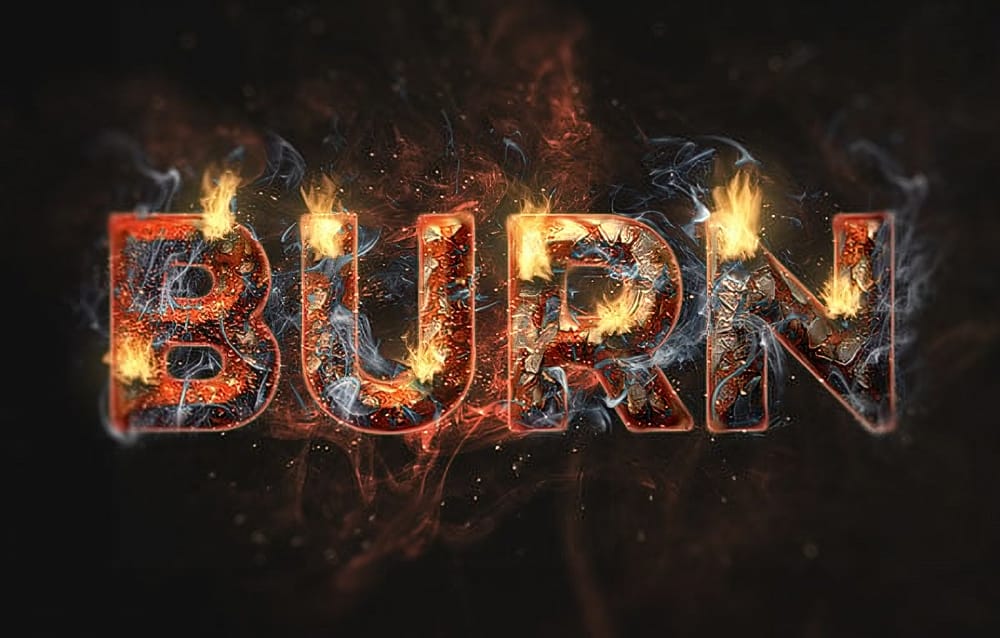
Fire effects transform ordinary text into dynamic visual statements that command attention. The melting, flowing appearance mimics liquid fire or molten metal, creating depth and movement that static text simply cannot achieve.

This technique combines warping, gradient mapping, and strategic blurring to build layers of flowing color. The smudge tool becomes your primary instrument for sculpting those signature dripping effects that make text appear to melt before your eyes.

Watch the Tutorial

Video by P A N T E R. Any links or downloads mentioned by the creator are available only on YouTube

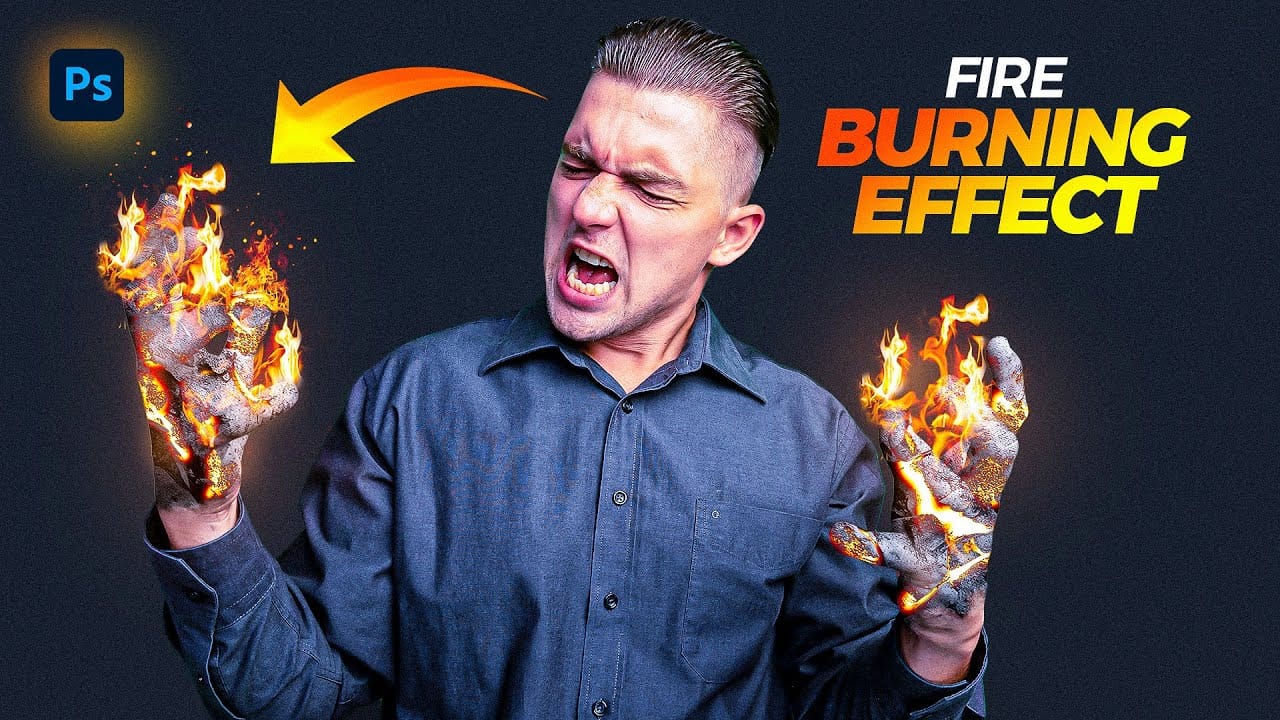
The Art of Digital Fire Effects

Fire text effects emerged from traditional sign painting and neon design, where craftsmen created dramatic lighting effects through careful color transitions. Digital tools now allow artists to recreate these flowing, luminous qualities with precision control over every gradient and drip.

The key to convincing fire effects lies in understanding how real flames behave. Fire transitions from deep blues and purples at the base to bright yellows and whites at the tips. The gradient mapping technique replicates this natural color progression while maintaining the text's structural integrity.

Modern motion graphics heavily feature these melting effects because they suggest transformation and energy. The smudge tool's ability to stretch pixels creates organic flowing shapes that feel alive, making static designs appear to move even in still images.

Practical Tips for Fire Text Effects

  • Use bold, thick fonts like display typefaces to provide more surface area for the melting effect to show clearly
  • Set your smudge tool strength between 60-70% for controlled stretching that maintains color integrity
  • Duplicate layers before applying each smudge stage to build depth and preserve your work progress
  • Apply Gaussian blur to bottom layers only to create depth while keeping top elements sharp and defined
  • Work with cross-directional smudges to create realistic dripping patterns that flow naturally downward

Explore more fire and flame effects to expand your creative toolkit.

Create a Fire Burning Effect in Photoshop
Creating a fire-burning effect in Photoshop is a fascinating process that can enhance your images dramatically. Start by setting up a new file with dimensions of 1920 x 1080 pixels. Import the necessary images, which can be found in the provided link. Duplicate your main layer using Ctrl + J, then convert it to black and white through the Image Adjustments menu by selecting Hue/Saturation and removing all saturation. Next, apply an inverted mask to the black and white layer. Use the brush tool
How to Create Flames in Photoshop
In this tutorial, Julieanne Kost walks you through the process of creating realistic flames in Photoshop. The tutorial simplifies the process into four manageable steps, making it accessible even for beginners. Kost starts by guiding you through the basics of setting up your workspace and selecting the right tools. She then demonstrates how to use different paths and brush settings to shape and control the flame effect. By adjusting various parameters, you can achieve a dynamic and realistic fl
Apply a Burning Flames Effect to a Photo in Photoshop
In this tutorial by Neville D'Souza, you will learn how to take a simple model shot and transform it into a striking, dynamic piece of art that resembles a spitting, crackling beacon of fire. The tutorial guides you through the process using some of the most common tools available in Photoshop, showcasing techniques that allow you to create intricate and impressive effects. The author meticulously explains each step, ensuring you can follow along without the need for third-party plug-ins. By th
Create a Fire and Rust Text Effect in Photoshop
If you're looking to add some fiery flair to your text, this tutorial has you covered. The team at TutsPlus walks you through the process of creating a striking fire and rust text effect in Photoshop. First, you'll learn how to style and texture a rusty, weathered look for your text. This involves using various tools and techniques to achieve an authentic, gritty appearance. Once the base is set, the tutorial then demonstrates how to incorporate flames using the Flame filter, as well as other s

Get tutorials & freebies delivered to you.

Subscribe to the Photoshop Roadmap newsletter, a weekly roundup of new tutorials, insights and quality downloads, trusted by 6500+ readers.

You might also like

When to Use Saturation vs Vibrance for Better Color Enhancement

While vibrance gets praised for being "gentler" than saturation, the reality is more nuanced. Saturation works like a universal volume knob, boosting all colors equally, while vibrance acts like a smart equalizer, selectively enhancing less saturated areas first. Understanding when each approach serves your creative vision makes the...

How to Check Your Generative Fill Credit Balance in Photoshop

Keeping track of your AI credit usage becomes essential when working with premium generative features. Understanding your remaining balance helps you budget your edits and avoid unexpected interruptions during important projects. The credit system divides features into standard tools (like basic generative fill) that don't consume credits, and...

How to Create Realistic Depth Blur Effects in Photoshop

Creating professional depth of field effects can transform flat images into dynamic photographs with natural-looking focus transitions. Two powerful methods in Photoshop offer different advantages: Neural Filters provide automated depth detection with atmospheric effects like haze, while Camera Raw Filter delivers precise manual control with customizable bokeh shapes. Both techniques...

Three Professional Methods to Fix White Balance in Photoshop

Color casts can ruin even the best photographs, making whites appear yellow, blue, or green instead of neutral. Poor white balance destroys the natural look of your images and creates an unprofessional appearance that's immediately noticeable to viewers. These three techniques provide increasingly precise control over white balance...

Creating Dark Moody Wildlife Photo Edits in Photoshop

Dark, moody wildlife photography transforms ordinary animal portraits into dramatic, atmospheric pieces that capture the mystery and power of nature. This editing approach combines strategic lighting placement, careful color grading, and atmospheric effects to create compelling images that draw viewers into the scene. The workflow begins with essential noise reduction...

How to Create Professional Photo Composites in Photoshop

Creating compelling photo composites requires more than simply placing images together. This comprehensive tutorial demonstrates how to blend multiple elements seamlessly, from matching lighting and color to painting realistic shadows and highlights. The project showcases a dramatic scene inspired by Stranger Things, combining buildings, characters, and atmospheric effects with precise...

You’ve successfully subscribed to Photoshop Roadmap
Welcome back! You’ve successfully signed in.
Great! You’ve successfully signed up.
Success! Your email is updated.
Your link has expired
Success! Check your email for magic link to sign-in.