When to Use Saturation vs Vibrance for Better Color Enhancement

When to Use Saturation vs Vibrance for Better Color Enhancement

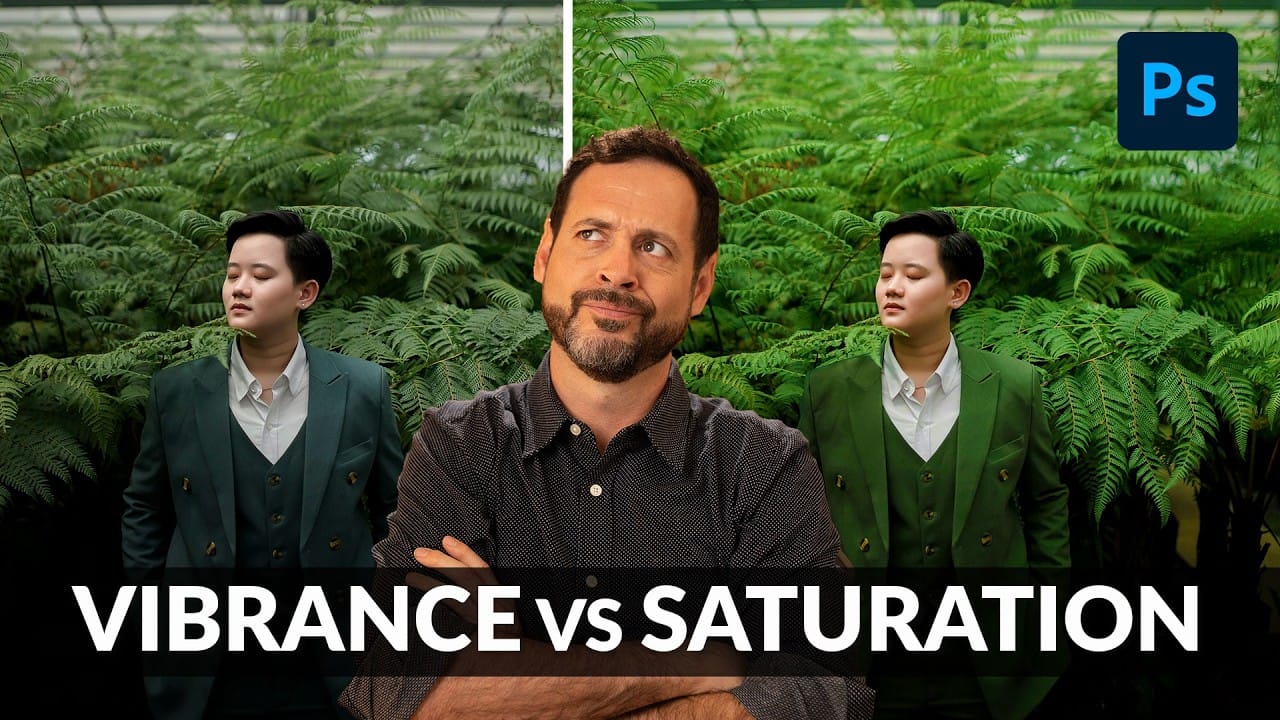
While vibrance gets praised for being "gentler" than saturation, the reality is more nuanced. Saturation works like a universal volume knob, boosting all colors equally, while vibrance acts like a smart equalizer, selectively enhancing less saturated areas first. Understanding when each approach serves your creative vision makes the difference between mediocre and striking color enhancement.

The key lies in recognizing when you need that direct, uniform boost versus when you want intelligent color protection. Combined with saturation masking techniques, these tools become even more powerful for creating professional-grade color separation and visual impact.

Watch the Video

Video by PiXimperfect. Any links or downloads mentioned by the creator are available only on YouTube

Practical Tips

These key techniques will help you choose the right color enhancement approach for your images.

  • Use saturation when you want equal color boost across all elements, including skin tones and background details
  • Choose vibrance for portraits where you need to protect skin tones while enhancing other colors in the scene
  • Create saturation masks using Filter > Other > HSB/HSL to target only areas with existing color information
  • Apply saturation masks to both adjustment types for more controlled enhancement and better color separation
  • Test both approaches on your specific image rather than following general rules about which is "better"

Explore these comprehensive guides to master color enhancement and adjustment techniques.
Saturation vs Vibrance: The Best for Color Enhancement in Photoshop
In this detailed tutorial, Jesus Ramirez from the Photoshop Training Channel delves into the crucial differences between Saturation and Vibrance when it comes to enhancing colors in Photoshop. He provides a comprehensive overview of how each adjustment affects your images: Saturation increases the intensity of all colors uniformly, while Vibrance adjusts the colors selectively, enhancing the less saturated hues without over-saturating the already vibrant areas. Ramirez demonstrates practical ap
Understanding Vibrance vs Saturation in Photoshop and When to Use Each Tool
Color enhancement is one of the most fundamental aspects of photo editing, yet many Photoshop users struggle with knowing when to use vibrance versus saturation. Both tools can boost the intensity of colors in your images, but they work in dramatically different ways and produce very different results. Learning the distinction between these tools—and understanding how to use the advanced Hue/Saturation adjustment layer for targeted color control—will give you the precision needed to enhance you
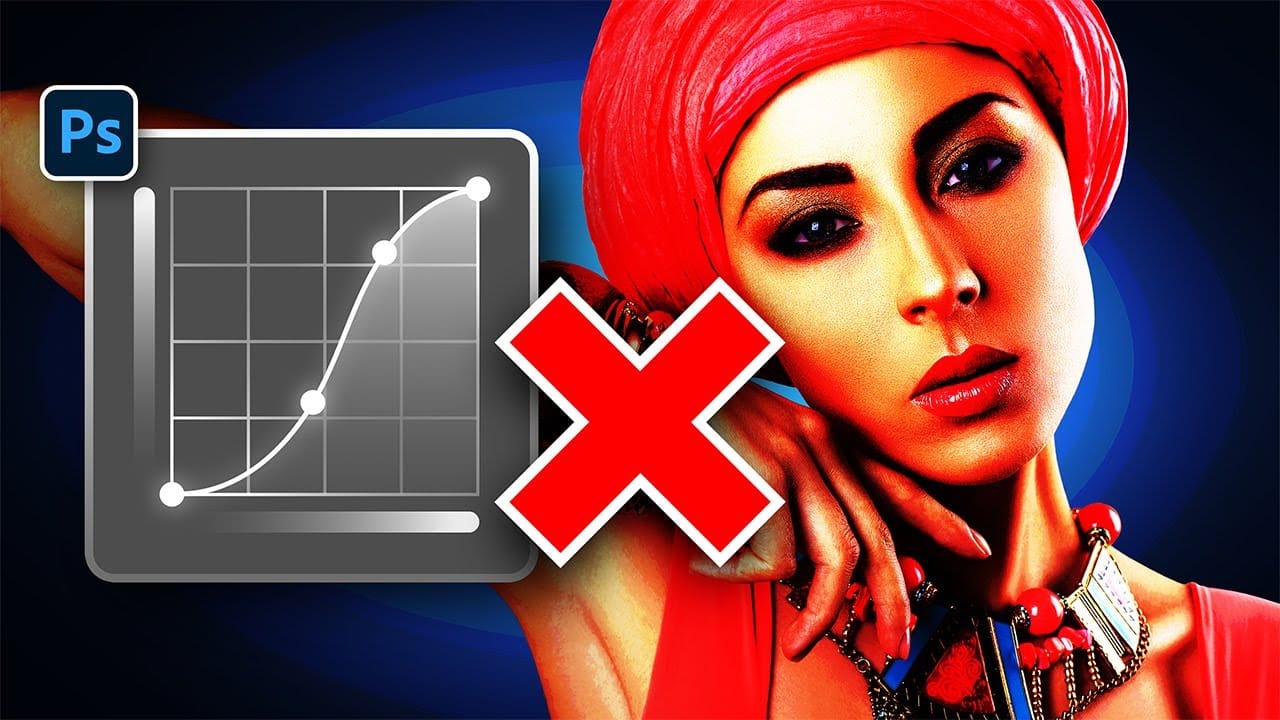
Stop Ruining Colors with Curves With This Photoshop Trick Instead
Using Curves adjustments in Photoshop often creates unwanted color shifts that can make images look oversaturated or unnatural. While the traditional solution involves switching to Luminosity blend mode, this approach tends to drain the vibrancy from your photos, leaving them flat and lifeless. This tutorial reveals a superior technique using Camera Raw's refined saturation control that gives you precise command over color intensity while maintaining natural-looking results. You'll discover how
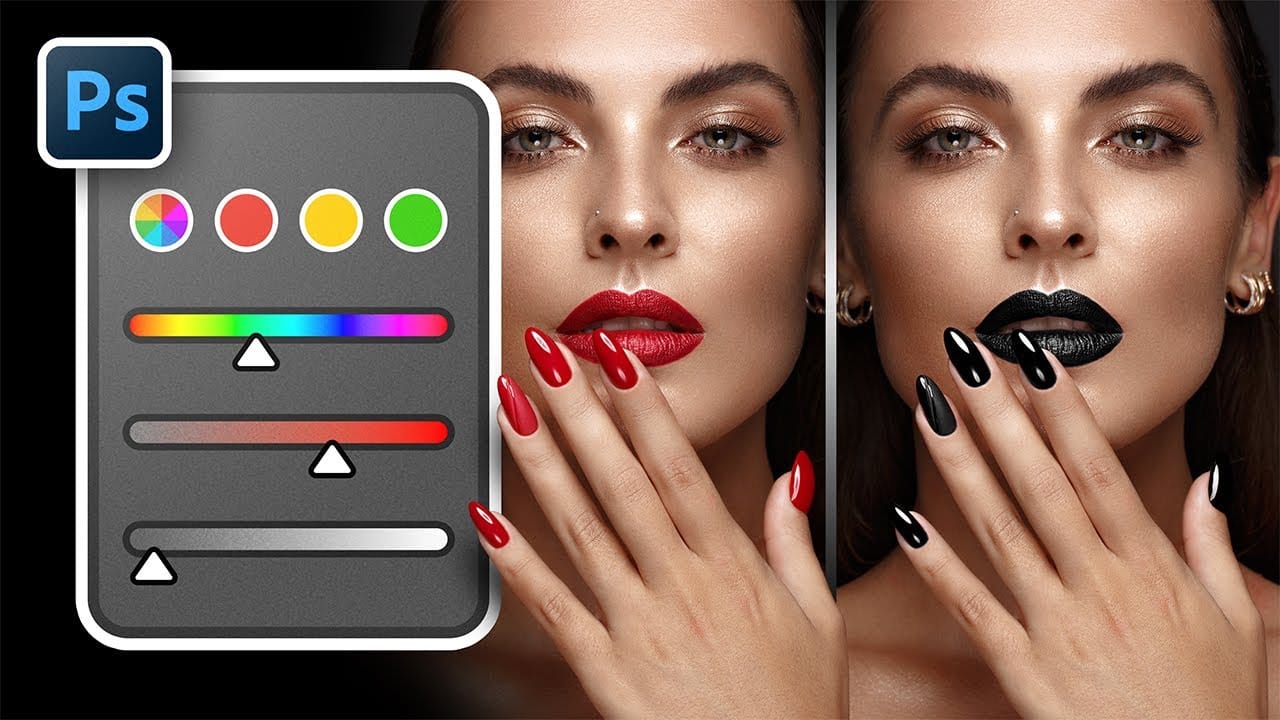
Complete Guide to Photoshop's Hue/Saturation Tool: Mastering Color Adjustments
Color correction and creative color grading often come down to mastering a single, powerful tool in Photoshop: the Hue/Saturation adjustment. While newer features like Camera Raw filters and advanced color wheels grab attention, the fundamentals of hue, saturation, and lightness remain the backbone of professional color work. Understanding these core principles unlocks precise control over every pixel in your images. This comprehensive tutorial covers everything from basic concepts to advanced
Saturated Photoshop Action
If you're looking to enhance your photos with a controlled saturated color effect, this free Photoshop action is a fantastic option. It allows you to achieve vibrant results without complicated steps or advanced skills. Once applied, this action transforms your images, making colors pop while maintaining a balanced look. This is especially useful for those who want to draw attention to certain elements without overwhelming the viewer. Using this action is straightforward. Simply load it into P
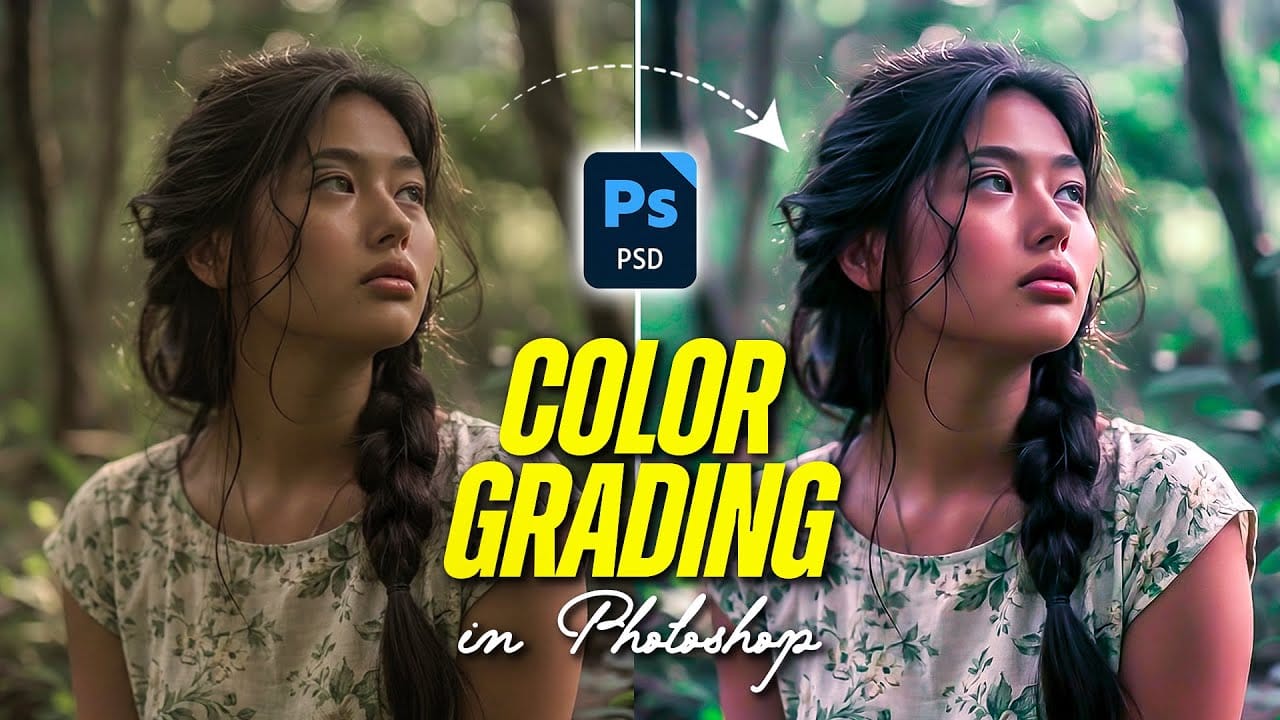
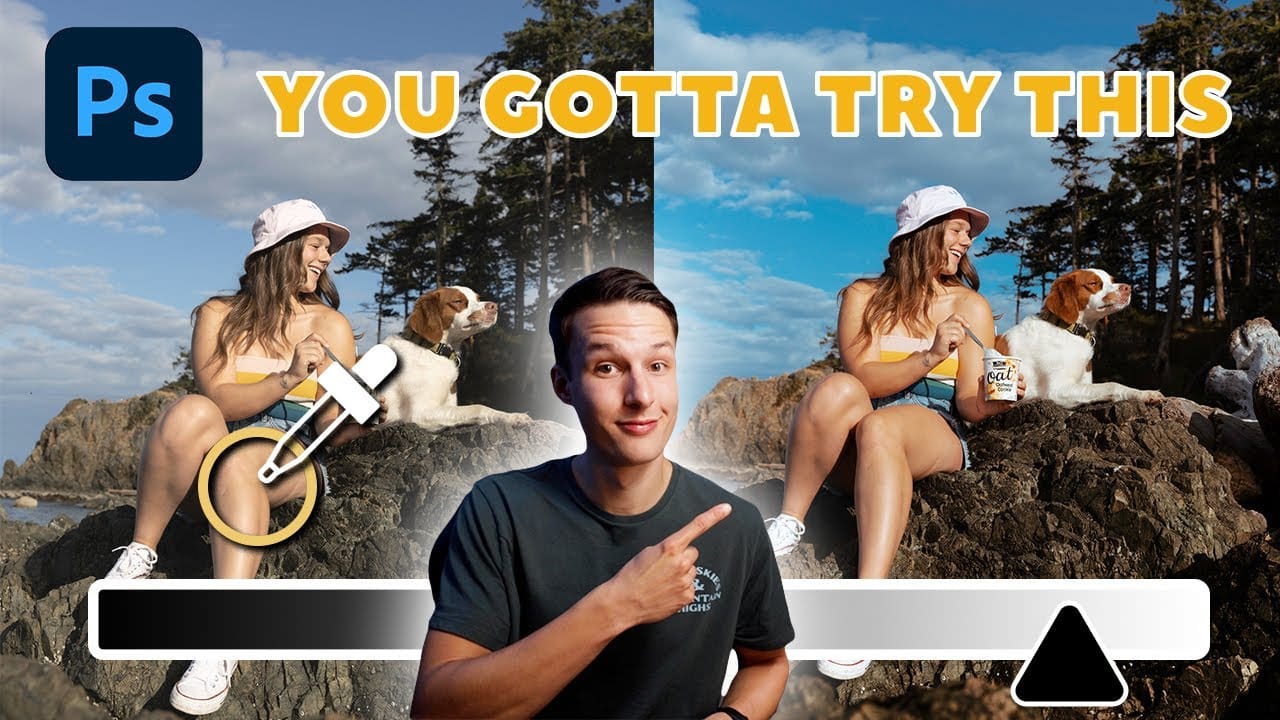
How to Color Grade Without Oversaturating Skin Tones Using Camera Raw
Professional color grading often creates a dilemma: boosting vibrant colors while keeping skin tones natural. Traditional saturation adjustments can make portraits look overprocessed, turning skin an unflattering orange or magenta. This technique uses Camera Raw's masking tools to selectively enhance background colors while protecting skin tones, creating vibrant images that still look authentic. Watch the Video Practical Tips These key techniques will help you achieve professional color g
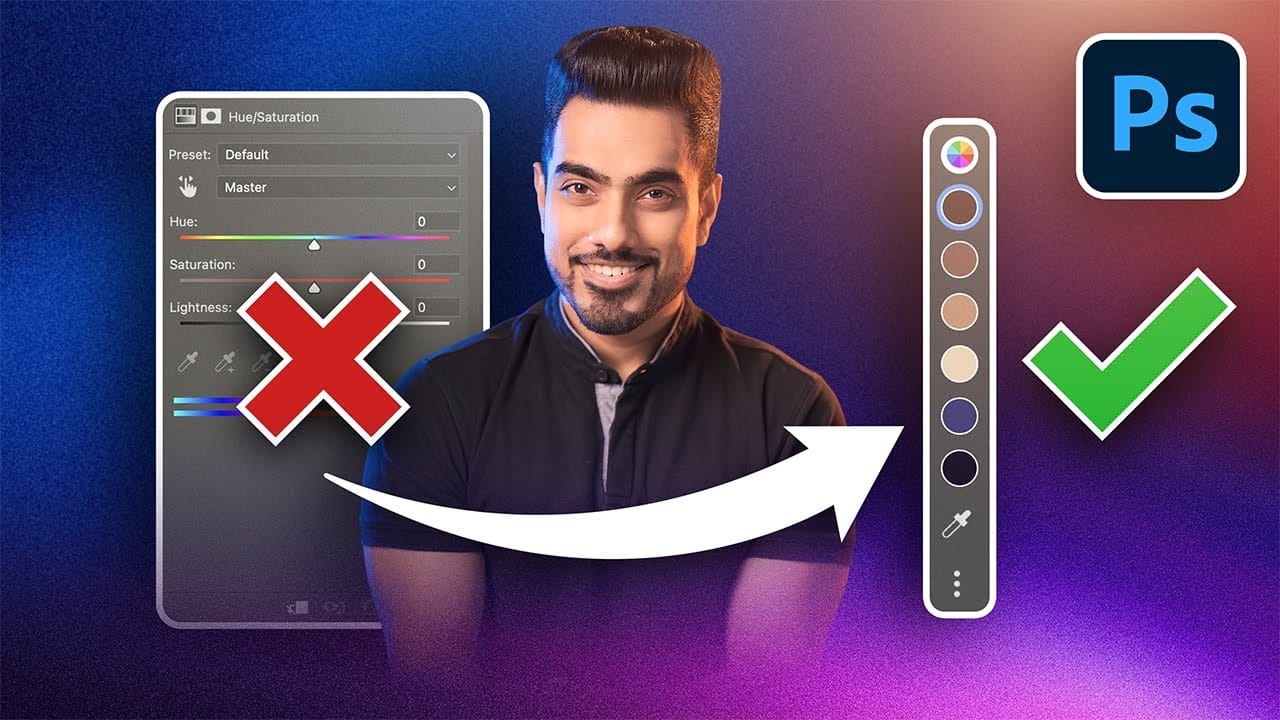
Photoshop's New Adjust Colors Feature vs Traditional Hue/Saturation
Color adjustments just became dramatically simpler in Photoshop. The new Adjust Colors feature automatically detects the six most prominent colors in any image, letting you target and modify specific hues with a single click. No more guessing which color range to select or struggling with imprecise selections. This intuitive approach transforms what used to be a multi-step process into an instant workflow. Traditional hue/saturation adjustments often missed their target or required extensive fi
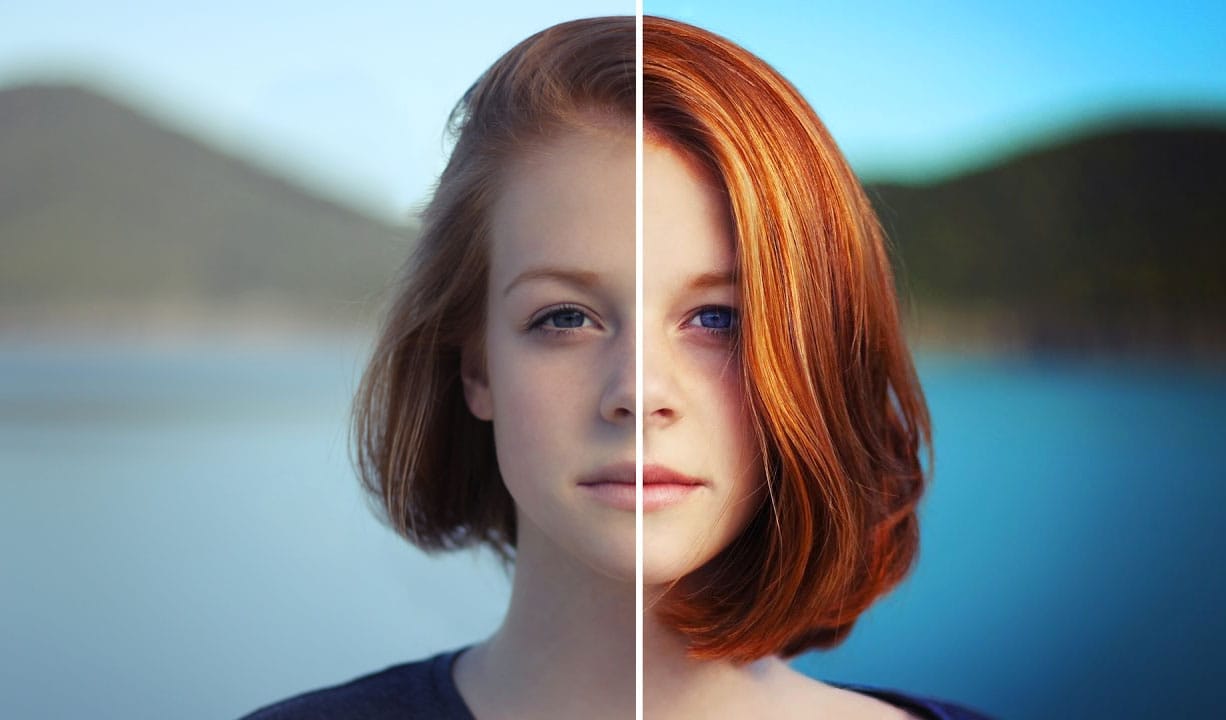
How to make colors pop in Photoshop
Selective color enhancement transforms dull photographs into vibrant, dramatic images by targeting specific areas like hair, skin, eyes, and clothing. This non-destructive approach uses precise selections and adjustment layers to boost colors naturally. The technique creates professional results by treating each element separately, allowing you to enhance blue sweaters, brighten eyes, warm skin tones, and intensify hair colors without affecting the entire image. Watch the Tutorial Practical
The Single Best Color Tool in Photoshop
In this tutorial, you will uncover the often-overlooked capabilities of Photoshop's Selective Color Adjustment Layer. This powerful tool allows you to perform both subtle and dramatic color grading, giving your images a polished look similar to fine art. You'll learn techniques to intensify colors, separate various hues for added depth, and achieve better overall color balance in your work. This ensures that your images maintain their vibrancy without the risk of over-saturation. The tutorial
3 must-try techniques to enhance colors in Photoshop
Many photographers and designers seek to infuse their images with vibrant, true-to-life colors that truly stand out. Achieving this level of color enhancement often requires more than basic adjustments; it demands a nuanced approach that breathes life into every detail. This tutorial uncovers three powerful, yet often overlooked, Photoshop techniques to elevate your color grading. Discover how to apply subtle, realistic color changes, sculpt specific color moods, and selectively refine tones wi

Get tutorials & freebies delivered to you.

Subscribe to the Photoshop Roadmap newsletter, a weekly roundup of new tutorials, insights and quality downloads, trusted by 6500+ readers.

You might also like

How to Use the Automatic Blemish Removal Tool in Adobe Camera Raw

Adobe Camera Raw's blemish removal tool scans a portrait and cleans skin imperfections in seconds, without any manual selection. The workflow stays entirely non-destructive when the layer is converted to a smart object first, and a fade slider lets you control how much retouching is actually applied...

How to Use a Grey Layer to Spot and Fix Mask Edges in Photoshop

Edge halos and stray artifacts are easy to miss when masking a subject, especially with AI-generated selections. Placing a neutral grey layer beneath your masked subject forces those problem areas into plain view, making cleanup faster and more precise. Practical Tips These steps cover the core workflow shown in...

How to Use the Light Adjustment Layer in Photoshop Effectively

Photoshop's Light adjustment layer brings Camera Raw-style tonal controls — exposure, contrast, highlights, shadows, whites, and blacks — directly into a non-destructive layer workflow. The real value isn't in what the sliders do individually, but in how you sequence them to expand dynamic range and reveal...

Photoshop’s Big 5: The Features That Actually Mattered This Year So Far

Photoshop updates land continuously throughout the year, but not every new addition reshapes how we actually work. While some releases bring minor UI polish or experimental tools, a handful of recent additions stand out as genuine upgrades to daily creative production. Rather than sifting through endless release notes, here is...

How to Use the Vectorscope in Camera Raw to Correct Skin Tones

Monitors vary, room lighting shifts, and your eyes adapt — none of which makes for reliable skin tone judgments. Camera Raw's vectorscope gives you a measurement-based alternative, displaying hue and saturation data visually so you can align skin tones to a scientifically accurate target line, regardless of your...

You’ve successfully subscribed to Photoshop Roadmap
Welcome back! You’ve successfully signed in.
Great! You’ve successfully signed up.
Success! Your email is updated.
Your link has expired
Success! Check your email for magic link to sign-in.