Color casts can ruin even the best photographs, making whites appear yellow, blue, or green instead of neutral. Poor white balance destroys the natural look of your images and creates an unprofessional appearance that's immediately noticeable to viewers.
These three techniques provide increasingly precise control over white balance correction, from the simple eyedropper method to advanced area averaging that ensures perfect neutrality across multiple reference points.
Watch the Video
Video by PiXimperfect. Any links or downloads mentioned by the creator are available only on YouTube
Practical Tips
Master these white balance correction techniques for consistently accurate color results:
- Set the eyedropper sample size to 3x3 pixels to avoid single-pixel color variations when using the Color and Vibrance adjustment layer
- Convert to Smart Filter before applying Camera Raw so you can modify settings later without starting over
- Use click-and-drag with Camera Raw's white balance eyedropper to sample an average across multiple neutral areas
- Record temperature and tint values from Camera Raw to apply identical corrections using adjustment layers
- Select all neutral areas with the Lasso tool, then use Filter > Blur > Average for the most accurate reference point
Related Articles and Tutorials
Explore these color correction techniques to enhance your photo editing skills:
7 Photoshop Tools Replaced by AI: Are They Still Relevant?
Adobe’s integration of AI-powered features has fundamentally changed how photographers and designers approach common editing tasks. From reflection removal to noise reduction, many traditional Photoshop tools now have AI counterparts that promise faster results with minimal manual work. This video demonstrates how seven classic Photoshop tools compare against their AI

Understanding White Balance in Photoshop: Temperature vs Tint Explained
White balance confusion ends here. Temperature and tint work differently to fix color casts, and knowing when to use each tool transforms how you correct photos.
Photoshop's new Color and Vibrance adjustment layer finally brings these essential controls natively into the workspace, eliminating the need to jump into Camera Raw for basic corrections.
Watch the Tutorial
Essential White Balance Tips
* Temperature controls warm versus cool colors - drag right for yellows and oranges, left for
How to Fix Skin Tones in Photoshop - Complete Guide
Skin tones can make or break a portrait, yet color casts and uneven lighting often leave subjects looking unnatural or flat. Whether dealing with mixed lighting conditions, camera white balance issues, or post-processing mishaps, getting skin colors right requires a systematic approach that works consistently across different scenarios.
This comprehensive method addresses the root causes of skin tone problems while preserving natural texture and detail, ensuring your portraits look both polishe
One click instantly fixes color in Photoshop
In this tutorial by Colin Smith from Photoshop Cafe, you'll learn how to instantly fix the color of your photos in a single click using Photoshop and Lightroom. Colin introduces a powerful tool that can correct color issues effortlessly, making your images look more natural and vibrant.
This quick tutorial focuses on achieving perfect color balance with minimal effort. Whether you're a beginner or a seasoned Photoshop user, Colin's method is straightforward and effective, allowing you to enhanc
Avoid the 3 worst Photoshop photo editing mistakes
Colin Smith from Photoshop Cafe shares essential tips to help you avoid the three most common Photoshop photo editing mistakes. These mistakes can make your edits look amateurish, but with Colin's guidance, you'll learn how to sidestep them and enhance your editing skills.
The first mistake is over-sharpening, which Colin calls the "Sizzle Sharpen." This occurs when the halos around edges become too prominent, making the image look unrealistic. To avoid this, Colin advises converting your layer
Advanced Black and White Photo Editing with Selective Masking in Photoshop
Most black and white conversions fall flat because they rely on simple global adjustments that treat the entire image uniformly. Professional-level dramatic black and white photos require selective contrast adjustments that target specific areas like skies, foregrounds, and tonal ranges independently.
This approach transforms ordinary monochrome images into compelling, high-contrast photographs with depth and visual impact.
Watch the Full Tutorial
Essential Tips for Advanced Black and White

How to Change Black and White to Any Color in Photoshop
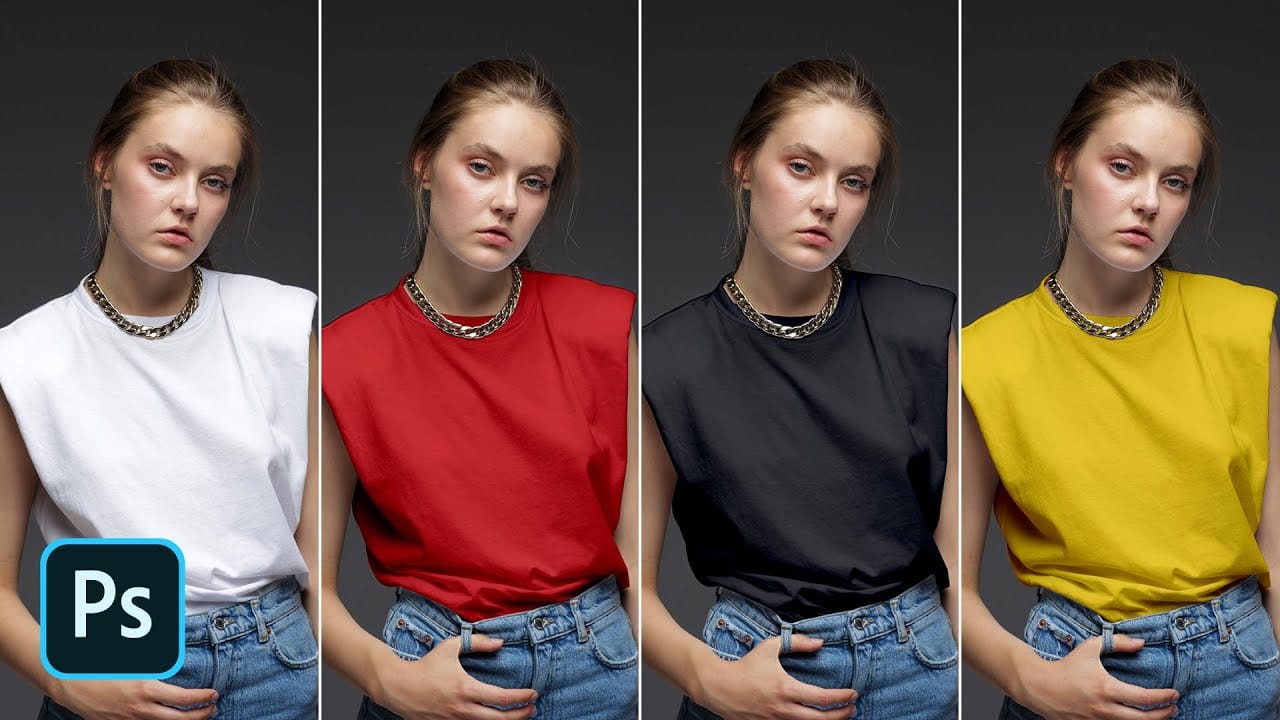
Standard color adjustment tools fail when you try to change pure black or white elements in your photos. These neutral tones lack the hue and saturation data that typical color replacement methods require.
This technique uses Hue/Saturation adjustment layers with strategic lightness modifications to transform both black and white areas into any color you need.
Watch the Tutorial
Essential Tips for Changing Black and White Colors
* Use the Object Selection tool with rectangle mode for fast
Turn White into Any Color in Photoshop
In this tutorial, WebFlippy demonstrates how to effortlessly transform white areas into any color using blending modes in Photoshop. This technique is especially useful for photo retouching and product photography, allowing for versatile color adjustments without affecting the overall image quality.
The tutorial provides a straightforward approach to applying this method, ensuring that you can quickly adapt white elements in your photos to match your desired color scheme. With clear instruction
How to Create Perfect Black and White Photos Using Camera Raw Filter in Photoshop
Camera Raw's black and white mixer transforms color photos into striking monochrome images with precision control. The built-in adjustment tool lets you click and drag directly on your image to lighten or darken specific tones.
This non-destructive method preserves your original photo while giving you complete creative control over contrast and tonal balance.
Watch the Tutorial
Essential Tips for Black and White Conversion
* Convert your layer to a Smart Object first by choosing Filter >

How to Fix Three Confusing Default Settings in Photoshop
Sometimes Photoshop's default settings can make beginners think their software or hardware is broken. Images that fly around uncontrollably when panning, scroll bars appearing on full-size images, and zoom tools that seem to have a mind of their own are all caused by simple preference settings that can be easily adjusted.
These three navigation behaviors often frustrate new users, but understanding what they do and how to control them will give you a much smoother editing experience.
Watch th

7 Photo Mistakes You Can Easily Fix in Photoshop
Even experienced photographers struggle with certain technical challenges that can ruin an otherwise perfect shot. Motion blur from camera shake, missed focus on key subjects, overexposed highlights, or unwanted color casts are frustrating problems that happen to everyone—and sometimes they're impossible to avoid in-camera.
This comprehensive tutorial demonstrates seven essential Photoshop techniques for rescuing imperfect photos. From advanced sharpening methods to selective color correction,