White balance confusion ends here. Temperature and tint work differently to fix color casts, and knowing when to use each tool transforms how you correct photos.
Photoshop's new Color and Vibrance adjustment layer finally brings these essential controls natively into the workspace, eliminating the need to jump into Camera Raw for basic corrections.
Watch the Tutorial
Video by photoshopCAFE. Any links or downloads mentioned by the creator are available only on YouTube
Essential White Balance Tips
- Temperature controls warm versus cool colors - drag right for yellows and oranges, left for blues and cyans
- Tint adjusts green versus magenta balance - use this to fine-tune fluorescent lighting or other weird color casts
- Find areas that should be white or neutral gray to identify which adjustment your image needs
- Use the eyedropper tool on neutral areas for quick automatic correction
- Combine both temperature and tint adjustments when images have multiple color cast issues
Related Tutorials About Color Correction
Explore more advanced color correction techniques and tools for professional results.
How to Color Correct Photos in Adobe Camera Raw
Color toning in Photoshop is an essential skill for anyone looking to enhance their images. With the Camera Raw Filter, you can easily adjust the warmth and coolness of your photos, bringing out the desired mood and atmosphere. This feature allows you to go beyond basic edits and introduce a dynamic range of tones that can transform your work.
In addition, creating custom presets can simplify your editing process significantly. By saving your favorite adjustments, you can apply them to future p
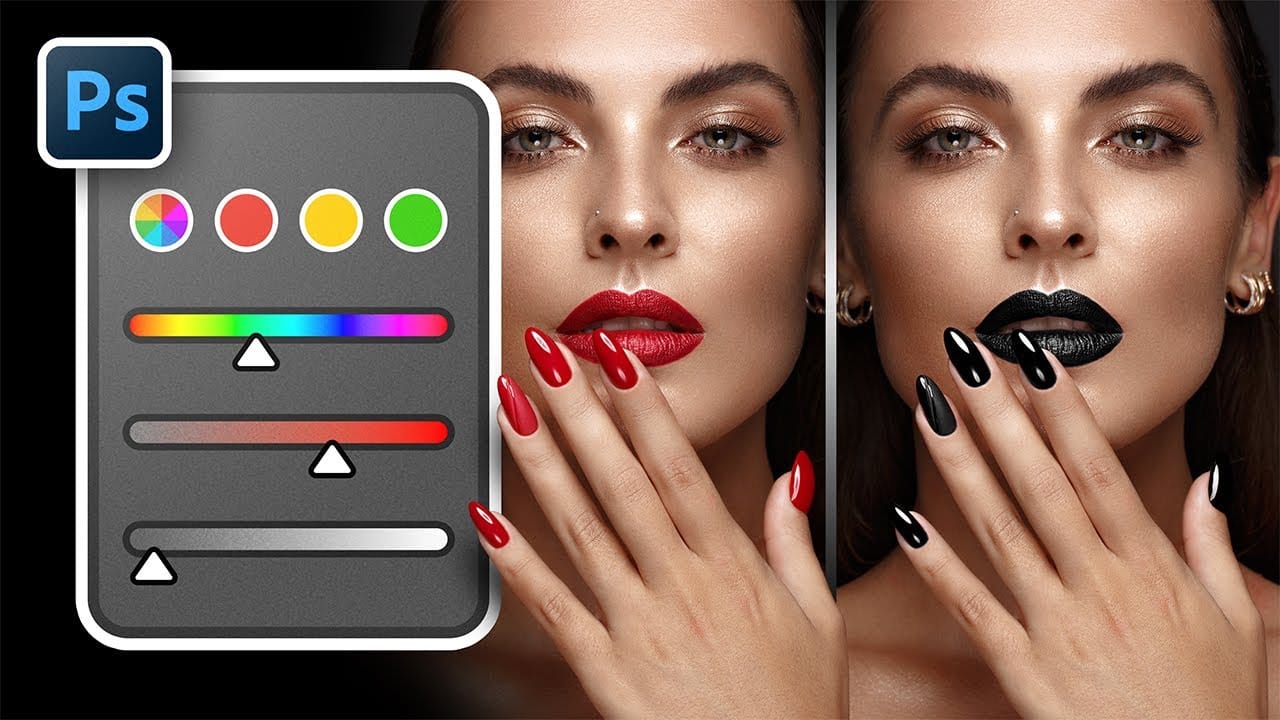
Complete Guide to Photoshop's Hue/Saturation Tool: Mastering Color Adjustments
Color correction and creative color grading often come down to mastering a single, powerful tool in Photoshop: the Hue/Saturation adjustment. While newer features like Camera Raw filters and advanced color wheels grab attention, the fundamentals of hue, saturation, and lightness remain the backbone of professional color work. Understanding these core principles unlocks precise control over every pixel in your images.
This comprehensive tutorial covers everything from basic concepts to advanced
Stop Ruining Colors with Curves With This Photoshop Trick Instead
Using Curves adjustments in Photoshop often creates unwanted color shifts that can make images look oversaturated or unnatural. While the traditional solution involves switching to Luminosity blend mode, this approach tends to drain the vibrancy from your photos, leaving them flat and lifeless.
This tutorial reveals a superior technique using Camera Raw's refined saturation control that gives you precise command over color intensity while maintaining natural-looking results. You'll discover how

Two Simple Color Grading Techniques Using Photoshop Curves and Levels
Color grading transforms flat images into vibrant, cinematic visuals that capture attention and convey mood. The difference between an ordinary photo and one with professional depth often comes down to how well shadows, midtones, and highlights work together to create visual interest.
These two Photoshop techniques using Curves and Levels offer a quick path to achieving that coveted "pop of color" without complex workflows or advanced skills.
Watch the Tutorial
Understanding Auto Color Opti