Create Custom Photoshop Parametric Filters with Substance Designer

Create Custom Photoshop Parametric Filters with Substance Designer

Photoshop's Parametric Filters unlock a new dimension of creative control, offering fully customizable and interactive effects that can be applied to any layer. Unlike traditional static filters, parametric filters are dynamic, allowing for real-time adjustments and a non-destructive workflow.

This tutorial delves into the process of crafting these advanced filters using Adobe Substance Designer, guiding you through the essential components and techniques needed to build sophisticated, user-controlled effects for your Photoshop projects.

Watch the Video

Video by Photoshop Training Channel. Any links or downloads mentioned by the creator are available only on YouTube

Understanding Parametric Materials and Node-Based Design

Adobe Substance Designer is a powerful application primarily used for creating dynamic, adjustable textures, structures, and materials, particularly for 3D models. Its core strength lies in its node-based editing system, where each node represents a specific effect or adjustment. By intuitively connecting these nodes, artists and designers can construct complex materials and visual effects.

What sets Substance Designer apart is its ability to create parametric materials. This means that instead of just saving the final image, the application saves the entire process used to generate that image. This non-destructive workflow offers immense flexibility, enabling infinite variations and adjustments without redoing work from scratch. Crucially, this same parametric technology can be harnessed to develop custom filters for direct use within Photoshop.

The concept of a node-based system provides a modular approach to design. Individual operations, like blurring, color adjustment, or noise generation, are encapsulated within distinct nodes. These nodes have inputs and outputs, allowing for a visual flow of information and effects. This visual programming paradigm makes it easier to understand, debug, and modify complex filter chains, extending its utility beyond traditional static image creation.

Practical Tips for Creating Parametric Filters

  • Use Expose as New Graph Input from a node's Flyout menu to create adjustable sliders and controls directly in Photoshop.
  • Ensure node compatibility by paying attention to color (orange) versus grayscale (gray) outputs and inputs, utilizing nodes like RGBA merge or Gradient Map for necessary conversions.
  • Optimize your graph layout by organizing nodes logically; use the F key to frame everything on screen, and the mouse wheel for efficient zooming and panning.
  • Leverage the 2D view to monitor real-time changes as you adjust node properties, providing instant visual feedback on your filter's effect.
  • Save your finished filter as an .spsar file using the 'Publish SPSAR' option from the package's export icon, making it ready for import into Photoshop's Parametric Filters panel.

More Tutorials about Photoshop Filters

Explore additional resources to enhance your understanding and capabilities with Photoshop filters.

Customize and Create Your Own Photoshop Tools
Unlock the Power of “Tool Presets” to Create Custom Tools & Make Your Workflow Extremely Fast! Simplify your Photoshop life by learning the concepts of Tool Presets, and then, we will explore some built-in presets to get you started. In this tutorial, we will learn to create two super useful custom tools, and also how to create your own tools according to your personal workflow in Photoshop. No matter what you do in Photoshop, from designing to retouching or even compositing, custom tools are i
Create your own amazing Color Lookup Tables (LUT) filters in Photoshop
In this video by PiXimperfect, viewers can learn how to create their own color lookup tables and incorporate them into Photoshop. Once the tables are created, users can apply their custom filters with a single click on any image. The process involves combining multiple adjustment layers to achieve the desired effect, which can then be saved as a preset for future use. The author provides step-by-step guidance, making the technique accessible to both novice and experienced Photoshop users. By le
Filter Forge: This Plugin Will Change The Way You Use Photoshop
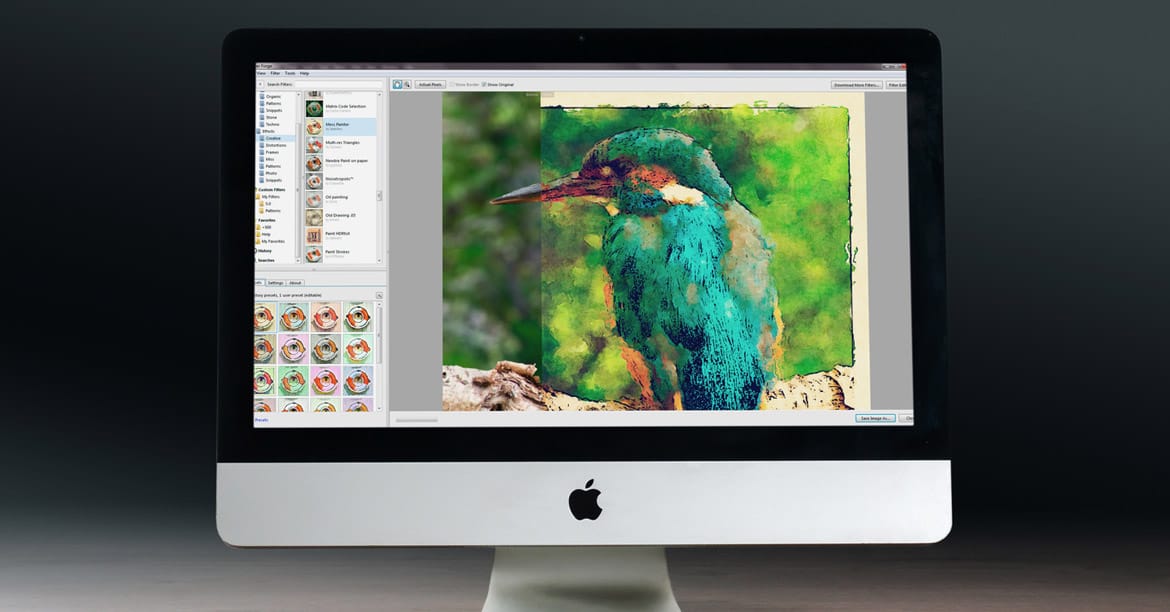
Would you like to learn a secret trick many photographers and graphic designers use to make their photos look more professional? It’s actually a simple plugin that makes your photo editing work a whole lot easier. Since Photoshop’s release in 1990, the software has evolved substantially to bring you features beyond photo editing, like 3D rendering and animation. Today, Photoshop plugins aren’t essential to managing your photo editing work. Yet, a handful of companies is still developing
Generate unlimited one-click color filters in Photoshop
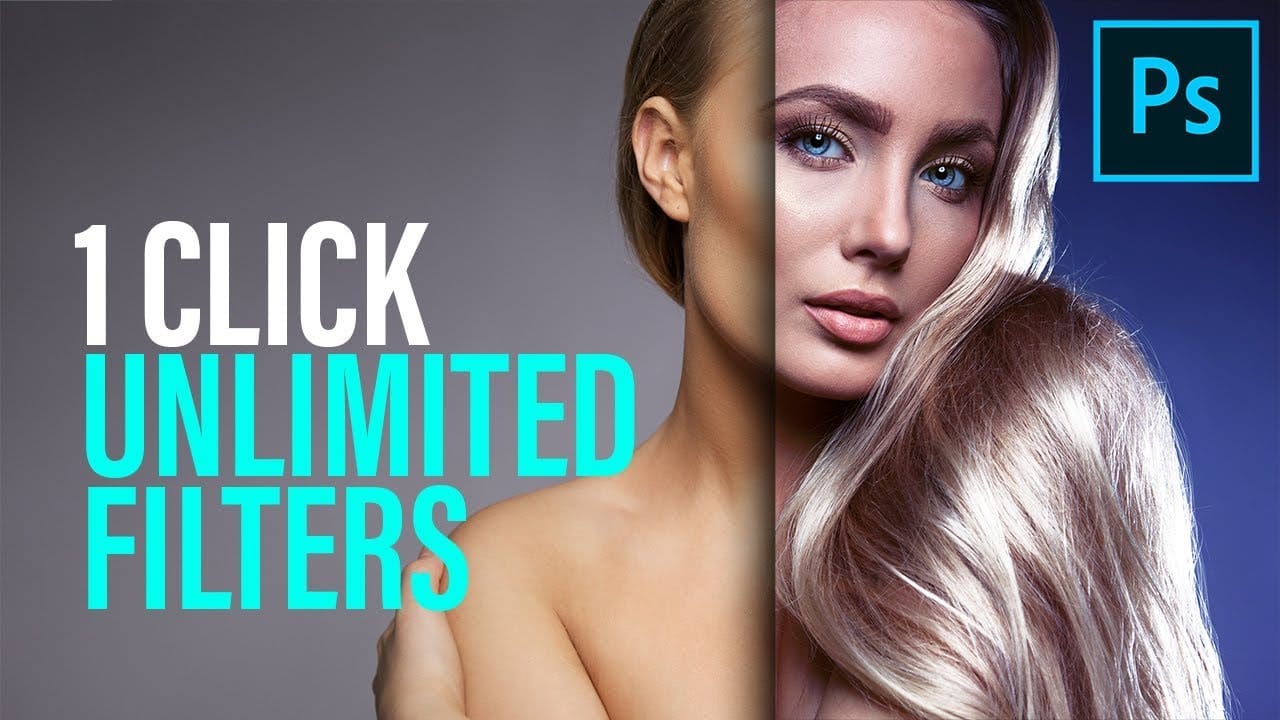
In this tutorial, PiXimperfect shows viewers how to create one-click color filters in Photoshop. The process involves combining the concepts of Gradient Fill, Gradient Maps, Blend Modes, and Blend If. By following these steps, users can generate unlimited unique filters with ease. PiXimperfect takes the viewer through each technique, providing clear instructions and demonstrations. The tutorial promises to help users create "the most awesome filters automatically in Photoshop." With this knowle

Get tutorials & freebies delivered to you.

Subscribe to the Photoshop Roadmap newsletter, a weekly roundup of new tutorials, insights and quality downloads, trusted by 6500+ readers.

You might also like

Painting Digital Art Backgrounds: Techniques and Workflow

A well-crafted background can anchor an entire digital painting, providing atmosphere, depth, and visual context for the subject. This video demonstrates practical approaches to building backgrounds from scratch using digital tools, covering brush selection, color layering, and compositional thinking. Watch the Video Practical Tips Keep these core principles in...

How to Use the Light Adjustment Layer in Photoshop

Photoshop's new Light adjustment layer brings Camera Raw controls — exposure, contrast, highlights, shadows, whites, and blacks — directly into the layers panel as a fully non-destructive, maskable layer. This means you can stack multiple light adjustments, target specific subjects, and combine them with Blend If and other adjustment...

How to Use Object Selection, Remove Background, and the Selection Brush in Photoshop

Selections determine the quality and flexibility of almost every edit you make in Photoshop. Three modern tools — the Object Selection tool, Remove Background with Harmonize, and the Selection Brush — handle the most common selection tasks with far less manual effort, while keeping your original image intact through non-destructive layers....

How to Paint a Digital Background and Composite Wildlife Into It

Building a painted digital background from scratch gives you full control over color, mood, and composition before a single wildlife photo is placed. This walkthrough covers the complete process: blocking in shadows on a black canvas, layering foliage with textured brushes, positioning bird subjects on hand-painted stones, and using...

How to Sharpen Skin Texture Using Frequency Separation in Photoshop

Retouched skin can look great up close but lose all its natural texture the moment you zoom out. Rather than relying on standard sharpening filters, you can recover that texture by duplicating the high-frequency layer inside a frequency separation setup — a method that works whether or not you'...

You’ve successfully subscribed to Photoshop Roadmap
Welcome back! You’ve successfully signed in.
Great! You’ve successfully signed up.
Success! Your email is updated.
Your link has expired
Success! Check your email for magic link to sign-in.