Create Latte Art in Photoshop

Create Latte Art in Photoshop

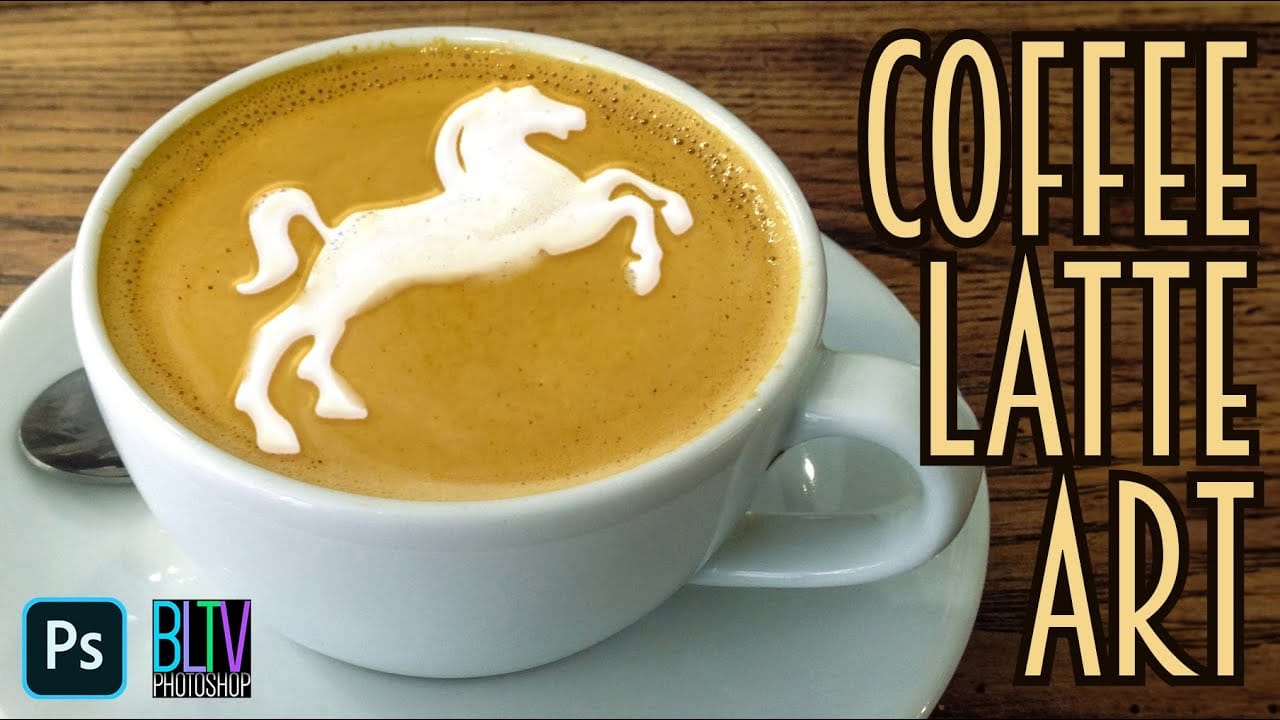
This tutorial demonstrates how to create latte art in Adobe Photoshop, transforming images into chocolate syrup designs on a virtual caffè mocha.

Learn essential techniques for converting photos, clip art, or text into high-contrast designs, seamlessly integrating them into a digital beverage.

Watch the Tutorial

Video by Blue Lightning. Any links or downloads mentioned by the creator are available only on YouTube

Digital Artistry: Crafting Realistic Beverage Customizations

Digital latte art offers intricate designs impossible with physical syrup. Photoshop's precise image manipulation tools allow for seamless integration of visuals into beverages.

The core principle involves converting complex images into high-contrast black and white forms, mimicking syrup on foam. Techniques like posterization and median filtering simplify images to essential shapes.Realistic textures, sheen, and liquid flow are achieved using filters and layer styles such as Plastic Wrap, Bevel & Emboss, and ZigZag, making digital art indistinguishable from real latte creations.

Practical Tips for Crafting Digital Latte Art

  • Prepare your source image: Desaturate and convert photos to pure black and white using Image > Adjustments > Posterize and Filter > Noise > Median for a simplified, high-contrast shape.
  • Isolate the design: Utilize Select > Color Range to select and remove white areas, leaving only the black design on a transparent background for easy overlay.
  • Leverage Smart Objects: Convert your design layer to a Smart Object to apply non-destructive filters and allow for future image replacement without redoing effects.
  • Enhance realism with Layer Styles: Apply Color Overlay for chocolate color, Bevel & Emboss for a raised, syrupy look, and the ZigZag filter for organic ripples.
  • Manage light and shadow: Use the Plastic Wrap filter after temporarily rotating the image to align highlights with the coffee cup's light source, then rotate back, ensuring realistic reflections.

Explore more creative possibilities and expand your Photoshop skills with these additional articles and tutorials.
Photoshop: How to Create Coffee Latte Art
In this Photoshop tutorial by Marty Geller from Blue Lightning TV, you will learn to create stunning coffee latte art. This guide is designed to be straightforward, making it suitable for both beginners and those with some experience in Photoshop. Throughout the tutorial, Geller breaks down the process into easy-to-follow steps. He covers essential tools and techniques, providing clear explanations that help you understand how to manipulate images and create beautiful designs. From developing t
Create a delicious bagels text effect in Photoshop
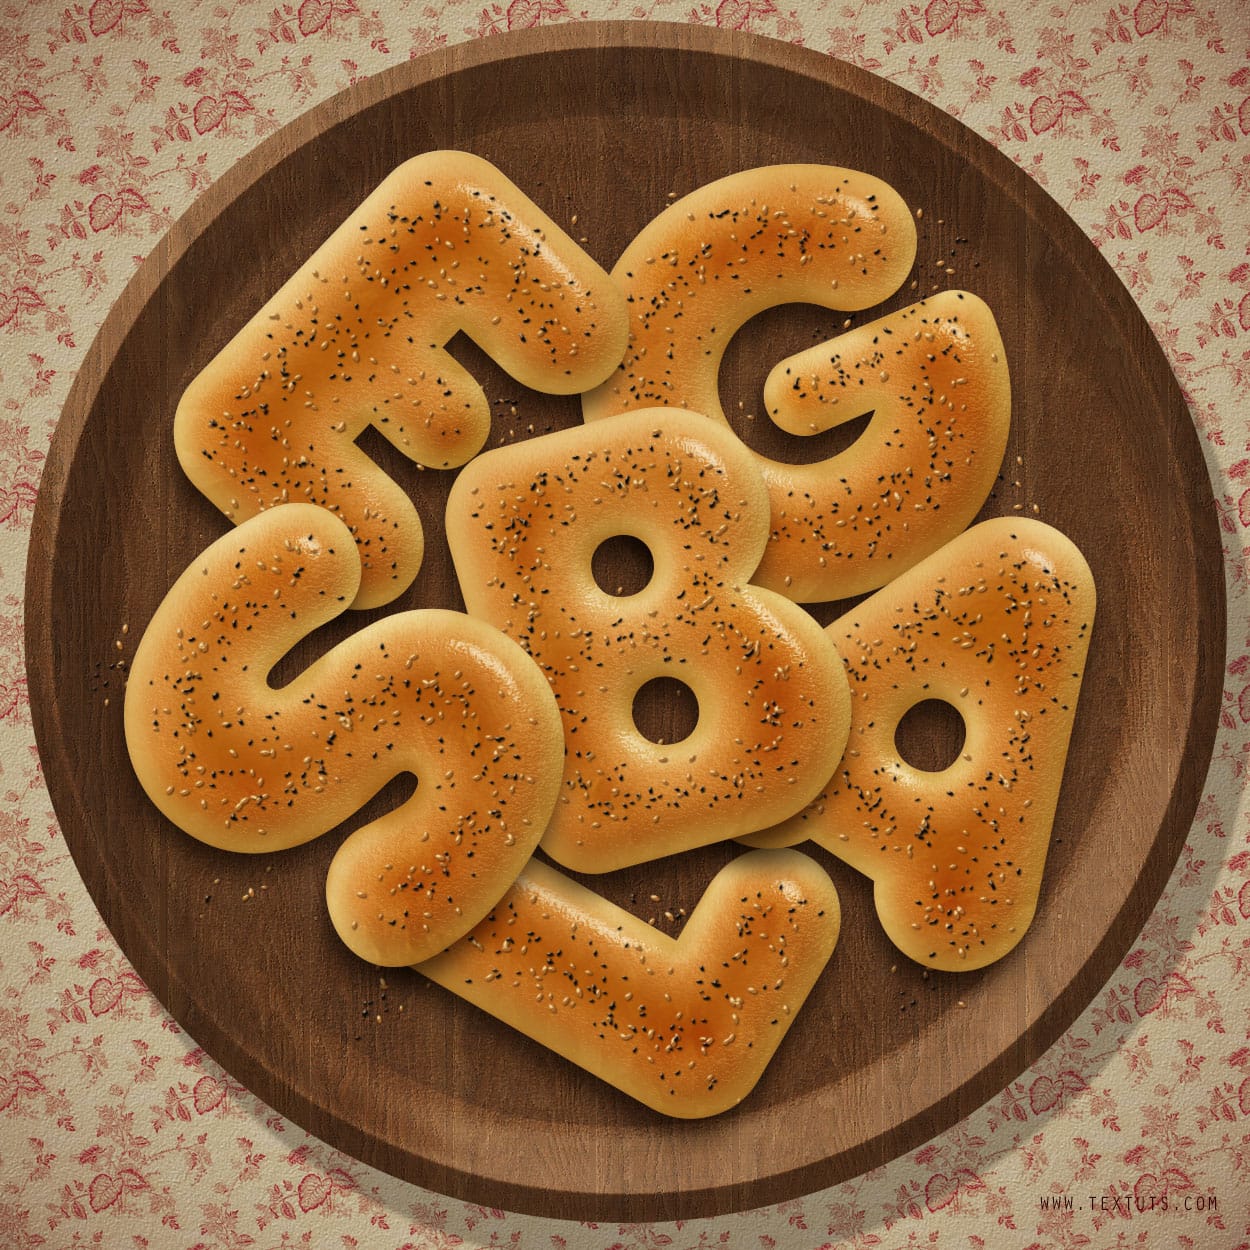
In this Photoshop tutorial by Hourn Sophal, you'll learn how to create a delicious bagels text effect. This tutorial guides you through the entire process, starting with choosing a suitable font and then using the powerful Layer Styles capabilities in Photoshop to transform the text into realistic, alphabet-shaped bagels. You'll learn how to apply various brushes and filters to add texture and depth, making the bagels look freshly baked and appetizing. The tutorial also covers techniques for ad
Learn Photoshop by Combining Tools and Techniques
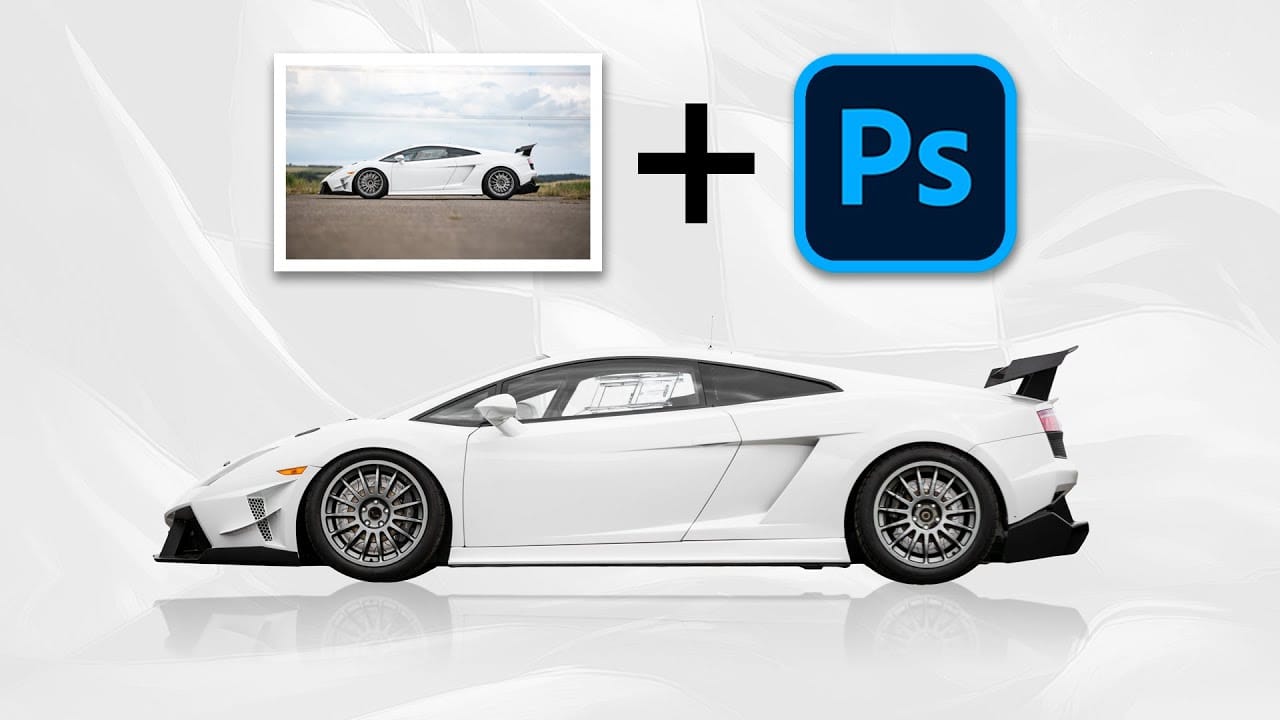
Learning Photoshop can be an exciting journey, especially when you explore various techniques and tools. This approach allows you to understand how different elements work together and enhance your creativity. In this presentation, you will follow along as the process begins with a straightforward out-of-camera photograph of a Supercar. Through a series of steps, you'll see how the image transforms into something entirely new. The focus will be on practical application, showing real-time adjust
Learn How to Create a Watercolor Photo Effect in Photoshop
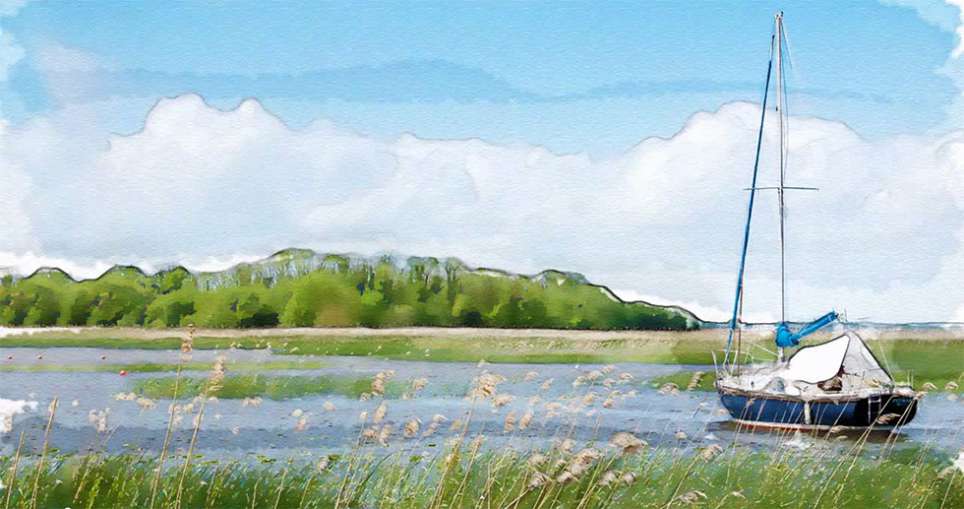
In this tutorial by Blue Lightning TV, Marty demonstrates how to transform an ordinary photograph into a stunning hand-painted watercolor painting using Photoshop. This method surpasses the built-in watercolor filter in Photoshop by allowing users to hand paint the image, offering greater nuance and control. The process begins with setting up the document at 1280 by 720 pixels with a resolution of 72 pixels per inch, then renaming the initial layer to “base” and creating a copy named “smart blur

Get tutorials & freebies delivered to you.

Subscribe to the Photoshop Roadmap newsletter, a weekly roundup of new tutorials, insights and quality downloads, trusted by 6500+ readers.

You might also like

How to Sharpen Skin Texture Using Frequency Separation in Photoshop

Retouched skin can look great up close but lose all its natural texture the moment you zoom out. Rather than relying on standard sharpening filters, you can recover that texture by duplicating the high-frequency layer inside a frequency separation setup — a method that works whether or not you'...

How to Remove Distractions, Expand Borders, and Polish a Portrait in Photoshop

A cluttered background, tight framing, and flat lighting can undermine an otherwise strong portrait. This workflow covers the full process of cleaning up a photo using Photoshop's AI-powered Remove Tool, extending the canvas with Generative Expand, replacing the sky, and finishing with Camera Raw adjustments for grain,...

You’ve successfully subscribed to Photoshop Roadmap
Welcome back! You’ve successfully signed in.
Great! You’ve successfully signed up.
Success! Your email is updated.
Your link has expired
Success! Check your email for magic link to sign-in.