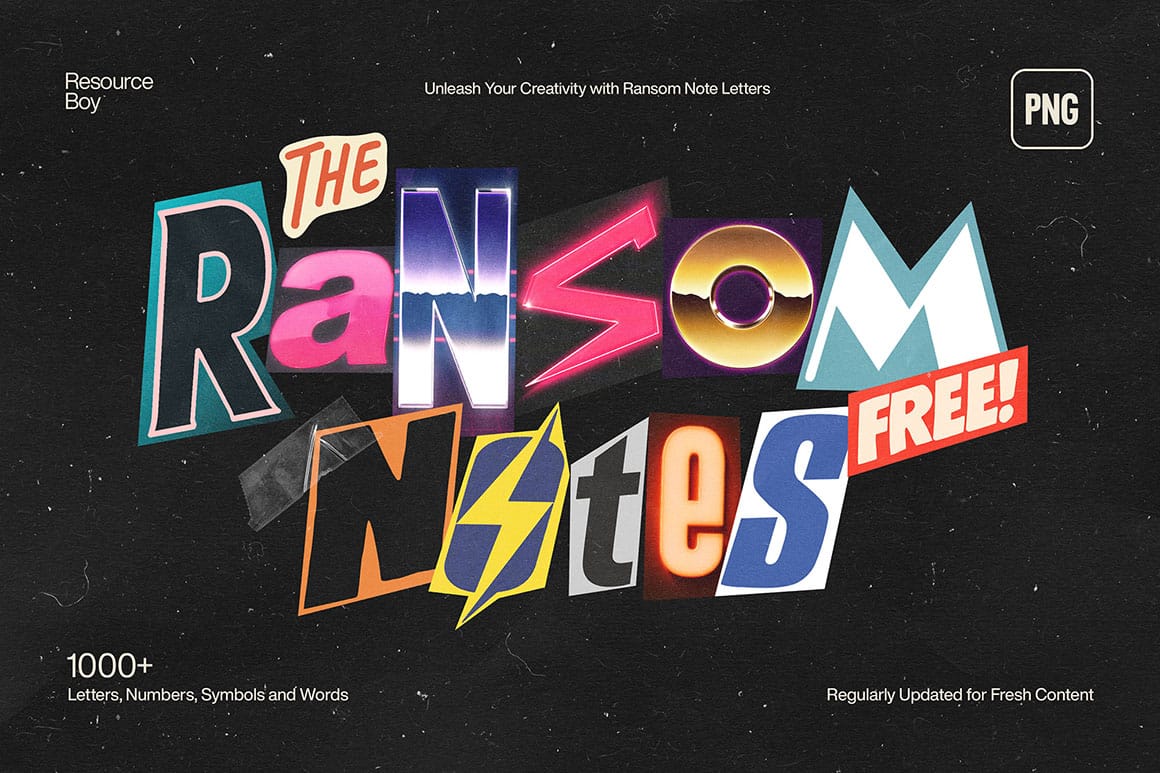
This tutorial demonstrates a unique Photoshop technique to transform text into a stylized, distressed ransom note, complete with torn paper elements and varied colors. This process can significantly enhance graphic design projects and is suitable for various creative applications.
Watch the Video
Video by Blue Lightning. Any links or downloads mentioned by the creator are available only on YouTube
Practical Tips for Ransom Note Typography
- Mix upper and lower case characters within your text for a more authentic ransom note appearance.
- Adjust kerning (space between characters) and leading (space between lines) using Alt/Option with arrow keys to create deliberate inconsistencies in spacing.
- Rasterize your text layer before applying advanced manipulations like drawing paths or using filters, as this converts text into pixels.
- Utilize the Pen Tool in 'Path' mode to precisely select irregularly shaped characters for individual coloring.
- Experiment with the Pencil Tool's 'Hue' blend mode when coloring selections to easily apply different colors while preserving the underlying texture.
More Tutorials about Text Effects in Photoshop
Explore additional Photoshop tutorials to master diverse text and image manipulation techniques.
Download 1000 Free Colorful Ransom Note Letters
This collection offers 1,000 free colorful ransom note letters that can significantly enhance your creative projects. Whether you are working on digital designs, flyers, or print materials, these letters provide a unique and playful touch.
The variety in styles and colors allows for numerous applications, making it easy to find the perfect fit for any project. These alphabet images stand out, turning ordinary designs into eye-catching visuals that grab attention.
Using these letters is straigh
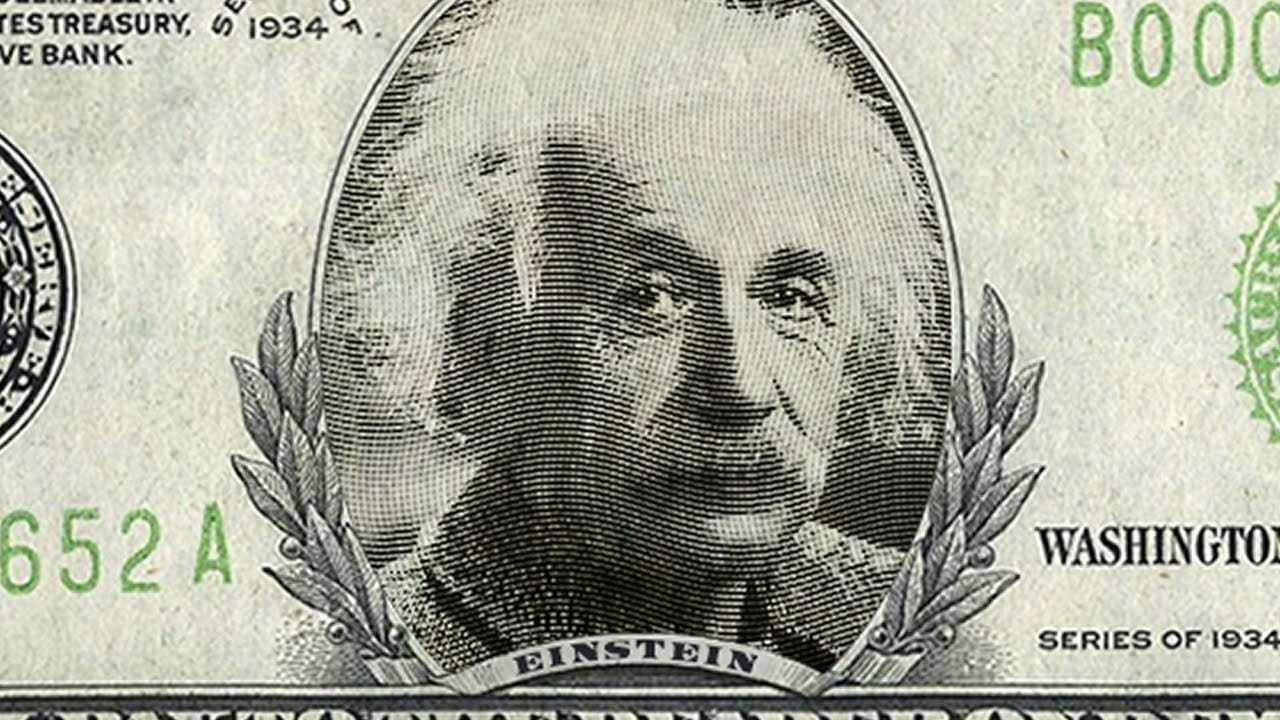
How to Put a Face onto Paper Money in Photoshop
In this Photoshop tutorial, Marty Geller from Blue Lightning TV shows you how to transform a photo into the appearance of a metal engraving and then place it, along with a name, onto paper currency.
The tutorial begins by instructing you to download the Paper Money Template PSD file and the Legal Tender Regular font. Once you have these resources, you can follow the step-by-step guide to achieve the desired effect.
The author explains how to use Photoshop tools and techniques to create the eng
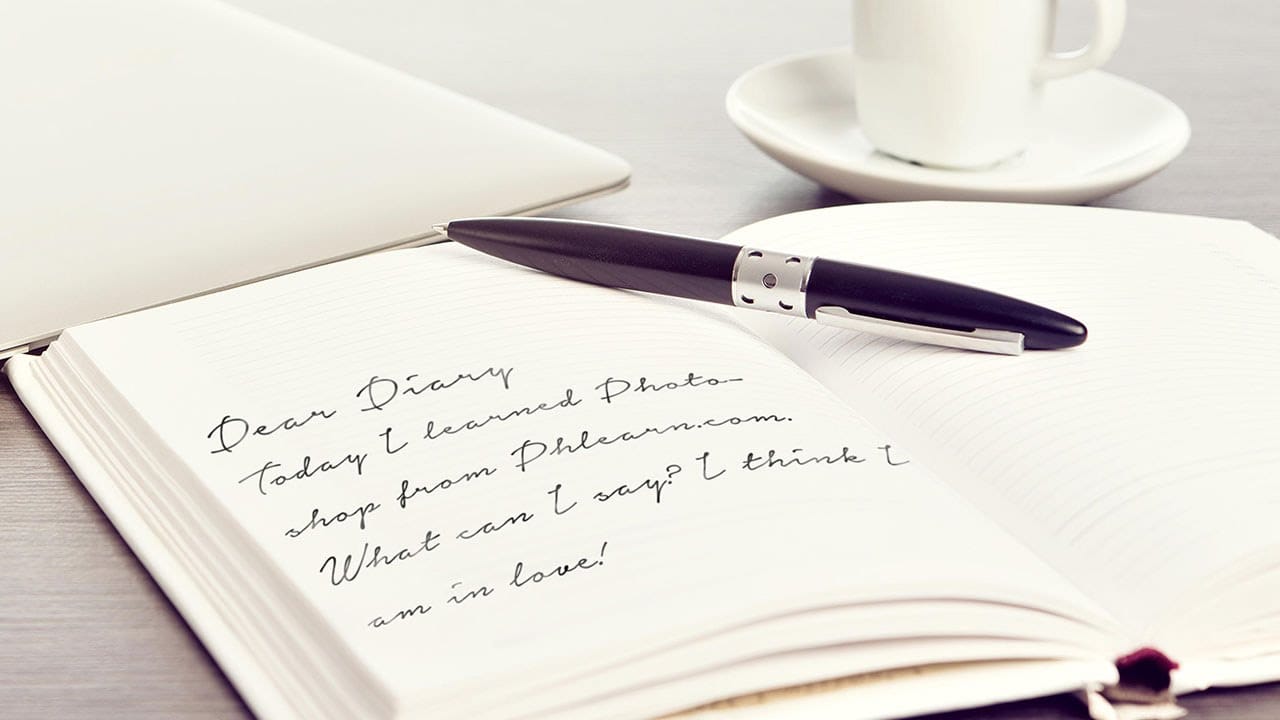
Create handwritten text in Photoshop
In this tutorial, you will discover how to create handwritten text in Photoshop. The process is straightforward and involves a few simple steps. First, you'll need to choose a font that resembles handwritten text. Once you've selected the appropriate font, you can start typing out your desired text and adjust the size and positioning to your liking.
Next, you'll want to add some texture to the text to make it look more authentic. This can be achieved by using various Photoshop tools, such as th
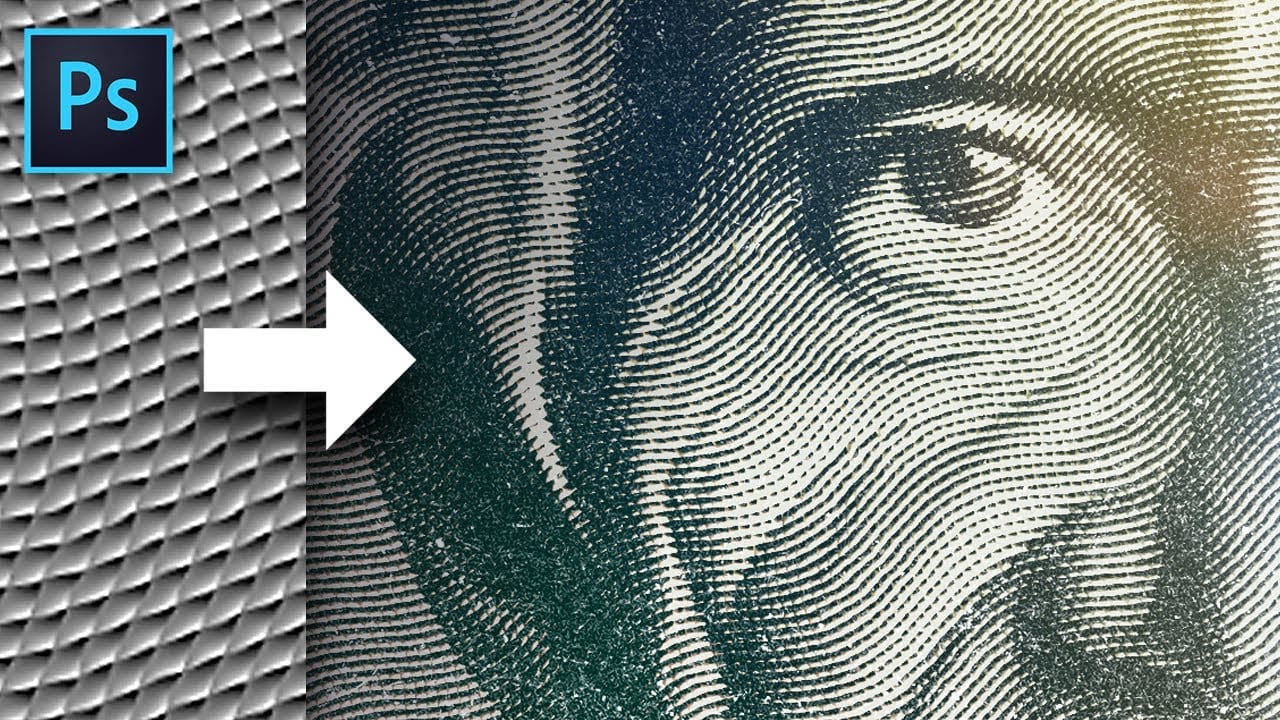
This magic texture creates an engraved money effect in Photoshop
Discover how to create a unique engraved money effect in Photoshop with this simple yet powerful texture. In this tutorial by Texturelabs, you'll learn how to transform your photos and artwork to achieve an authentic dollar-bill style treatment.
The guide starts with the basics of setting up the texture, ensuring you have the foundation for the effect. Then, it dives into various techniques to refine your image, giving it that classic engraved illustrated look. Whether you’re working on a creat