Create a vintage movie effect from a photo

Create a vintage movie effect from a photo

Transforming modern digital photographs into nostalgic, vintage-style images is a popular creative pursuit in photo editing. This technique allows you to evoke the aesthetic of bygone eras, adding character and a unique artistic flair to your contemporary shots.

In this tutorial, you will learn how to apply the distinctive look of an 8mm movie still frame to any color photograph using Adobe Photoshop. The process involves subtle adjustments to color, blur, and the integration of a specialized texture to achieve an authentic vintage feel.

Watch the Video

Video by Blue Lightning. Any links or downloads mentioned by the creator are available only on YouTube

The Charm of Vintage Aesthetics in Digital Art

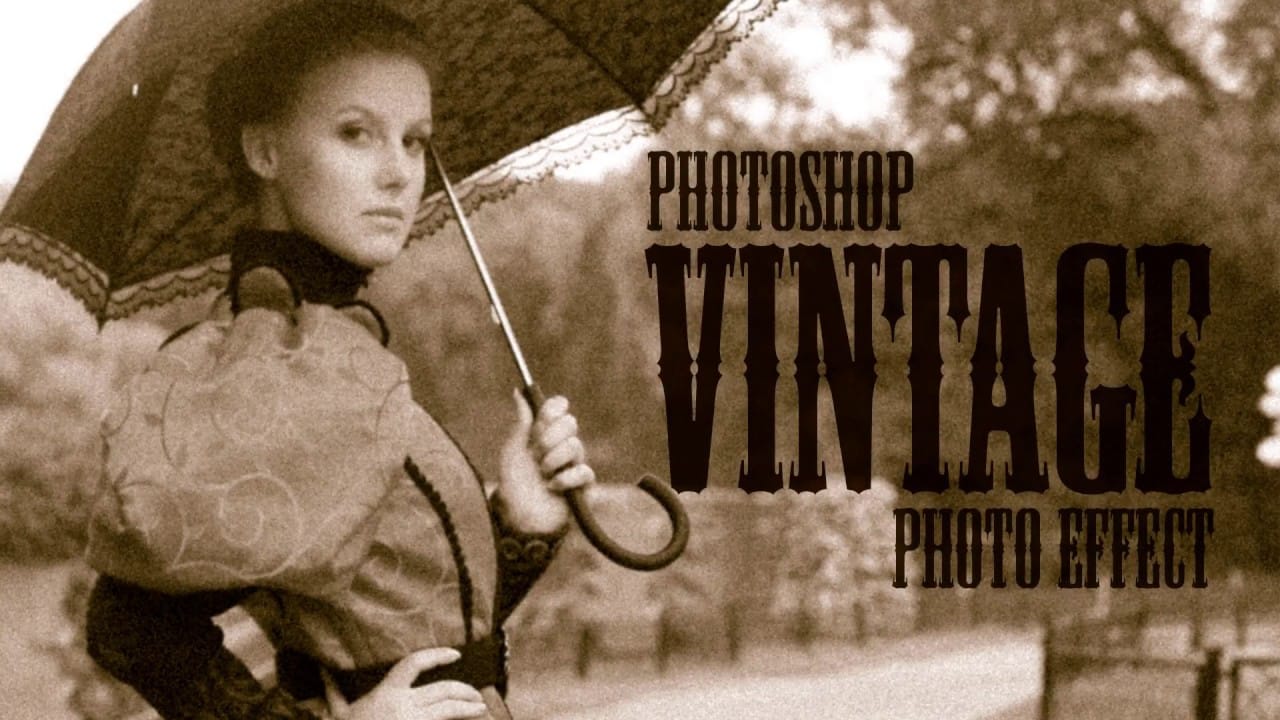
The appeal of vintage photography lies in its ability to transport viewers to a different time, often evoking feelings of nostalgia and romanticism. Modern digital tools, like Photoshop, make it possible to replicate these classic looks without needing specialized analog equipment. This artistic choice is particularly effective for creating narrative-driven images or adding a timeless quality to personal photographs.

Achieving a convincing vintage effect often involves understanding the characteristics of old film. Key elements include:

  • Reduced color saturation
  • Subtle blurring or softness
  • Presence of grain, scratches, or other film imperfections

By carefully manipulating these factors, digital artists can mimic the imperfections and unique charm that define photographs from earlier eras, such as those originating from 8mm film.

Practical Tips for Vintage Photo Effects

  • Unlock the background layer to allow for flexible positioning and editing of your image.
  • Use Place Embedded to import your photo, automatically converting it to a Smart Object for non-destructive adjustments.
  • Apply a subtle Gaussian Blur (1-3 pixels) to soften the image, replicating the less sharp quality of vintage film.
  • Adjust the Hue/Saturation layer to reduce color saturation, typically between minus 50 to minus 80, based on your photo's original vibrancy.
  • Utilize a film scratch texture with the Multiply Blend Mode to realistically simulate wear and tear on old film.

Explore more resources to enhance your skills in creating vintage and antique photo effects in Photoshop.

Create a realistic old vintage photo effect in Photoshop
Photographs are timeless. In fact, it’s often our old, weathered and faded photographs that we treasure the most. Snapshots from a bygone era fill our hearts with nostalgia and romantic notions of how much simpler life must have been. While today’s digital cameras continue to amaze us with their technology, there’s still something magical and irreplaceable about old, vintage photographs. And not only do we love to look at them, but we also love to recreate the look of them in programs like Phot
Create an Old Photo Effect in Photoshop
The author, Photoshop Pro Help, provides a tutorial on how to create an old photo effect in Photoshop. They explain that if you have ever admired the style of vintage photos and wanted to give your modern photos a similar look, this tutorial will show you how to apply an old photo style with a torn and damaged brown vintage effect. This can transform your photos to look as if they were taken straight from a history book. The tutorial guides the user through the process of achieving this retro a
How to Create a Vintage, Film Noir Movie Title in Photoshop
In this Photoshop tutorial by BlueLightning TV, you'll learn how to design and create a film noir movie opening title card, reminiscent of crime dramas from the 1940s and 1950s. The tutorial guides you through the process step-by-step, demonstrating techniques to achieve the classic film noir aesthetic using typography, textures, and atmospheric effects in Photoshop. Whether you're a fan of vintage cinema or looking to create a nostalgic title card for a project, this tutorial provides the ski
Create an antique golden frame in Photoshop
In this tutorial from Alfoart you will learn how to create a beautiful and classy antique golden frame, using patterns, in Photoshop Alexandra Fomichieva from Alfo Art shares a Photoshop tutorial on how to create an image of a monogram sewn with golden thread on a linen cloth. The tutorial guides the user through framing the monogram with a golden wooden frame and placing it on a wall covered with a damask ornate wallpaper. The author provides step-by-step instructions, making it easy for user

Get tutorials & freebies delivered to you.

Subscribe to the Photoshop Roadmap newsletter, a weekly roundup of new tutorials, insights and quality downloads, trusted by 6500+ readers.

You might also like

Complete Photoshop Editing Workflow: 5 Steps from Raw to Polished

Photoshop offers endless possibilities for photo enhancement, but many photographers never move beyond basic adjustments because the software feels overwhelming. This comprehensive workflow breaks down photo editing into five manageable stages that work consistently across different photography styles. The systematic approach covers everything from initial raw processing to advanced lighting...

Photoshop Workspace Basics: Navigation, Zooming, and Essential Interface Elements

Photoshop's interface can feel overwhelming when you first open the program. Dozens of panels, tools, and menus compete for attention, making simple tasks feel complicated. This tutorial breaks down the essential workspace elements and teaches fundamental navigation skills that form the foundation of efficient Photoshop work. Watch the...

How to Restore Old Damaged Photos Using Nano Banana in Photoshop

Old family photos with scratches, tears, and missing sections can seem beyond repair. Google's Nano Banana AI model, now integrated into Photoshop, makes full restoration possible in minutes rather than hours. This powerful tool excels at maintaining facial characteristics while automatically filling in damaged areas and adding realistic...

How to Get Higher Quality Results from Photoshop's Generative Fill Tool

Photoshop's Generative Fill creates impressive AI extensions, but the results often look blurry and pixelated when viewed at full size. This quality limitation makes many AI-generated areas unusable for printing or large displays. This technique shows how to work around the 1024x1024 pixel quality limit to create much...

How to Use Photoshop's Liquify Tool for Non-Destructive Portrait Retouching

Clothing wrinkles, hair that lacks volume, and awkward fabric bunching can distract from an otherwise great portrait. Photoshop's Liquify tool offers a powerful solution for smoothing out these issues while preserving the natural look of your subject. This tutorial demonstrates how to use the Liquify tool non-destructively with...

You’ve successfully subscribed to Photoshop Roadmap
Welcome back! You’ve successfully signed in.
Great! You’ve successfully signed up.
Success! Your email is updated.
Your link has expired
Success! Check your email for magic link to sign-in.