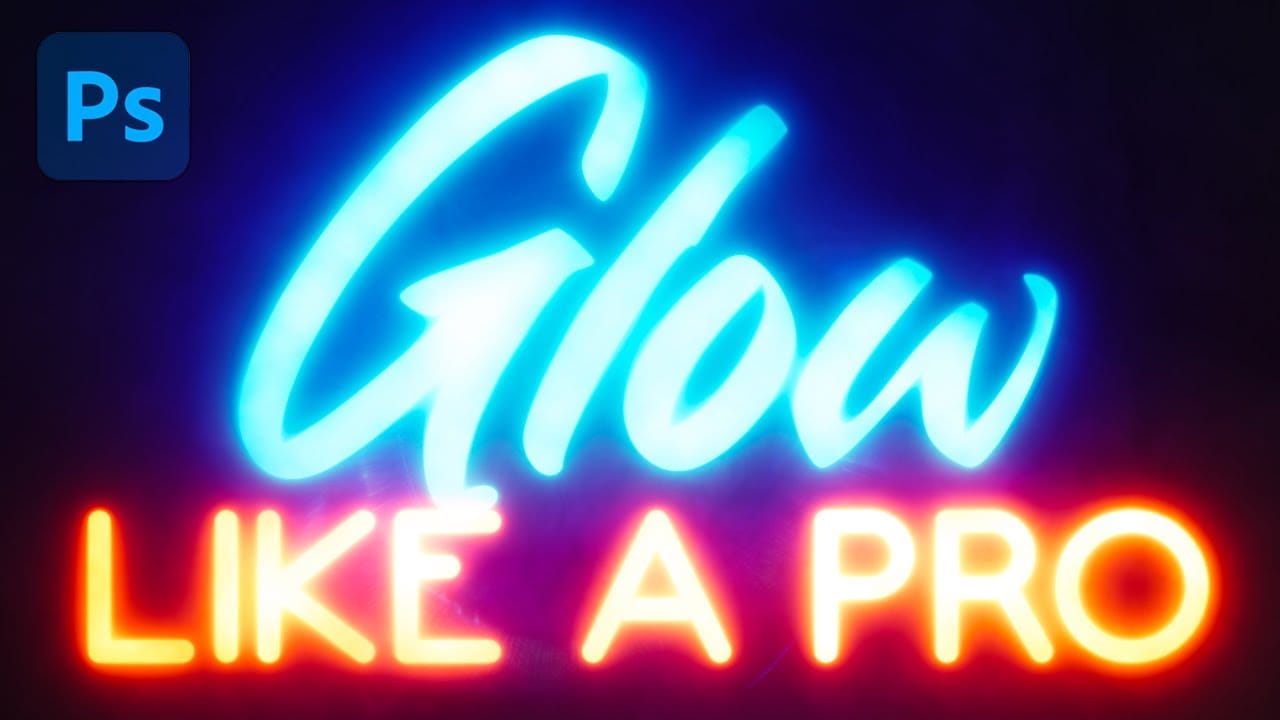
Creating Cylindrical Glowing Text Effects in Photoshop

Creating Cylindrical Glowing Text Effects in Photoshop

Text that curves around an invisible cylinder creates the illusion of depth and dimension that flat typography simply cannot match. The technique transforms ordinary words into dynamic visual elements that appear to wrap around three-dimensional space.

This approach combines Photoshop's warp tools with strategic layer effects to build convincing cylindrical text. The addition of glowing effects enhances the dimensional quality, making the text appear illuminated from within.

Watch the Video

Video by P A N T E R. Any links or downloads mentioned by the creator are available only on YouTube

Understanding Cylindrical Text Design

Cylindrical text effects simulate how typography would appear wrapped around a three-dimensional cylinder. The front-facing letters remain clearly visible, while the back portion appears inverted and partially obscured. This creates a convincing illusion of depth that works particularly well for logos, headers, and promotional graphics.

The key to achieving realistic results lies in understanding how light and perspective affect cylindrical surfaces. The front curve catches the most light and appears brightest, while the sides gradually fade into shadow. Creating separate layers for the front and back portions allows for independent control over each element's appearance and positioning.

Smart Objects play a crucial role in this workflow because they preserve the original text's editability while allowing multiple transformations. This non-destructive approach means you can adjust the text content, font, or sizing without rebuilding the entire effect.

Practical Tips for Cylindrical Text

  • Convert text layers to Smart Objects before applying transformations to maintain editability and image quality
  • Use bold or semi-bold fonts for better visibility when curved, as thin fonts may become difficult to read
  • Create an ellipse guide to help align both text layers and ensure consistent curvature
  • Position the back text layer behind foreground elements to enhance the three-dimensional illusion
  • Apply identical glow effects to both front and back text layers to maintain consistent lighting

More Tutorials about Text Effects

Explore additional techniques for creating dimensional and glowing text effects in Photoshop.
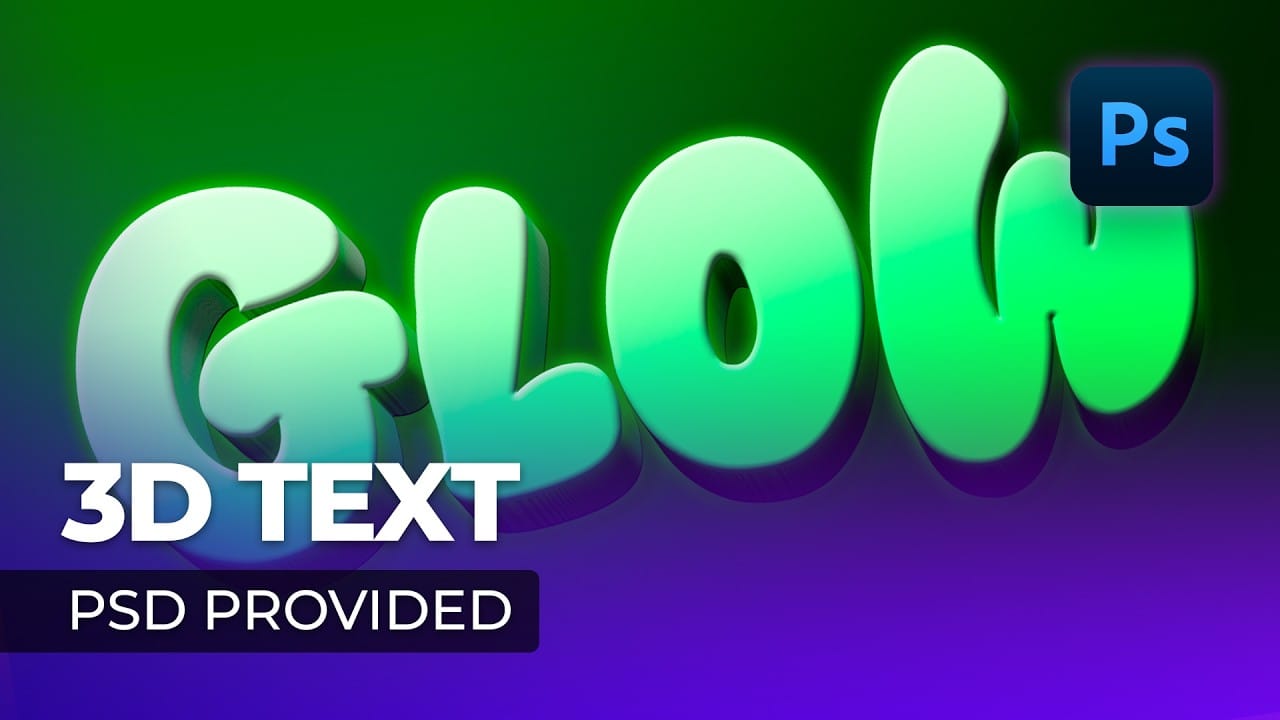
Creating a 3D Glowing Text Effect in Photoshop
Adding depth and luminosity to text can transform a simple design into something visually striking. The combination of 3D extrusion and glow effects creates text that appears to leap off the page, making it perfect for logos, headers, and eye-catching graphics. This tutorial demonstrates how to build a complete 3D text effect with glowing elements using Smart Objects and layer effects. The technique covers everything from creating dimensional text to applying multiple glow layers for enhanced v
Glowing Text Effect in Photoshop
In this tutorial from TextureLabs, you'll learn a technique to enhance the Outer Glow effect in Photoshop for more realistic results on text and logos. The tutorial offers a straightforward approach to create a vibrant and lifelike glow that surpasses the traditional flat appearance. Additionally, TextureLabs encourages applying the same technique to photographs to achieve glowing effects, expanding the tutorial's application beyond text and logos. This tutorial is ideal for those looking to e
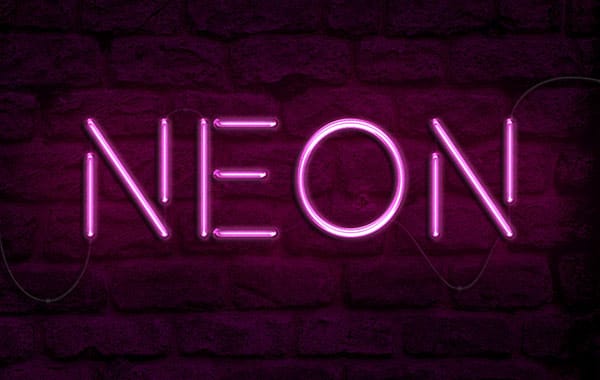
How to create a bright realistic neon text effect in Photoshop
Love neon signs? Ever wanted to create your own? With the magic software, we can easily experiment with and create a neon light text effect, no electricity necessary! In fact, whether you're a software expert or a complete beginner, doing so can be a breeze. In this video, we'll check out a couple of different ways to create neon light text effects—from using convenient Smart Objects, to creating text effects from scratch in Adobe Photoshop, to even quick and easy ways to experiment with text e
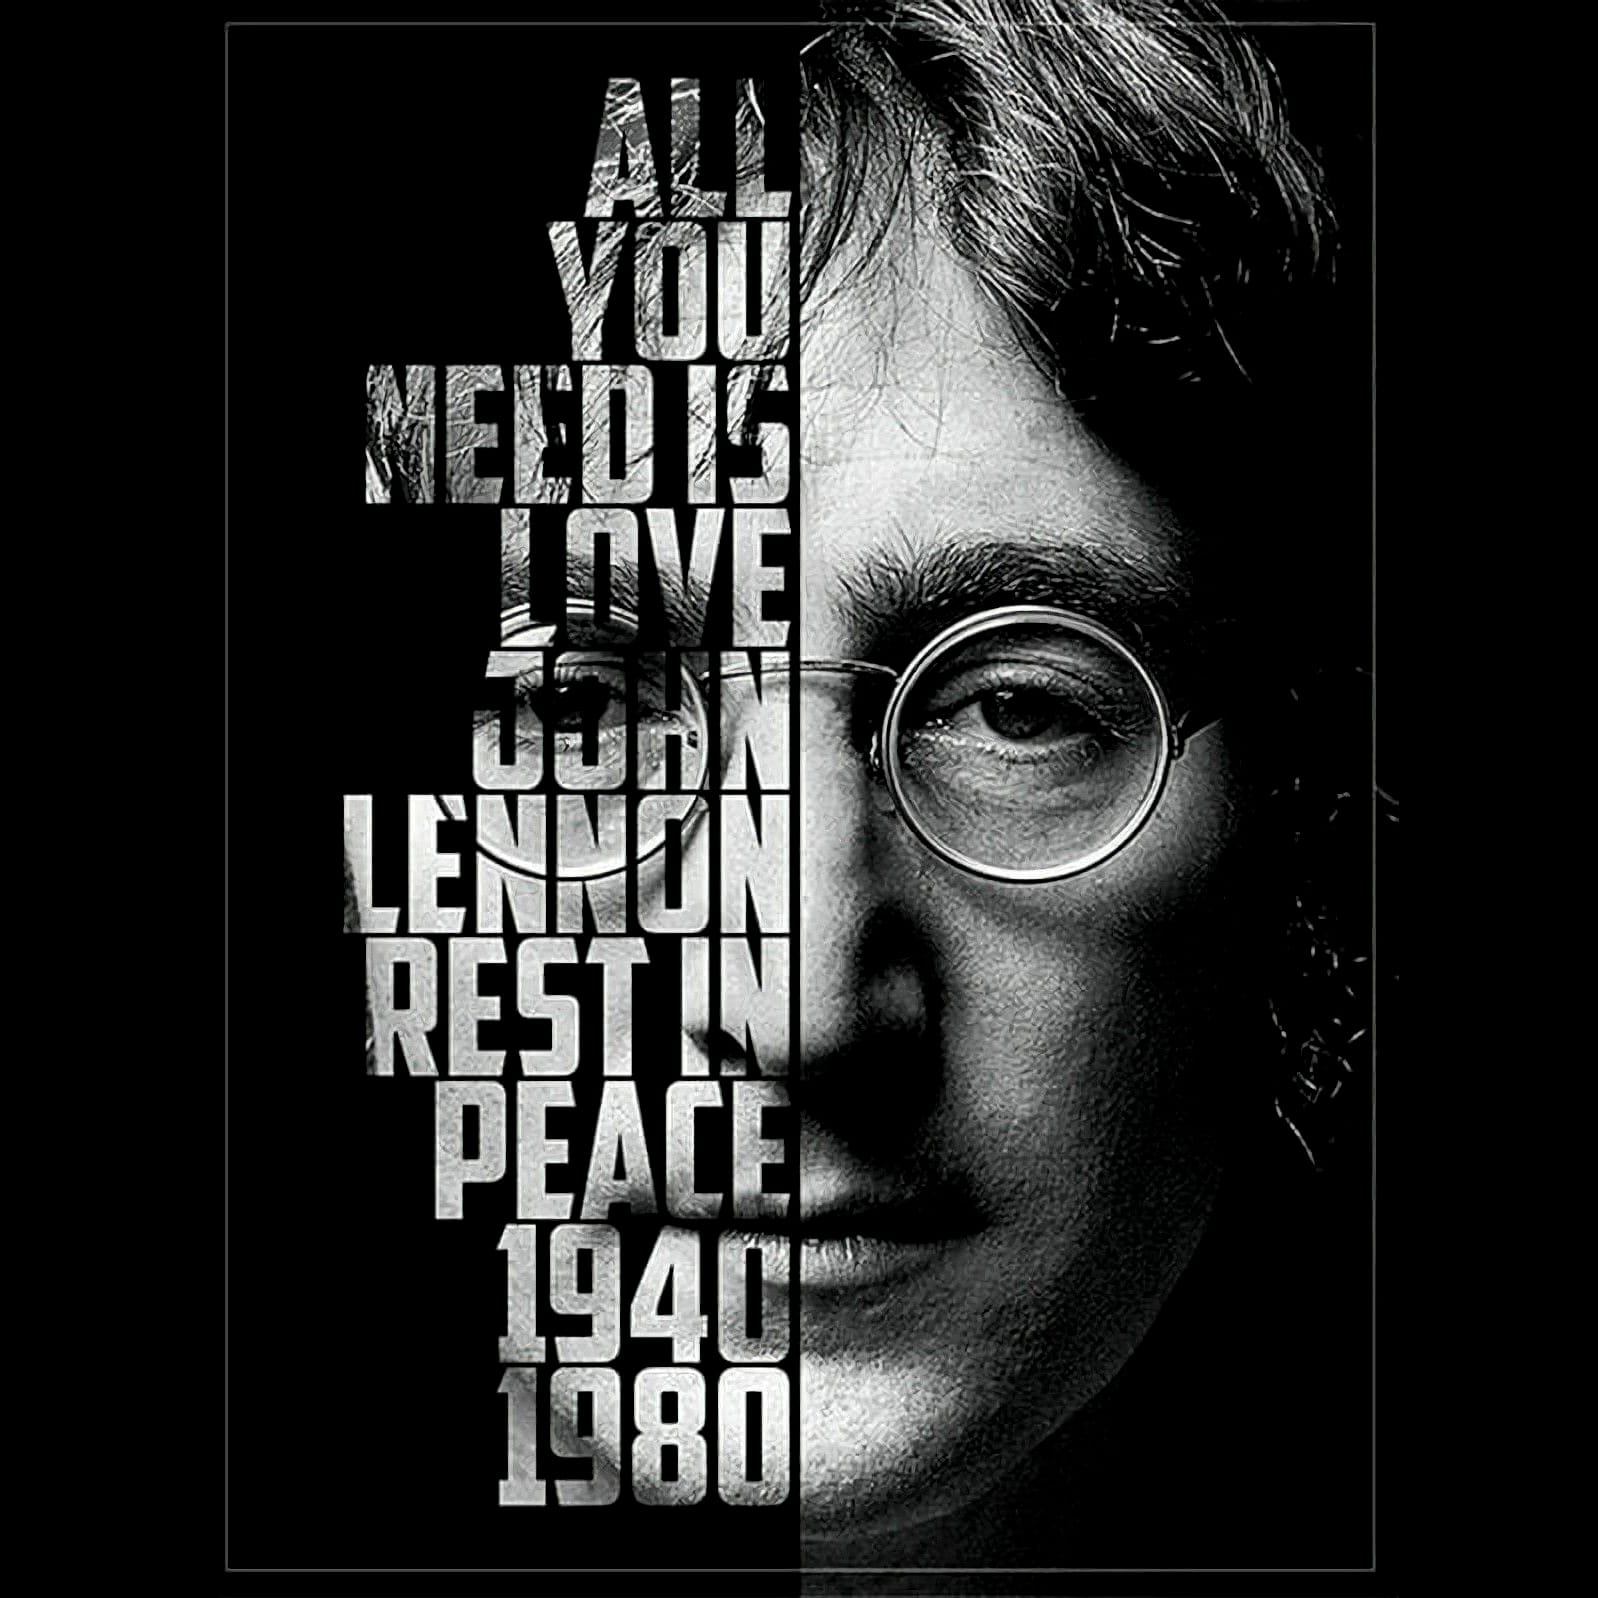
Create a cool text portrait in Photoshop
This tutorial explores the process of creating a powerful typographic portrait poster using Adobe Photoshop. It transforms a standard photo into a visually striking artwork where text forms the contours of a subject's face. Viewers will learn essential Photoshop techniques, from precise subject selection and background preparation to the artful integration of text and subtle refinements that enhance legibility and visual impact. Watch the Video The Art of Typographic Portraiture Typographi

Get tutorials & freebies delivered to you.

Subscribe to the Photoshop Roadmap newsletter, a weekly roundup of new tutorials, insights and quality downloads, trusted by 6500+ readers.

You might also like

How to Remove Skin Blemishes and Fix Skin Tones in Camera Raw

Two recent additions to Camera Raw make skin retouching significantly faster: an automatic blemish removal tool with separate controls for moles and freckles, and a vectorscope-based skin tone indicator for correcting off-color skin. Both features work non-destructively inside a smart object workflow, so no pixel data is...

Portrait Retouching in Photoshop: Smooth Skin While Keeping Natural Texture

Smooth skin and natural texture are not opposites — achieving both at once is the mark of a professional retouch. This workflow covers blemish removal, flyaway hair cleanup, dark under-eye correction, and eye brightening, all while keeping the skin looking like skin. Watch the Video Practical Tips These key points...

How to Use Camera Raw's Blemish Removal Tool in Photoshop

Camera Raw 18.5 introduced an automatic blemish removal tool that does something previous solutions rarely managed: it removes skin imperfections while preserving the underlying skin texture. It also distinguishes between temporary marks and permanent ones like moles, giving you separate controls for each. Watch the Video Practical Tips These...

Portrait Slice Effect in Photoshop Using Step and Repeat

The portrait slice effect splits a single image into offset vertical bars, creating the illusion of a displaced or fragmented face. The entire technique relies on layer masks and a lesser-known Photoshop shortcut called step and repeat — no filters, no AI, no destructive edits required. Watch the Video Practical...

How to Remove Blemishes in Photoshop: Camera Raw vs. Generative AI

Photoshop now offers two distinct approaches to removing skin blemishes automatically. The Camera Raw Filter includes a dedicated Blemishes option that analyzes and cleans skin with a single checkbox, while Generative AI fills a face selection with clean, texture-consistent results using a simple text prompt. Each method has clear...

Common Photoshop Compositing Mistakes and How to Fix Them

Most compositing errors come down to a handful of repeatable problems: mismatched lighting direction, inconsistent white points, misaligned perspective, and atmosphere applied in the wrong layer order. Catching these issues early — ideally before you shoot — saves significant time in post. Watch the Video Practical Tips These corrections apply to nearly...

You’ve successfully subscribed to Photoshop Roadmap
Welcome back! You’ve successfully signed in.
Great! You’ve successfully signed up.
Success! Your email is updated.
Your link has expired
Success! Check your email for magic link to sign-in.