Curves and Levels are two of the most powerful adjustment tools in Photoshop, but many users struggle to understand when to use each one. While both tools manipulate light and color information in similar ways, they offer different levels of control and complexity.
Understanding their similarities and key differences will help you choose the right tool for each editing situation, whether you're making simple exposure corrections or advanced color grading adjustments.
Watch the Video
Practical Tips
Master these essential techniques for working with Curves and Levels adjustments:
- Always use adjustment layers instead of applying changes directly to your image layer for maximum flexibility
- Use Levels for straightforward light and dark adjustments with clear black point, midpoint, and white point controls
- Choose Curves for color correction work, especially when using the hand tool to click and drag directly on your image
- Remember color opposites when working in individual channels: red/cyan, green/magenta, and blue/yellow
- Combine layer masks with adjustment layers to apply corrections only to specific areas of your image
Related Articles and Tutorials
Explore these additional resources to expand your color correction and adjustment skills:
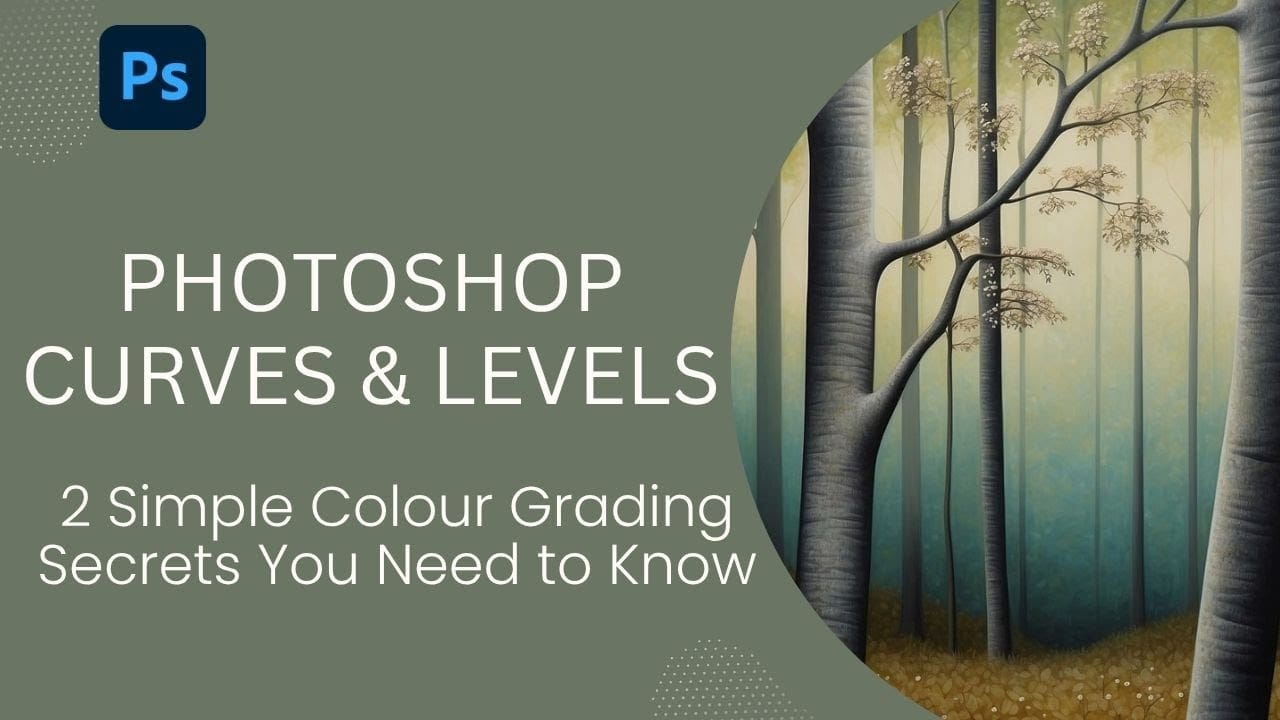
Two Simple Color Grading Techniques Using Photoshop Curves and Levels
Color grading transforms flat images into vibrant, cinematic visuals that capture attention and convey mood. The difference between an ordinary photo and one with professional depth often comes down to how well shadows, midtones, and highlights work together to create visual interest.
These two Photoshop techniques using Curves and Levels offer a quick path to achieving that coveted "pop of color" without complex workflows or advanced skills.
Watch the Tutorial
Understanding Auto Color Opti
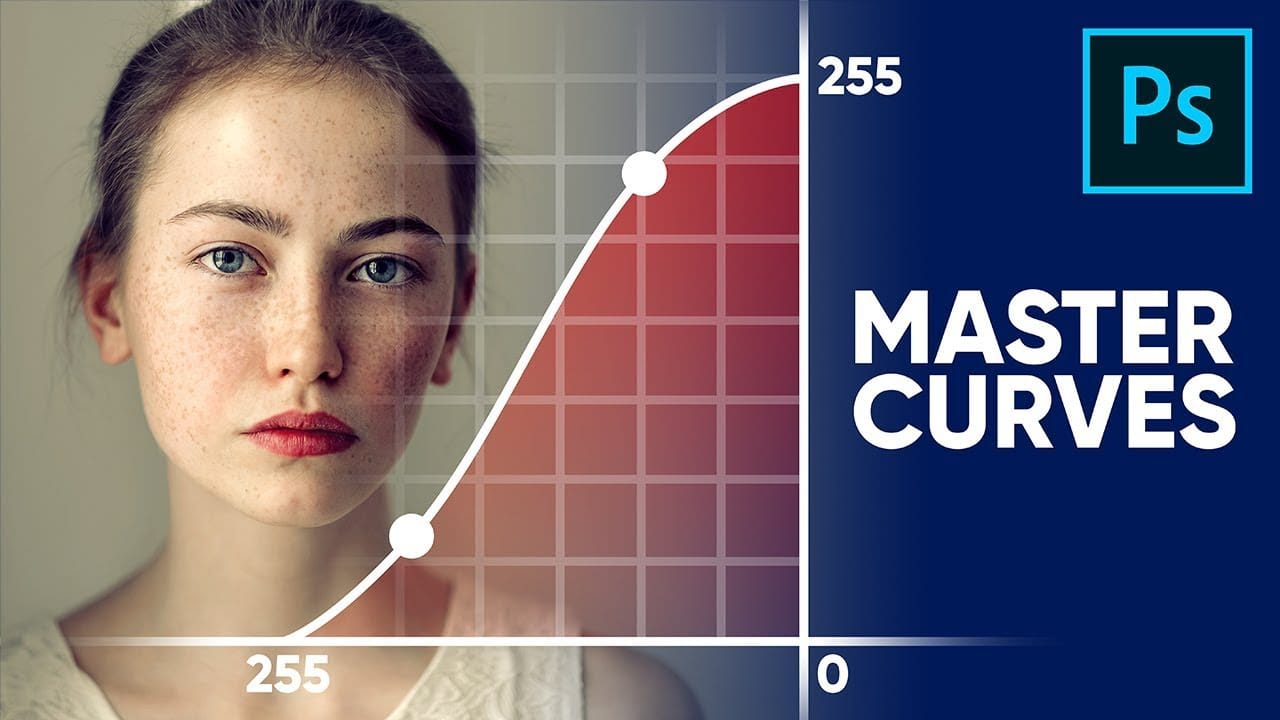
Master Curves from Start to Finish in Photoshop
This insightful tutorial from PiXimperfect provides a comprehensive guide to mastering the powerful Curves tool in Photoshop. They guarantee that after watching this video, viewers will become true masters of the Curves function.
The tutorial delves into the fundamental concepts behind Curves and explores the limitless applications of this versatile tool. Whether it's stylizing images or matching colors, the author demonstrates how Curves can be a game-changer in the world of digital imaging.
How to Use Photoshop Curves Auto Options for Color Grading
Professional color grading transforms ordinary images into visually striking compositions with rich depth and atmosphere. Hidden curves auto options in Photoshop let you assign custom colors to shadows, midtones, and highlights for dramatic enhancement.
This technique goes beyond basic adjustments to create cinematic looks that bring images to life with minimal effort.
Watch the Tutorial
Essential Tips for Curves Color Grading
* Hold Alt/Option + Auto in Curves adjustment to access hidden
Stop Ruining Colors with Curves With This Photoshop Trick Instead
Using Curves adjustments in Photoshop often creates unwanted color shifts that can make images look oversaturated or unnatural. While the traditional solution involves switching to Luminosity blend mode, this approach tends to drain the vibrancy from your photos, leaving them flat and lifeless.
This tutorial reveals a superior technique using Camera Raw's refined saturation control that gives you precise command over color intensity while maintaining natural-looking results. You'll discover how

Photoshop or Lightroom: Understanding the Difference
In the comparison of Photoshop and Lightroom, it's essential to understand their distinct functions and benefits. Both programs are powerful tools for photo editing, but they cater to different needs and workflows.
Photoshop is often preferred for detailed image manipulation and graphic design. It offers a wide range of advanced features that allow for intricate edits, such as retouching, layering, and adding effects. If you need to adjust specific elements within a photo or create composite im
Color Correction Using Lab Mode in Photoshop
In this informative tutorial by Aaron Nace from Phlearn, you will discover how to utilize LAB Mode versus RGB Mode for effective color correction in Photoshop. Many photographers face the challenge of enhancing colors without making the image appear unnatural.
While working in RGB Mode, adjustments made in curves can inadvertently alter brightness and exposure. This can lead to frustrating results, especially when the goal is to maintain the integrity of the original photo.
Fortunately, switch

Creative Uses of Photoshop's Difference Blending Mode
The Difference blending mode often gets overlooked in Photoshop, dismissed as too unpredictable or harsh for creative work. Most designers know it as a utility tool for layer alignment, but this powerful mode can create striking effects when used thoughtfully.
From grungy texture overlays to vintage solarized looks, Difference mode offers unique creative possibilities that other blending modes simply can't achieve. The key lies in understanding how it interacts with different tonal values and u
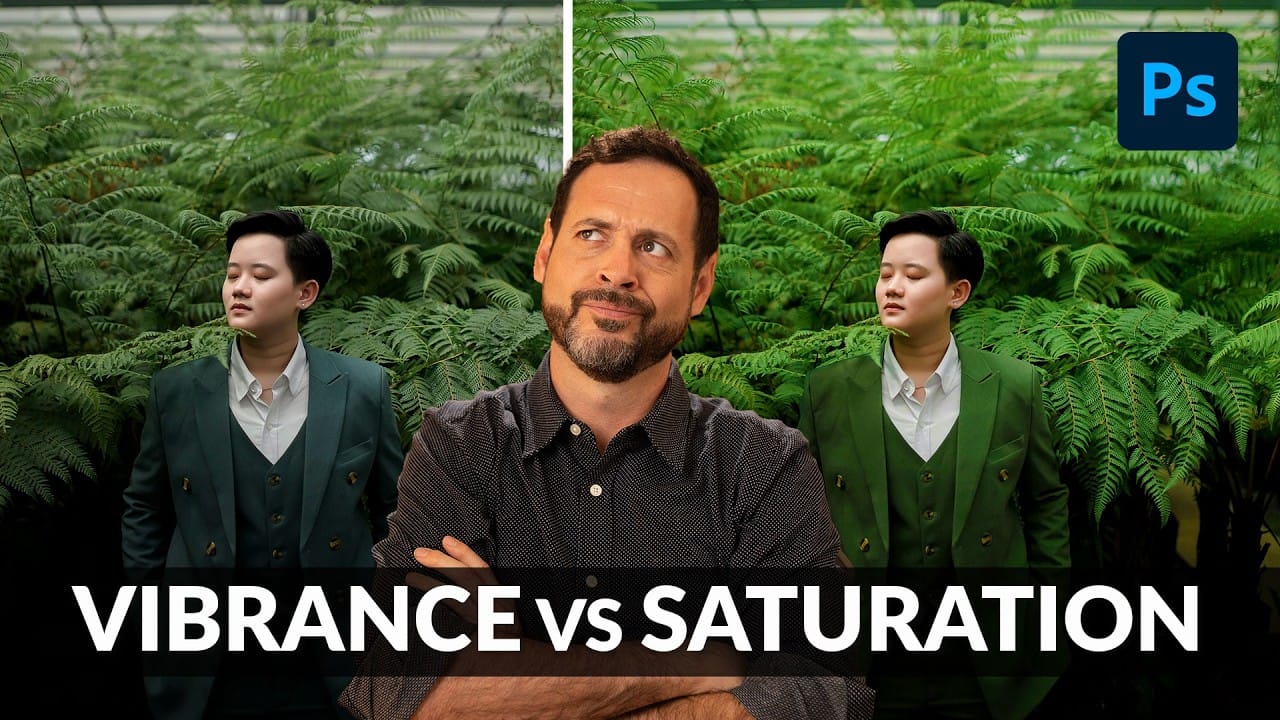
Understanding Vibrance vs Saturation in Photoshop and When to Use Each Tool
Color enhancement is one of the most fundamental aspects of photo editing, yet many Photoshop users struggle with knowing when to use vibrance versus saturation. Both tools can boost the intensity of colors in your images, but they work in dramatically different ways and produce very different results.
Learning the distinction between these tools—and understanding how to use the advanced Hue/Saturation adjustment layer for targeted color control—will give you the precision needed to enhance you
Basic Photoshop techniques you really need to learn
Photoshop hasn't changed as much as it looks. New features come and go, but the same core techniques keep showing up in real work. If you skip them, everything feels harder than it should. This post focuses on those basics, not as isolated tricks, but as skills you'll keep using no matter what you create.
You don't need dozens of tutorials. You need a small set of techniques you actually understand and can reuse.
Non-destructive editing fundamentals
Most beginner frustration comes from editi