Customize Your Photoshop Toolbar for an Optimized Workflow

Customize Your Photoshop Toolbar for an Optimized Workflow

Working in Photoshop often means navigating a toolbar filled with dozens of tools, many of which may rarely or never be used in a typical workflow.

This can lead to a cluttered interface, making it challenging to quickly locate essential tools and slowing down your creative process. The default arrangement, while functional, isn't optimized for every user's specific needs, leading to wasted time searching for features.

This guide demonstrates how to personalize your Photoshop toolbar by rearranging, adding, and removing tools to suit your individual preferences. By learning to customize this core interface element, you can significantly streamline your workflow, reduce visual clutter, and ensure that only the most relevant tools are immediately accessible, thereby enhancing efficiency and user experience.

Watch the video

Any links or downloads mentioned by the creator are available only on YouTube

Breaking It Down

Photoshop's toolbar is highly configurable, allowing users to undock, compact into a single vertical row, and redock it anywhere on the screen.

The primary method for customization is through the Edit Toolbar dialog, accessed via the "..." icon located at the bottom of the toolbar. This dialog presents a clear interface, separating tools currently visible on the main toolbar from those designated as "Extra Tools," which are hidden from immediate view but remain accessible.

Within the Edit Toolbar dialog, tools can be managed by simply dragging and dropping them between the visible toolbar section and the "Extra Tools" area. This allows for precise control over which tools appear.

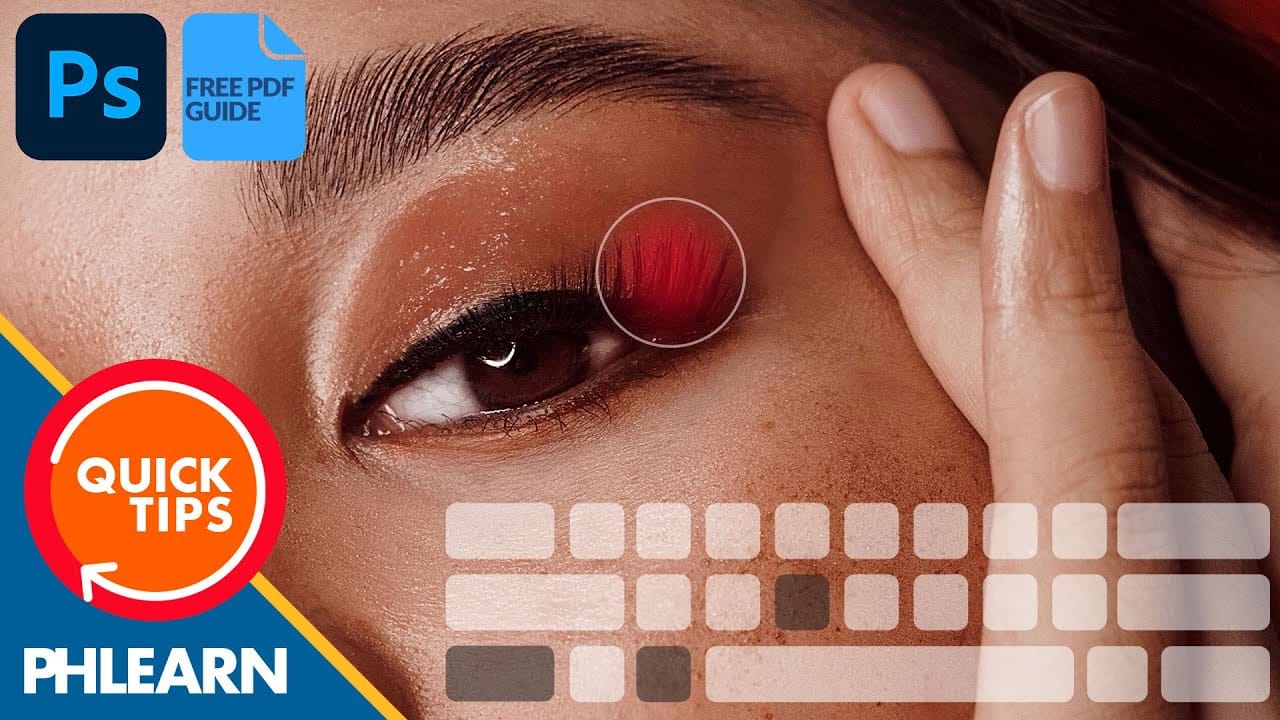
Users can also reorder tools within their existing groups or promote frequently used sub-tools, such as the Remove Tool, to the top of their stack. Customization also impacts keyboard shortcuts; for instance, pressing J might select the Remove Tool directly if it's placed at the top of its group, while Shift + J would cycle through other tools within that same group.

Beyond simply showing or hiding tools, the Edit Toolbar dialog offers additional options to refine the workspace, such as toggling the visibility of color swatches, quick mask options, or the generative AI workspace. Once a custom layout is achieved, it can be saved as a preset, allowing users to quickly switch between different toolbar configurations for varied tasks or to restore a preferred setup across different machines.

The flexibility of this system ensures that the Photoshop interface can be tailored precisely to match any individual's working style.

Practical Tips

  • Regularly move infrequently used tools to the Extra Tools section within the Edit Toolbar dialog to minimize visual clutter on your main toolbar.
  • Prioritize highly used sub-tools by dragging them to the top of their respective tool stacks in the Edit Toolbar dialog, ensuring they are the default when you select that tool group.
  • Utilize keyboard shortcuts like Shift + [tool shortcut] (e.g., Shift + J for healing tools) to efficiently cycle through grouped tools, which can be faster than clicking and holding.
  • Save your customized toolbar layouts as presets. This allows for quick switching between configurations optimized for different types of projects or to easily restore a preferred setup.
  • Remember that tools moved to the Extra Tools section are still accessible by clicking the "..." icon at the bottom of the main toolbar, providing quick retrieval without requiring a full toolbar reset.

Explore more resources and complementary tutorials to enhance your Photoshop skills.

Unleash the Beast: Optimizing Photoshop Performance for a Smoother Workflow
Photoshop is the undisputed king of digital image manipulation. A powerful tool capable of bringing even the most ambitious creative visions to life. However, as our projects grow and files get larger, even the most powerful computers can struggle. Slow loading times, laggy brushes, and the spinning beach ball can
Essential Keyboard Shortcuts for Retouching in Photoshop
Speed up your Photoshop retouching workflow with these keyboard shortcuts that will help you switch tools and move around your images with ease! Download the Sample Image & PDF Guide here… More
Learn Photoshop by Combining Tools and Techniques
Learning Photoshop can be an exciting journey, especially when you explore various techniques and tools. This approach allows you to understand how different elements work together and enhance your creativity. In this presentation, you will follow along as the process begins with a straightforward out-of-camera photograph of a Supercar. Through
Customize and Create Your Own Photoshop Tools
Unlock the Power of “Tool Presets” to Create Custom Tools & Make Your Workflow Extremely Fast! Simplify your Photoshop life by learning the concepts of Tool Presets, and then, we will explore some built-in presets to get you started. In this tutorial, we will learn to create two super useful custom tools, and also how […] More

Get tutorials & freebies delivered to you.

Subscribe to the Photoshop Roadmap newsletter, a weekly roundup of new tutorials, insights and quality downloads, trusted by 6500+ readers.

You might also like

How to Create Textured Portrait Collages in Photoshop

Portrait collages open up creative possibilities that go far beyond traditional photo editing. By combining artistic filters, color manipulation, and texture mapping, you can transform ordinary portraits into striking visual compositions that blend photography with graphic design elements. This technique breaks down complex imagery into simplified color zones, then maps...

Time-Blending Photography: Combine Photos from Different Times of Day

Empty streets and dark buildings can ruin an otherwise perfect sunset shot. Time-blending photography solves this problem by combining the best elements from different times of day — the vibrant sky from golden hour with the dynamic light trails from nighttime traffic. This technique transforms static daytime or sunset scenes into...

Understanding White Balance in Photoshop: Temperature vs Tint Explained

White balance confusion ends here. Temperature and tint work differently to fix color casts, and knowing when to use each tool transforms how you correct photos. Photoshop's new Color and Vibrance adjustment layer finally brings these essential controls natively into the workspace, eliminating the need to jump into...

How to Remove Reflections and Glare from Glasses in Photoshop Using AI

Eyeglass glare can ruin an otherwise perfect portrait, obscuring the subject's eyes with bright reflections. Photoshop's AI tools now offer powerful solutions for removing even the most stubborn reflections while preserving natural eye details. This tutorial demonstrates proven techniques using multiple AI models and strategic masking...

How to Use Photoshop Curves Auto Options for Color Grading

Professional color grading transforms ordinary images into visually striking compositions with rich depth and atmosphere. Hidden curves auto options in Photoshop let you assign custom colors to shadows, midtones, and highlights for dramatic enhancement. This technique goes beyond basic adjustments to create cinematic looks that bring images to life with...

How to Remove Dark Eye Circles Using Frequency Separation in Photoshop

Dark under-eye circles can make portrait subjects look tired or unhealthy, even when they're not. Traditional brightening methods often create unnatural results or destroy important skin texture. This tutorial demonstrates frequency separation, a professional retouching technique that removes dark circles while preserving natural skin texture and realistic lighting...

You’ve successfully subscribed to Photoshop Roadmap
Welcome back! You’ve successfully signed in.
Great! You’ve successfully signed up.
Success! Your email is updated.
Your link has expired
Success! Check your email for magic link to sign-in.