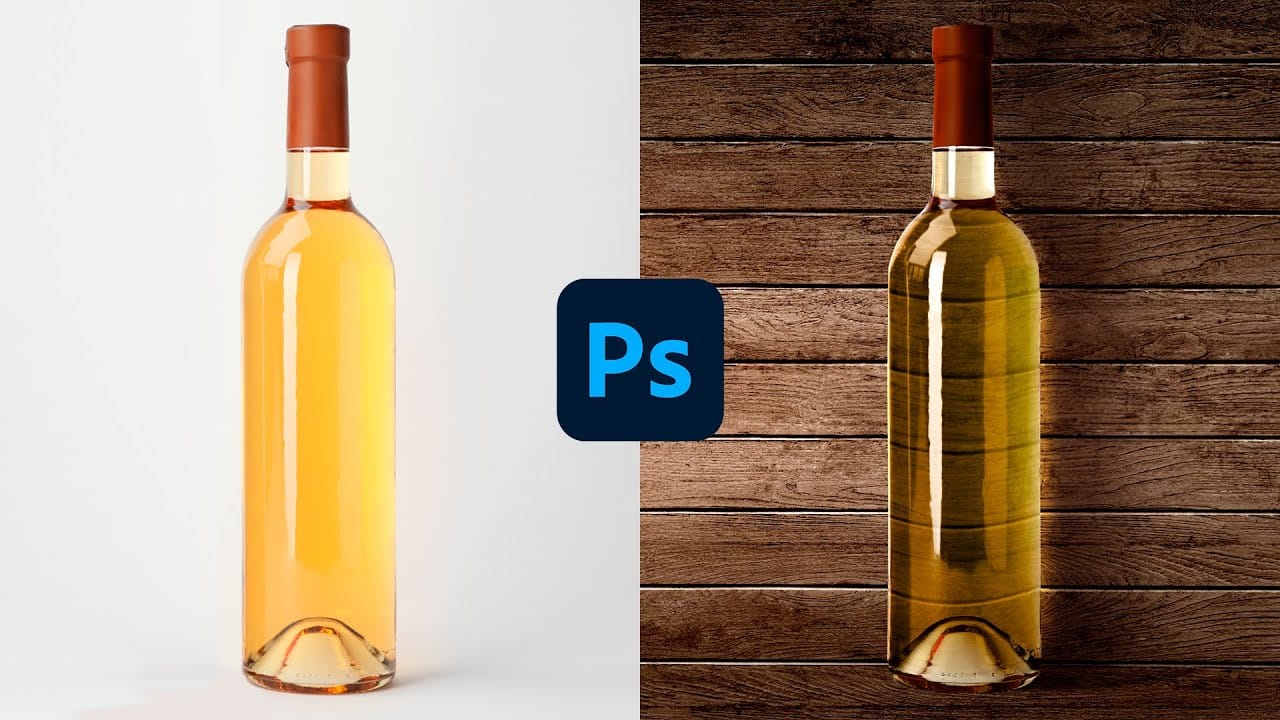
Achieving a realistic cut-out of transparent objects, like glass bottles, can be a significant challenge in Photoshop. Traditional masking often struggles to maintain the natural light, shadow, and reflective qualities inherent in such items, leading to flat or artificial results.
This video tutorial offers an advanced technique to meticulously mask transparent objects into new backgrounds. It leverages the power of blending modes and strategic layer organization to perfectly integrate the object, ensuring the final composite looks authentic and visually compelling.
Learn How to Mask Glass and Transparent Objects
The Art of Transparency: Blending Modes for Realistic Glass Effects
Masking transparent objects in Photoshop often presents a unique challenge, as the goal extends beyond merely isolating the object from its background. True realism requires preserving how light interacts with the transparent surface, including subtle reflections, refractions, and the way background elements appear distorted through the glass. Standard masking techniques, while effective for opaque objects, frequently fall short in capturing these intricate details, often resulting in a rigid or unnatural appearance when placed into a new scene.
This advanced method addresses these complexities by deconstructing the transparent object into its fundamental visual components: shadows, highlights, and color. By isolating these elements into separate layers and applying specific blending modes, artists gain precise control over each aspect of the transparency. For instance, `Multiply` blending mode effectively isolates shadows, while `Screen` emphasizes highlights, allowing the underlying background to show through naturally.
Separating these components enables fine-tuned adjustments and a more dynamic interaction with the new environment. It also facilitates adding realistic elements such as surface highlights and shadows that convincingly anchor the object to its new setting, creating an illusion of depth and physical presence that is crucial for believable composites.
Practical Tips for Masking Transparent Objects
- Utilize a group layer mask to control all internal layers with a single mask, ensuring consistent boundaries and an efficient workflow.
- Duplicate the object layer three times and rename them for clarity: Shadows, Highlights, and Color.
- Desaturate the Shadows layer and apply the `Multiply` blending mode to reveal only the dark areas.
- Desaturate the Highlights layer and set its blending mode to `Screen` to bring out the bright, reflective parts.
- Keep the Color layer unsaturated and use the `Color` blending mode to maintain original hues without luminosity interference.
- Integrate solid parts of the object (e.g., bottle top) by painting white on a new layer positioned beneath the shadows layer, within the group.
More Tutorials about Masking and Blending in Photoshop
Explore additional techniques and creative approaches to mastering complex selections and seamless layer integration.


