

Empty streets and dark buildings can ruin an otherwise perfect sunset shot. Time-blending photography solves this problem by combining the best elements from different times of day — the vibrant sky from golden hour with the dynamic light trails from nighttime traffic.
This technique transforms static daytime or sunset scenes into dramatic compositions filled with motion and light. The process involves capturing multiple exposures from the same position and blending them seamlessly in Photoshop.
Time-Blending Photography Tutorial
Video by Christian Möhrle - The Phlog Photography. Any links or downloads mentioned by the creator are available only on YouTube
Practical Tips for Time-Blending Photography
- Use a sturdy tripod and avoid moving the camera between shots for perfect alignment
- Shoot the base image during golden hour with f/16 and low ISO for darker foreground exposure
- Wait until complete darkness for light captures to ensure pitch-black backgrounds
- Take multiple 30-second exposures of traffic to create dense, flowing light trails
- Use Adobe Landscape profile in Camera Raw to enhance base saturation before blending
More Tutorials about Photo Blending Techniques
Explore additional methods for combining multiple images into compelling compositions.
How to combine and blend photos in Photoshop
Transforming ordinary photographs into extraordinary visual narratives often involves combining and blending multiple images. This technique allows creators to merge distinct elements, create surreal scenes, or enhance compositions by integrating textures and atmospheric effects. Mastering these methods unlocks a powerful dimension of digital artistry, enabling you to craft images that captivate and tell a richer story.
This tutorial explores various techniques for seamlessly integrating differ
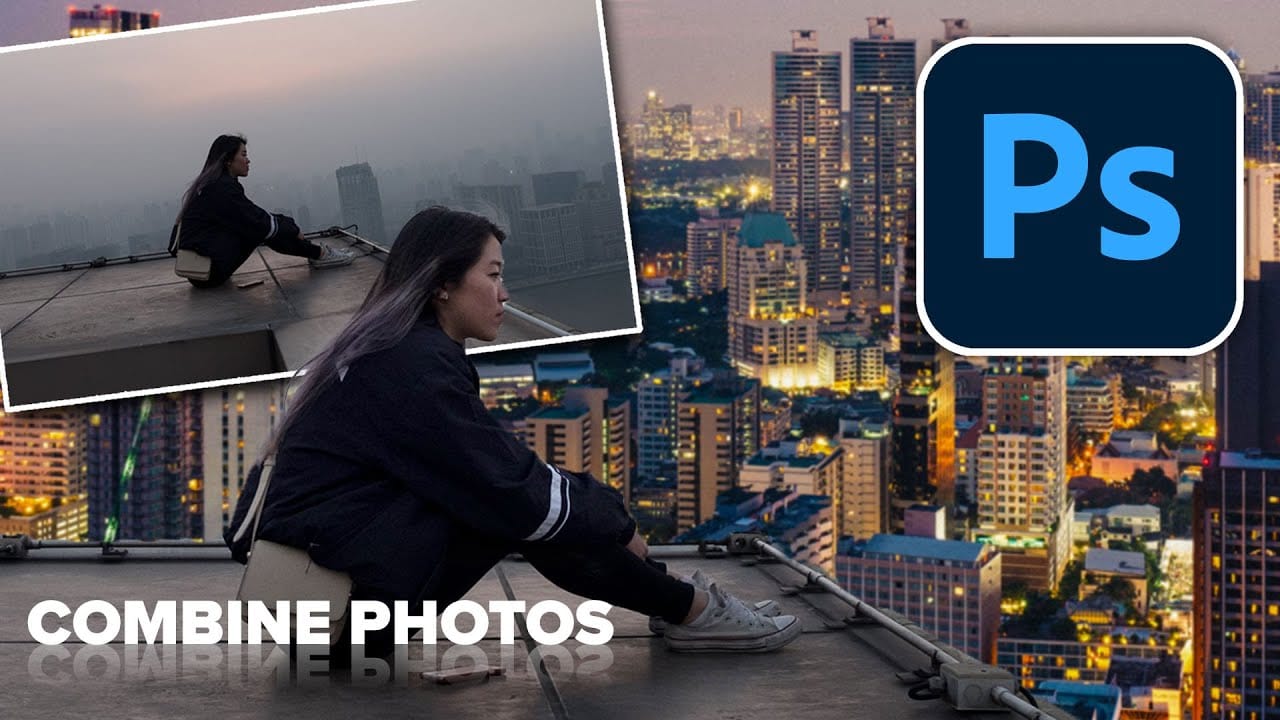
How to combine and blend photos in Photoshop
Creating captivating photo composites involves seamlessly bringing different elements together. Mastering the art of combining and blending images allows you to expand your creative possibilities, whether you are crafting surreal landscapes or integrating subjects into new environments.
This guide provides a foundational understanding of how to merge multiple photos into a single canvas and then blend them naturally within Photoshop. You will explore various techniques for combining images and
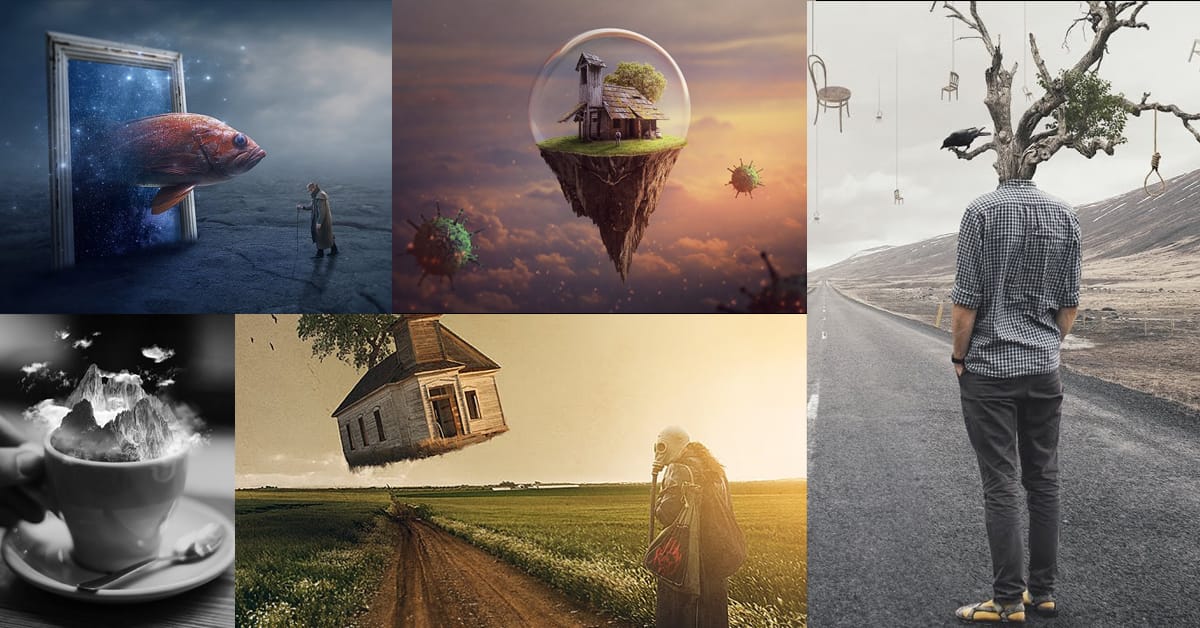
Create amazing surreal photo manipulations in Photoshop
Have you ever seen images online that seem to defy reality? Professional retouchers have mastered techniques to seamlessly combine different elements into surreal composite images. However, their methods have largely remained secrets known only to a select few experts. Now, in these unique Photoshop tutorials, some of the world's best retouchers are finally revealing their processes.
Across multiple in-depth videos, the pro retouchers deconstruct their entire workflows step by step. You'll lear
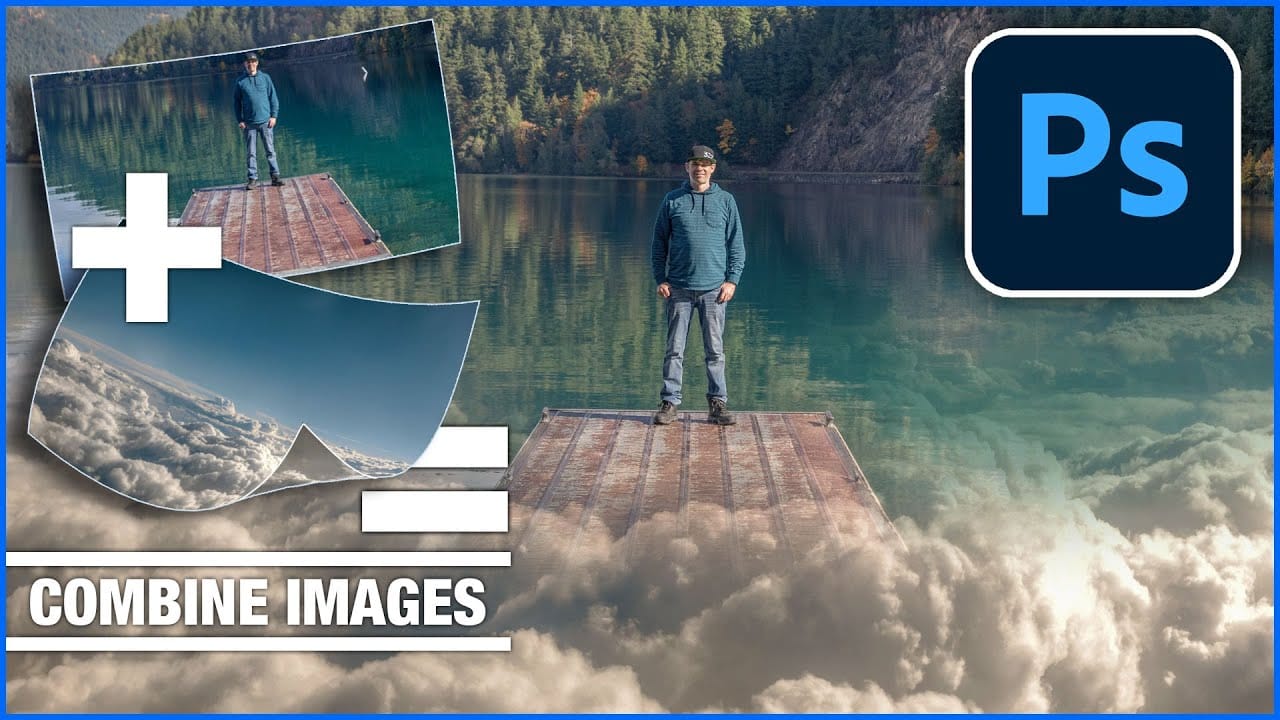
How to Blend Two Photos in Photoshop
In this Photoshop tutorial, the author Arunz Creations shows how to blend two photos together. The process involves merging a photo of clouds with a portrait using blending modes.
The instructions are straightforward and easy to follow. First, the user opens both photos in Photoshop. Then, they select the cloud photo and copy it to the same layer as the portrait. Next, they adjust the blending mode to achieve the desired effect, experimenting with different options until they find the perfect b


