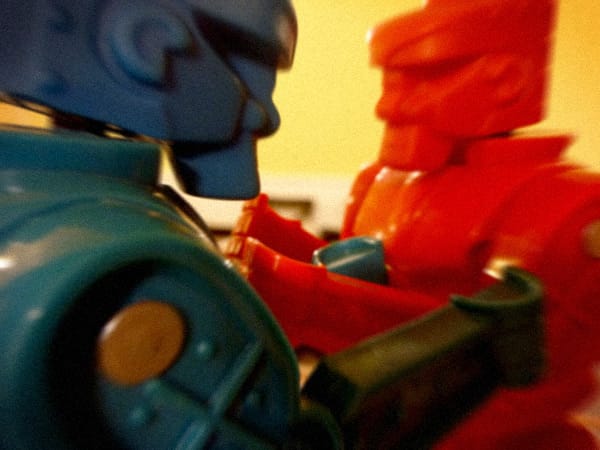
Toy cameras are fun to play around with but most of them take 120 film and for a quick experiment, processing 120 film can get pricey. Also, toy cameras are quite unpredictable. More often than not, you don’t know what will come out of them nor can you get the same results twice. That’s what makes them fun but for someone who just wants to add a little something to a particlar set of images it may not be worth the hassle. In this tutorial I’ll show you how to get similar effects through the use of the Lens Correction filter in Photoshop to do the exact opposite of what it was design to do: Instead of correcting lens defects, we’re going to be simulating them!
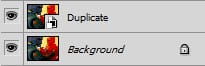
To start of, let’s make a duplicate of our background layer by simply dragging it to the “Create New Layer” icon at the bottom of your layers palette.

Go ahead and turn that new layer into a Smart Object by right-clicking on it and selecting “Convert to Smart Object”. What this will allow us to do is to edit and fine-tune whatever filter effect we give this layer adding more control over the final image. You can tell that this layer has been converted to a Smart Object because you’ll have an icon over the thumbnail of this layer in the Layers Palette.
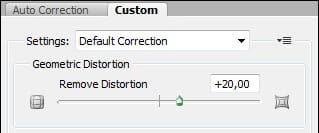
Now we’re ready to add some Filter Effects to this Smart Object. We’re going to start by simulating a common lens distortion cheap plastic cameras have known as “pincushion distortion”. This distortion is common in some wide angle lenses where they begin to give the effect of stretching the image towards the edges. To do this we’re going to go to Filter > Lens Correction. This will open a new window with a large preview so you can carefully check how much of this effect you want to add. Bear in mind that the more you stretch the image, the more of the image you’re going to crop! In your custom tab go to the first slider called “Geometric Distortion”. Instead of removing distortion, we’re going to be adding it. How much will depend on your image and the effect you’re going after.
Next we’re going to add a distortion that is similar to that of a zoom lens zooming out distorting the edges of the image. For that reason we’re going to use Filter > Blur > Radial Blur. When the Radial Blur window comes up set the Blur Method to “Zoom” and the Quality to “Best”. As for the Amount, this will depend on the size of your image. What you’re looking to achieve is a gradual blur that compliments the distortion previously added while at the same time keeping a moderate focus in the center (know as a “sweet spot”). This step is important because it will make your previous Lens Correction filter seem less like a zoom and more like a cheap optical lens defect making the image more effective.
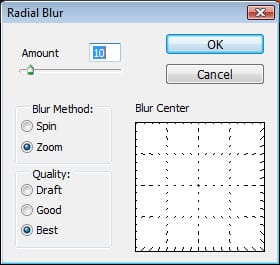
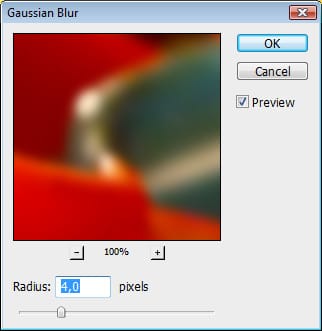
The last Filter effect I want to add to this image is a general Blur that will simulate the soft focus of cheap plastic lenses. To do that go to Filter > Blur > Gaussian Blur. With the Gaussian Blur window up, what you want to do is take your preview area towards the center of the image. This is where the sharpest focus is. Add a low Radius value just to blur out any sharp edges you might have so as to simulate a plastic lens focus.
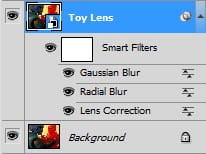
This is what your layers palette should look like so far. If you notice, you can see that all of your filter effects are preceded by a Layers Mask called “Smart Filters”. These filters are smart because you can go back and tweak them as often as you like by simply double-clicking them.
Once you are confident you have the right combination of Filter effects on your image we’re going to merge them onto a new layer by simply pressing SHIFT + CTRL + ALT + E. What we’re going to do to this new layer is recreate a vignetting effect common in many toy cameras. Vignetting is caused when the lens does not cover the total film base leaving the edges darker than the center.
We can do this in two ways. One way is to simply open up your Lens Correction Filter once again and choose. Slide the dial to -50 or even -100 where in amount where you have the Vignette settings. You can also set the midpoint which set how much of the edge will be darkened. This is the easiest and fastest way but sometimes it just looks too unnatural for me.
Another way to darken the edges of the image is to change the blend mode of the layer you previously created to “Multiply”.Now we just want the edges darker so we need to mask the center out. At the bottom of your Layers Palette you’ll find the “Add Layer Mask” icon.

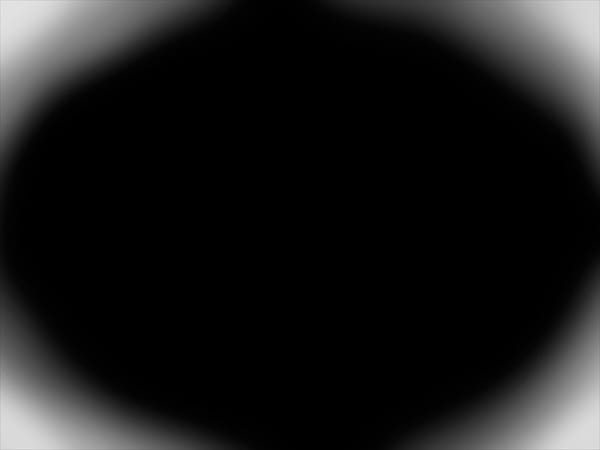
Click on this mask to select it and by pressing CTRL + I you will invert the mask turning it completely black. We now need to paint the edges white again to let the effect of the “Multiply” blend mode come though to the other layers. Select your Brush Tool and make sure your foreground color is set to white. Give your brush an opacity of about 20% and simply paint the edges of the image. Gradually paint more and more out towards the edge of the image creating a gradient that goes form dark grey to pure white at the tips of the image. By holding down the ALT key and clicking on your Layer Mask you can see what you are painting making it a whole lot easier to create a gradual gradiant. If you want a darker vignette simply duplicate this layer and set the opacity level for it.
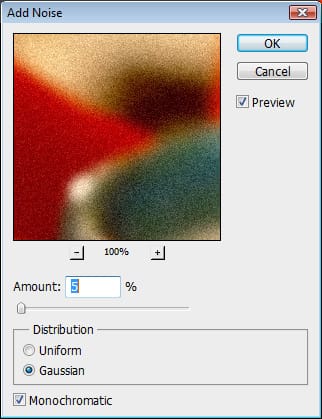
Finally, how about a little grain to simulate film? First let’s merge everything we’ve done onto another new layer by again, pressing SHIFT + CTRL + ALT + E. Let’s call this layer “Grain”. Go to Filter > Noise > Add Noise to bring up the Add Noise window. Here we want to add a bit of noise to simulate film grain. Check the preview window to see how much grain your adding. In the Distribution box, select “Gaussian” as this will make the grain more realistic and less uniform. Also make sure to have “Monochrome” selected at the bottom of the window otherwise the grain will have color and will look bad.
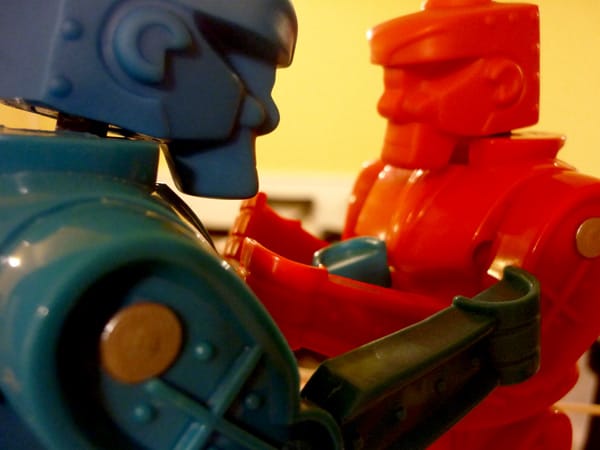
That’s it for this tutorial! Hope you experiment with it and have some fun! Here’s a close up of the before and after so you can see the difference:
Before:
After: