Colorful Glossy and Shiny 3D Text Effect in Photoshop

Colorful Glossy and Shiny 3D Text Effect in Photoshop

A glossy text effect can significantly elevate your design projects, adding a touch of sophistication and visual appeal. This style is perfect for headlines, logos, or any element needing a refined, polished finish.

This tutorial shows you how to transform ordinary text into an eye-catching, shiny design with ease, using Photoshop's powerful layer styles. You will learn the specific adjustments needed to achieve a professional-looking glossy effect.
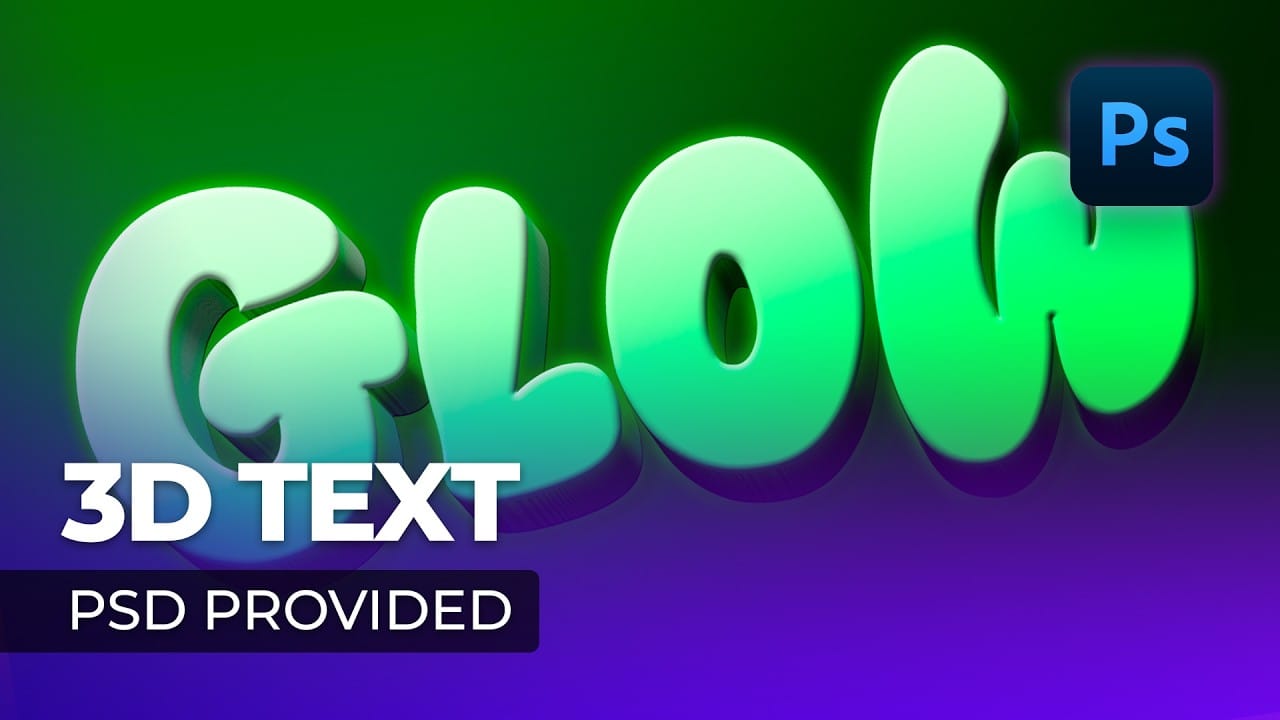
Watch the Tutorial

Video by Envato Tuts+. Any links or downloads mentioned by the creator are available only on YouTube

Unlocking Visual Depth with Layer Styles

Photoshop's Layer Style panel is an indispensable tool for designers seeking to add visual depth and realism to their text and graphic elements. It provides a non-destructive way to apply a wide array of effects, transforming flat designs into dynamic, three-dimensional compositions. The ability to combine multiple layer styles, from gradients and bevels to shadows and glows, allows for an intricate interplay of light and shadow, essential for creating convincing glossy or shiny textures.

Mastering these settings opens up possibilities for creating bespoke effects that cater to specific design needs, ensuring flexibility and precision in every project. The careful adjustment of each parameter, such as angle, contour, and blend mode, contributes significantly to the final appearance, making each text effect uniquely polished and impactful.

  • The role of the Layer Style panel in text customization.
  • Combining multiple effects for complex visual textures.
  • Achieving realistic surface reflections and highlights.
  • Non-destructive editing for flexible design adjustments.
  • Fine-tuning individual settings to achieve precise results.

Practical Tips for Glossy Text Effects

  • Begin by installing the correct font and preparing your background image for a cohesive design.
  • Utilize the Horizontal Type Tool and specific settings to establish the initial text base.
  • Apply a Gradient Overlay to the base layer to define the primary color and initial light reflections.
  • Employ Bevel and Emboss, along with a custom contour, to create depth and highlight contours.
  • Duplicate the text layer and clear its layer styles to build intricate, multi-layered effects.
  • Group the final text layers to apply a unifying Drop Shadow, enhancing the text's integration with the background.

More Tutorials about Text Effects in Photoshop

Explore additional resources to enhance your text design skills in Photoshop.

Create a glossy candy text effect in Photoshop
Creating a glossy candy text effect in Photoshop is a simple task, thanks to the tutorial provided by TexTuts. This technique allows you to achieve a striking, candy cane-inspired text effect with minimal effort. The process involves using a variety of Layer Styles to add depth, dimension, and a shiny, glossy finish to your text. You'll be able to transform ordinary text into a visually appealing, eye-catching design that can be used in a variety of projects, from logos and branding to social m
Shiny Glass Text Effect in Photoshop
In this tutorial by Learning Screen, you'll learn how to create a shiny glass text effect using the Layer Styles option in Photoshop. The step-by-step guide will show you how to apply this glass effect to any layer or text object, enhancing its appearance with a sleek, transparent look. You'll also learn how to save the effect as a layer style preset, allowing you to quickly and easily apply the glass effect to other layers or text in your projects. This tutorial is perfect for adding a modern
Glowing Text Effect in Photoshop
In this tutorial from TextureLabs, you'll learn a technique to enhance the Outer Glow effect in Photoshop for more realistic results on text and logos. The tutorial offers a straightforward approach to create a vibrant and lifelike glow that surpasses the traditional flat appearance. Additionally, TextureLabs encourages applying the same technique to photographs to achieve glowing effects, expanding the tutorial's application beyond text and logos. This tutorial is ideal for those looking to e
Creating a 3D Glowing Text Effect in Photoshop
Adding depth and luminosity to text can transform a simple design into something visually striking. The combination of 3D extrusion and glow effects creates text that appears to leap off the page, making it perfect for logos, headers, and eye-catching graphics. This tutorial demonstrates how to build a complete 3D text effect with glowing elements using Smart Objects and layer effects. The technique covers everything from creating dimensional text to applying multiple glow layers for enhanced v

Get tutorials & freebies delivered to you.

Subscribe to the Photoshop Roadmap newsletter, a weekly roundup of new tutorials, insights and quality downloads, trusted by 6500+ readers.

You might also like

Complete Photoshop Editing Workflow: 5 Steps from Raw to Polished

Photoshop offers endless possibilities for photo enhancement, but many photographers never move beyond basic adjustments because the software feels overwhelming. This comprehensive workflow breaks down photo editing into five manageable stages that work consistently across different photography styles. The systematic approach covers everything from initial raw processing to advanced lighting...

Photoshop Workspace Basics: Navigation, Zooming, and Essential Interface Elements

Photoshop's interface can feel overwhelming when you first open the program. Dozens of panels, tools, and menus compete for attention, making simple tasks feel complicated. This tutorial breaks down the essential workspace elements and teaches fundamental navigation skills that form the foundation of efficient Photoshop work. Watch the...

How to Restore Old Damaged Photos Using Nano Banana in Photoshop

Old family photos with scratches, tears, and missing sections can seem beyond repair. Google's Nano Banana AI model, now integrated into Photoshop, makes full restoration possible in minutes rather than hours. This powerful tool excels at maintaining facial characteristics while automatically filling in damaged areas and adding realistic...

How to Get Higher Quality Results from Photoshop's Generative Fill Tool

Photoshop's Generative Fill creates impressive AI extensions, but the results often look blurry and pixelated when viewed at full size. This quality limitation makes many AI-generated areas unusable for printing or large displays. This technique shows how to work around the 1024x1024 pixel quality limit to create much...

How to Use Photoshop's Liquify Tool for Non-Destructive Portrait Retouching

Clothing wrinkles, hair that lacks volume, and awkward fabric bunching can distract from an otherwise great portrait. Photoshop's Liquify tool offers a powerful solution for smoothing out these issues while preserving the natural look of your subject. This tutorial demonstrates how to use the Liquify tool non-destructively with...

You’ve successfully subscribed to Photoshop Roadmap
Welcome back! You’ve successfully signed in.
Great! You’ve successfully signed up.
Success! Your email is updated.
Your link has expired
Success! Check your email for magic link to sign-in.