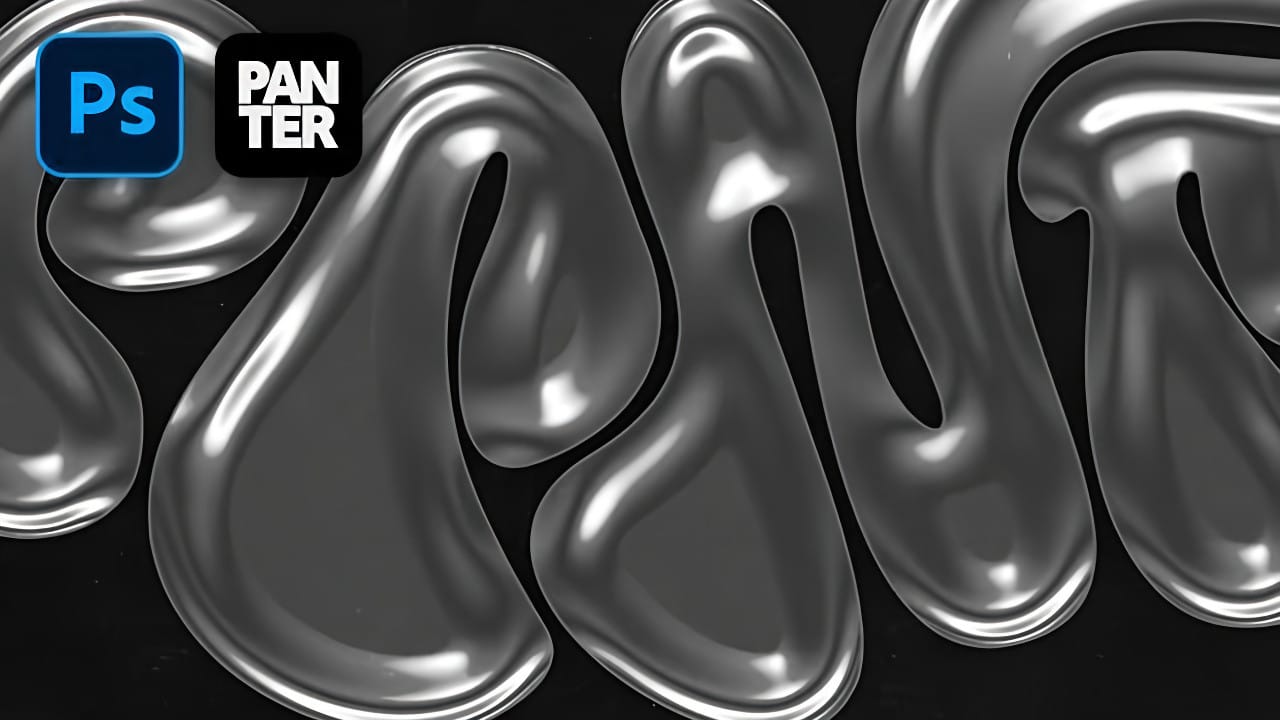
Foil text effects bring luxurious shine and metallic depth to typography, mimicking the reflective quality of embossed metallic lettering. This dimensional effect works perfectly for premium branding, elegant invitations, or any design that needs an upscale metallic finish.

The technique relies heavily on Photoshop's layer styles, particularly bevel and emboss settings, to create realistic highlights and shadows that simulate light bouncing off a metallic surface.

Watch the Foil Text Effect Tutorial

Video by P A N T E R. Any links or downloads mentioned by the creator are available only on YouTube

Understanding Metallic Text Effects in Digital Design

Metallic text effects simulate real-world embossing and foil stamping techniques used in premium print design. The key lies in creating convincing light interaction through strategic use of highlights, shadows, and contours.

Bold, thick typefaces work best for foil effects because they provide enough surface area for the metallic details to read clearly. The bevel and emboss layer style serves as the foundation, while contour adjustments add the characteristic metallic reflections.

Key concepts for achieving realistic foil effects:

  • Inner bevel technique creates the raised metallic surface
  • Ring gloss contour produces the distinctive metallic shine pattern
  • Rolling slope contour enhances the three-dimensional appearance
  • Reduced fill opacity allows layer styles to dominate the appearance
  • High contrast adjustments amplify the metallic reflections

Practical Tips for Foil Text Effects

  • Start with white text on a black background for maximum contrast and easier layer style visualization
  • Use thick, bold fonts with substantial weight to provide enough surface area for metallic details
  • Set bevel depth to 70 and size to 60 for pronounced three-dimensional appearance
  • Apply ring gloss contour with 100% highlight mode and 45% shadow mode for realistic metallic shine
  • Reduce text fill opacity to 40% so layer styles create the primary visual effect rather than the base color

More Tutorials About Text Effects

Explore additional text effect techniques to expand your Photoshop skills.

Create a Realistic Paper Cutout Text Effect in Photoshop
In this tutorial by Made By Mighty, you'll learn how to create a paper cutout effect in Photoshop for text or lettering. The step-by-step format ensures that both beginners and experts can easily recreate this effect. Made By Mighty also provides downloadable files used in the tutorial, enhancing accessibility and ease of following along. Whether you're looking to add a crafty, handmade look to your designs or exploring new Photoshop techniques, this tutorial offers practical insights and reso
How to Create a Folded Paper Text Effect in Photoshop
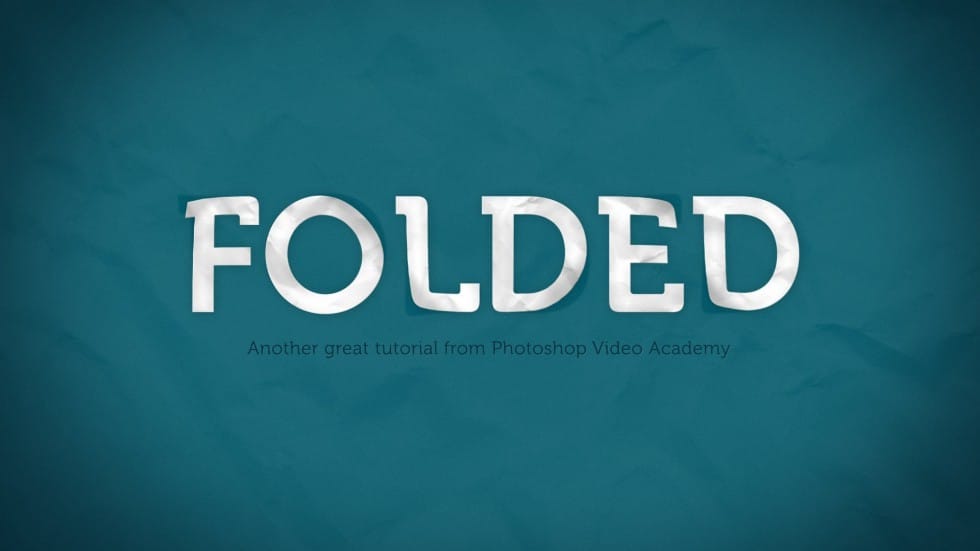
In this tutorial by New Layer, you'll learn how to create a folded paper text effect in Photoshop, where the letters look like they're peeling up from the page. The tutorial provides detailed, step-by-step instructions to guide you through the entire process, ensuring you can achieve a realistic and engaging effect. This technique adds a unique sense of depth and dimension to your text designs, making them stand out as if they were physically lifting off the page. Perfect for adding a creative
Create a frosty text effect in Photoshop
Are you looking to add some winter magic to your Photoshop designs? This tutorial from Advanced Photoshop Magazine has got you covered. You can learn how to create a stunning frosty text effect, complete with icicles and a wintry vibe. The step-by-step instructions make it easy to follow along and achieve the desired result. You'll start by setting up your document and choosing the font you want to use. Then, you'll add the icy texture and elements to bring the text to life. The tutorial even s
How to create a dripping paint text effect in Photoshop
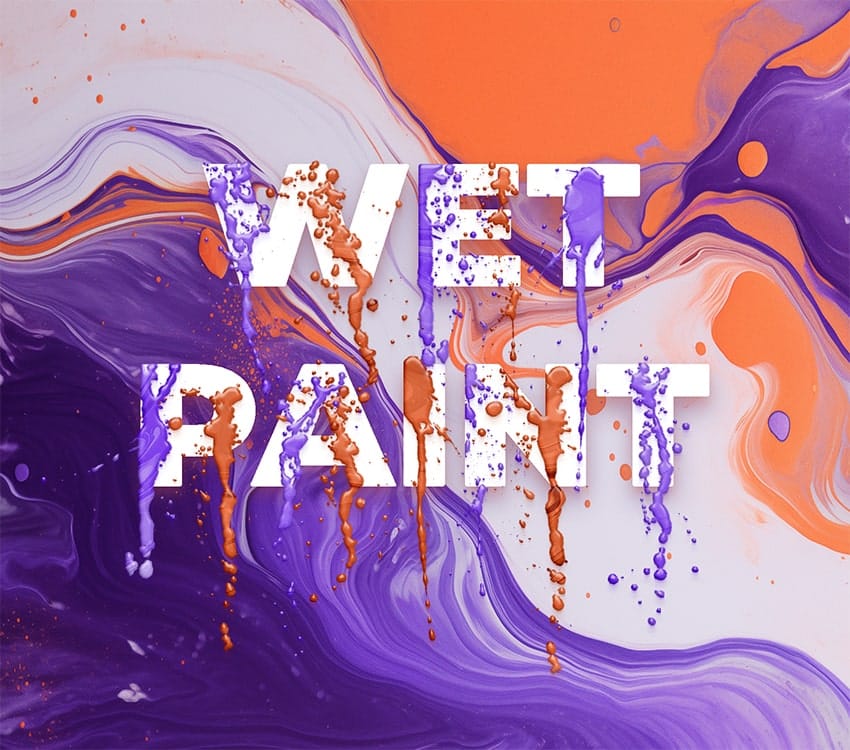
In this tutorial, you will discover how to create a striking paint-dripping effect using Adobe Photoshop. This guide breaks down the process into clear, manageable steps, making it easy for you to follow along, regardless of your skill level. First, you will start by preparing the base image, where you will add the paint element. Then, you'll learn how to manipulate and position the paint to achieve the desired dripping effect. Each step includes helpful tips and tricks to enhance your work. F

Thanks for Reading — Want More Like This?

Subscribe to the Photoshop Roadmap newsletter for more expert tutorials and insights delivered directly to your inbox.