LEGO artwork transforms ordinary photos into playful, block-based masterpieces that capture the distinctive charm of the iconic building bricks. This nostalgic aesthetic combines digital artistry with childhood memories.
The technique uses a custom pattern overlay combined with pixelation effects to recreate the signature LEGO brick appearance on any photograph.
Watch the Video
Video by P A N T E R. Any links or downloads mentioned by the creator are available only on YouTube
Essential Tips for LEGO Pattern Effects
- Match your pattern scale to mosaic cell size — Use the same numerical value for both the mosaic filter and pattern scale to ensure proper brick alignment
- Convert your image to a smart object first — This allows you to adjust the mosaic effect non-destructively and fine-tune the brick size later
- Use Linear Light blend mode for realistic integration — This blend mode creates the most convincing interaction between your custom brick pattern and the pixelated image
- Create your brick pattern at 100x100 pixels — This small canvas size provides the right proportions for the circular studs and beveled edges
- Apply strong bevel settings for dimensional effect — Set depth to 300, size to 8, and angle to 120 degrees to achieve authentic LEGO brick depth
More Tutorials About LEGO Effects
Explore additional techniques for creating LEGO-inspired artwork and digital effects.
How to Transform a Photo Into a LEGO Portrait
The transformation of a digital image into a mosaic of LEGO bricks offers a unique artistic interpretation. This technique allows creators to reimagine photographs with a distinct, block-based aesthetic, evoking a sense of nostalgia and playful creativity.
In this tutorial, you will discover how to apply this captivating LEGO effect to virtually any photograph using Adobe Photoshop. The process covers essential steps from initial image preparation and non-destructive editing to creating a custo
Create a Lego Portrait Effect in Photoshop
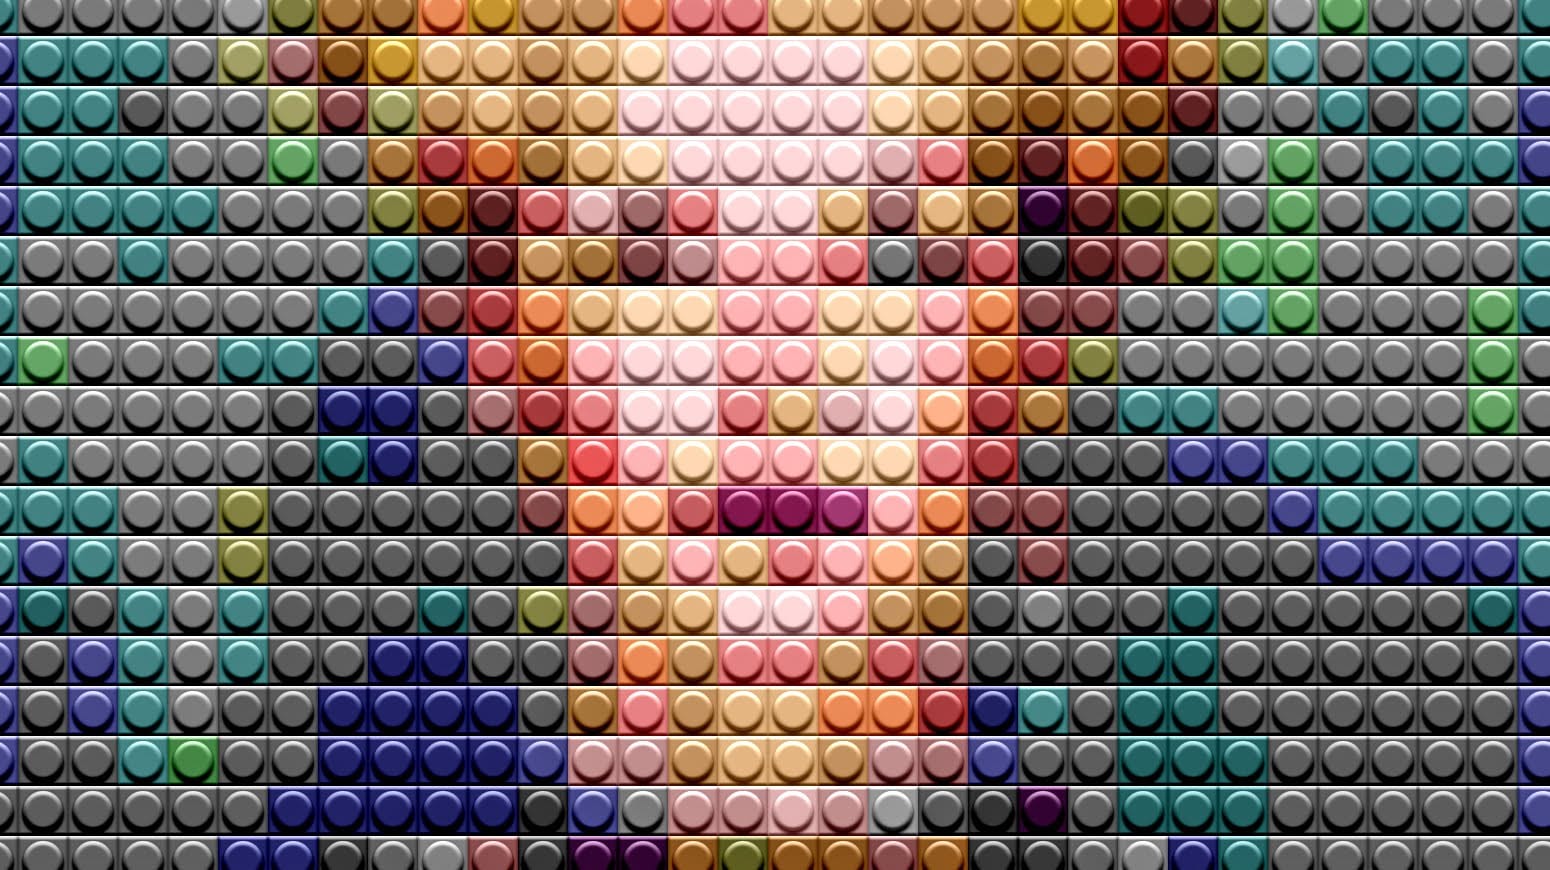
In this tutorial, you will learn how to create a portrait made of Legos in Adobe Photoshop. The process may seem daunting at first, but with the clear step-by-step instructions, you'll be able to achieve impressive results.
The tutorial covers the basics of setting up your canvas, selecting the right Lego colors, and arranging them to form the desired portrait. You'll also learn how to add realistic shadows and highlights to make the Lego pieces look more authentic.
By the end of this tutorial
Free Lego Bricks Photoshop Brushes
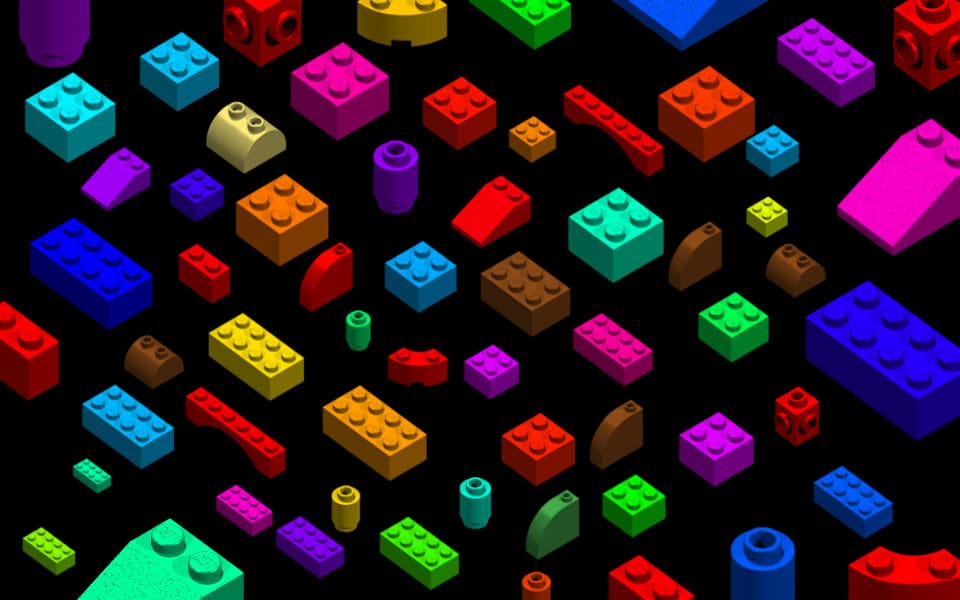
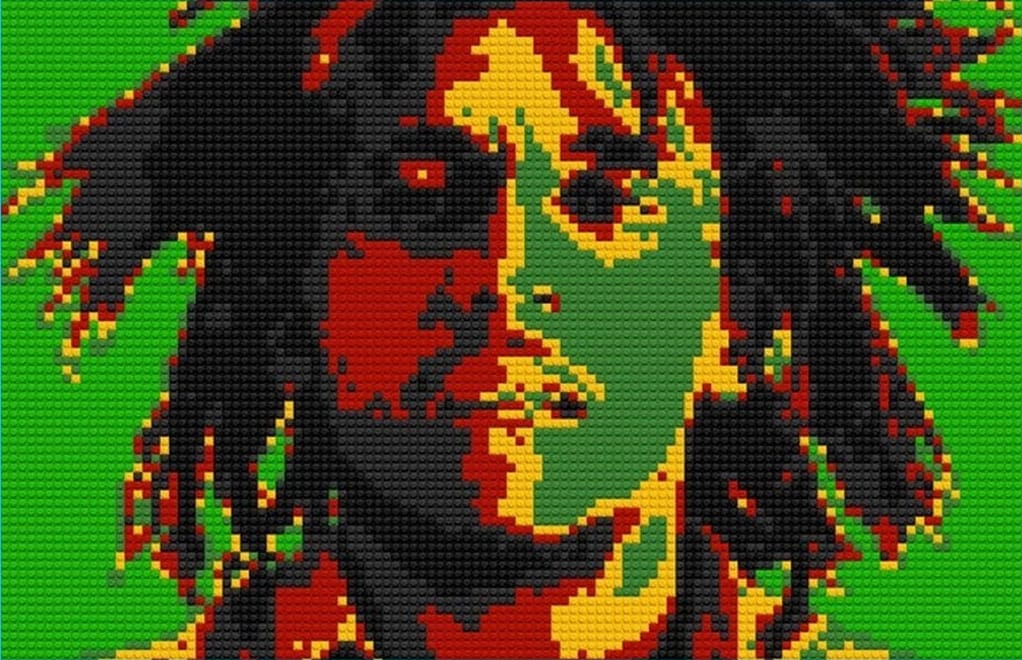
This set of high-resolution Lego bricks Photoshop brushes was meticulously crafted using LDraw, Mlcad, L3P, L3PAO, and POV-Ray. The set includes two versions—normal and negative—allowing you to achieve different visual effects when painting over white or black backgrounds. Perfect for adding playful, detailed Lego elements to your digital artwork, these brushes offer versatility and precision. Download the brushes and start painting today!
Additionally, you can learn how to create your own cust
Building a Lego Bricks Photoshop Brushes set
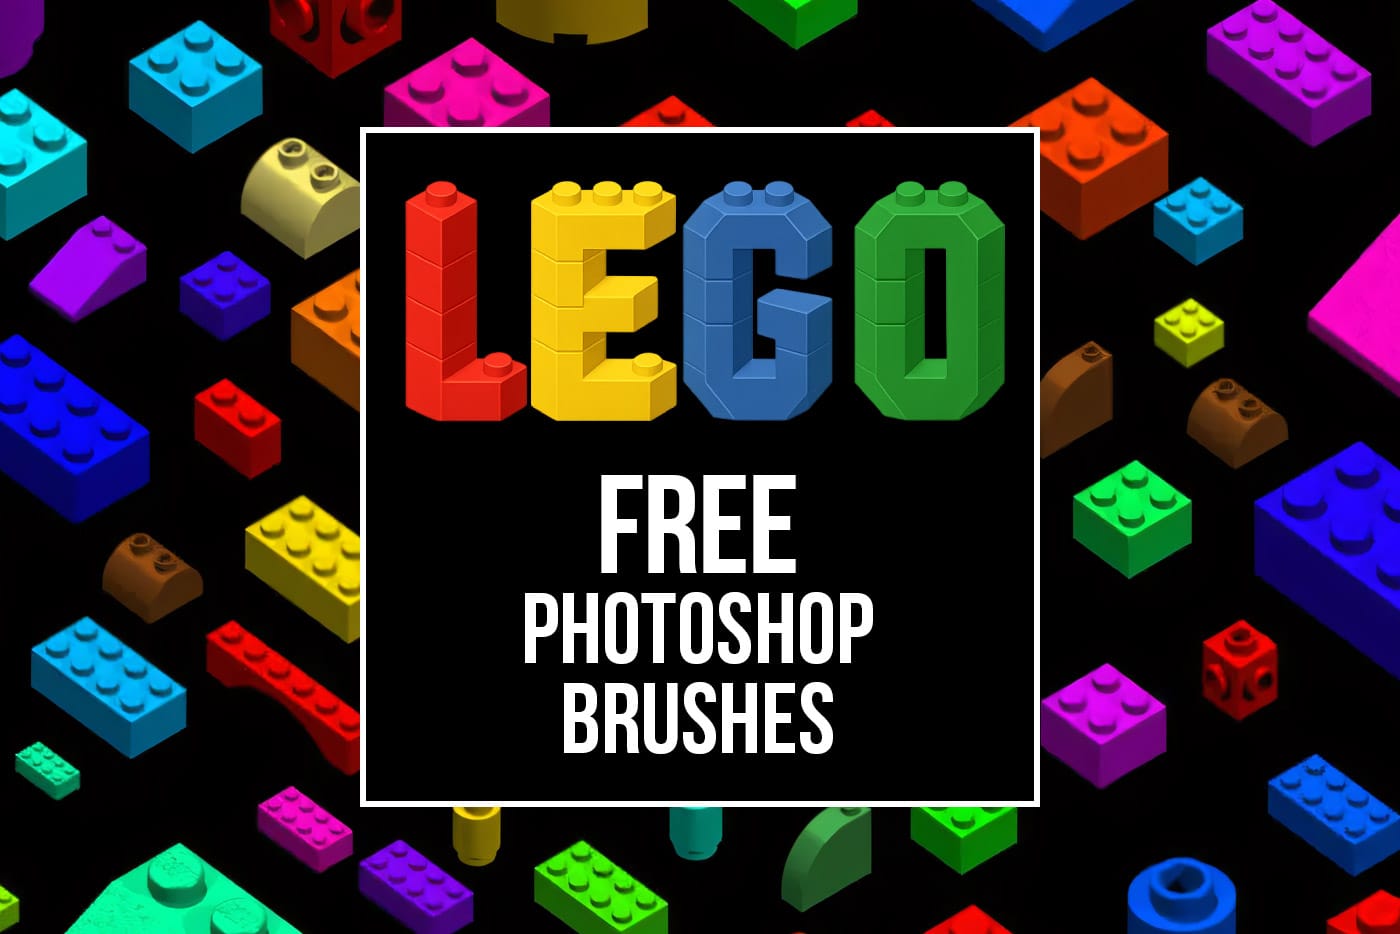
Creating virtual Lego models on your Mac or PC is easier than ever with various software options available. These applications utilize detailed Lego part data in the form of 3D objects, allowing you to construct intricate Lego scenes or even generate instruction booklets for your creations. For added creativity, some users have rendered Lego bricks and transformed them into Photoshop brushes for unique artistic projects.
The process involves several tools. LDraw serves as a foundational resourc