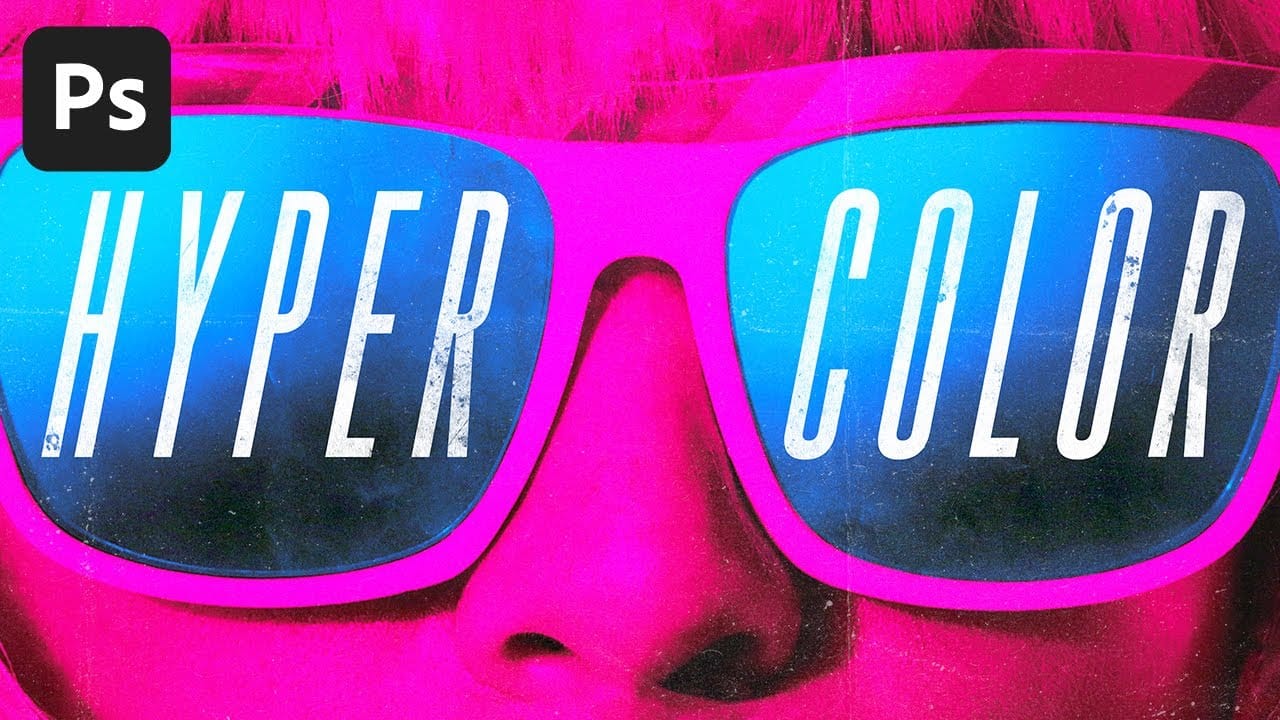
Creating harmonious color schemes requires understanding how to layer colors strategically rather than relying on single adjustments. A monochromatic palette uses tints, tones, and shades from the same color family to create depth and visual unity.
This technique demonstrates how to build rich, textured backgrounds by combining solid color fills, texture overlays, and careful blend mode choices to achieve professional results.
Watch the Video
Video by SandraD Imagery. Any links or downloads mentioned by the creator are available only on YouTube
Practical Tips
Key techniques for building effective monochromatic color compositions:
- Start with a solid color fill layer as your base to establish the overall tone before adding textures
- Use soft light blend mode at reduced opacity (30-40%) when adding color correction layers to maintain subtlety
- Layer complementary colors like blue over warm tones to balance temperature and prevent oversaturation
- Add texture overlays and photographic elements on separate layers so you can adjust their blend modes independently
- Choose elements that match your color palette rather than trying to color-correct mismatched components
Related Articles and Tutorials
Explore more color techniques and creative approaches to enhance your digital artwork:
Six easy ways to select colors in Photoshop
In this episode of "3, 2, 1… Photoshop!", longtime Adobe evangelist Julieanne Kost shares essential tips and tricks for selecting colors in Photoshop. Julieanne introduces six easy methods to choose colors effectively, whether you're working on a detailed project or just need a quick color pick.
You'll learn how to use the eyedropper tool for precise color selection, manipulate foreground and background colors, and utilize the heads-up-display (HUD) color picker for a more interactive experienc
The Single Best Color Tool in Photoshop
In this tutorial, you will uncover the often-overlooked capabilities of Photoshop's Selective Color Adjustment Layer.
This powerful tool allows you to perform both subtle and dramatic color grading, giving your images a polished look similar to fine art. You'll learn techniques to intensify colors, separate various hues for added depth, and achieve better overall color balance in your work. This ensures that your images maintain their vibrancy without the risk of over-saturation.
The tutorial

Change the Colors of Objects and Backgrounds with Photoshop on the Web
Transforming basic paper backdrops into limitless creative opportunities is more achievable than you might think. With @ruthiesmagicalcamera, this tutorial guides you through the process using Photoshop on the web, ensuring that you can follow along seamlessly.
In this lesson, you will explore various techniques to enhance your images. Gain a clear understanding of selection tools and how to refine masks effectively. Additionally, the tutorial covers color adjustments that can help breathe new
3 must-try techniques to enhance colors in Photoshop
Many photographers and designers seek to infuse their images with vibrant, true-to-life colors that truly stand out. Achieving this level of color enhancement often requires more than basic adjustments; it demands a nuanced approach that breathes life into every detail.
This tutorial uncovers three powerful, yet often overlooked, Photoshop techniques to elevate your color grading. Discover how to apply subtle, realistic color changes, sculpt specific color moods, and selectively refine tones wi

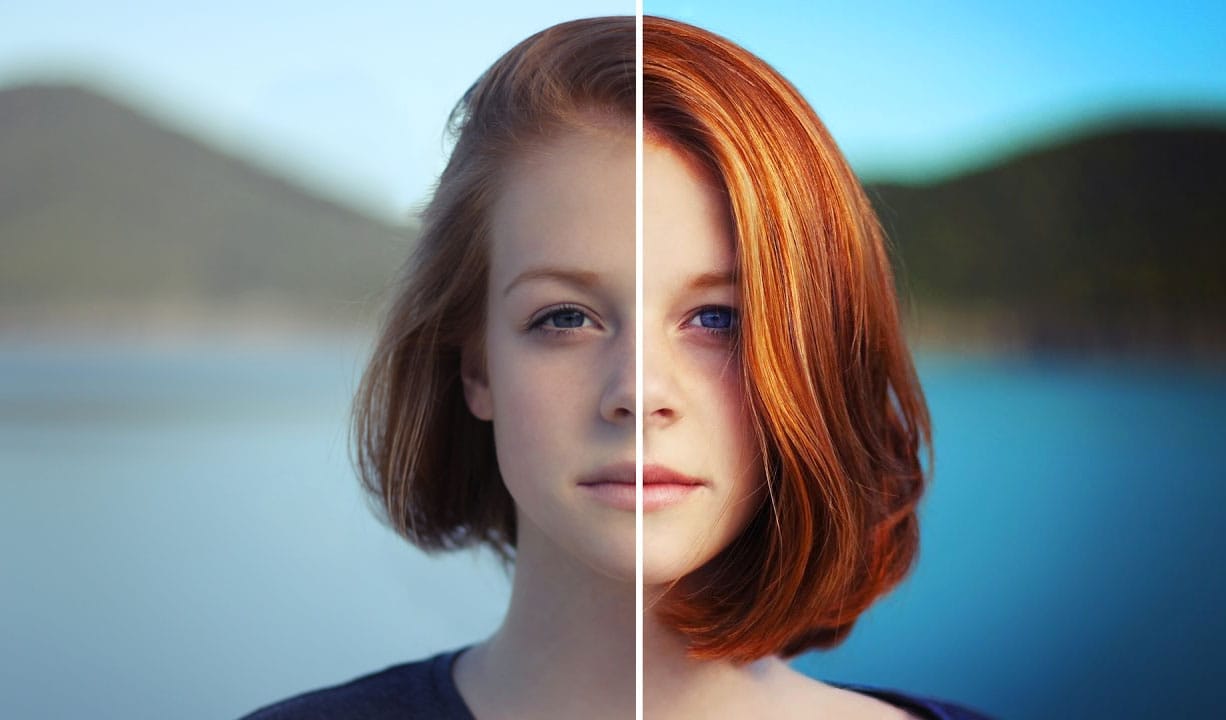
How to make colors pop in Photoshop
Selective color enhancement transforms dull photographs into vibrant, dramatic images by targeting specific areas like hair, skin, eyes, and clothing. This non-destructive approach uses precise selections and adjustment layers to boost colors naturally.
The technique creates professional results by treating each element separately, allowing you to enhance blue sweaters, brighten eyes, warm skin tones, and intensify hair colors without affecting the entire image.
Watch the Tutorial
Practical
24 Creative Color Effects Photoshop Tutorials
The introduction of digital cameras has revolutionized photography. Gone are the days when quality relied solely on film development services, which often meant dealing with color errors or issues like expired rolls or light leaks. Nowadays, these concerns are virtually eliminated, allowing photographers to focus on creativity rather than technical flaws.
However, even with digital technology, there are still ways to explore artistic expression through color. Mistakes can become opportunities f
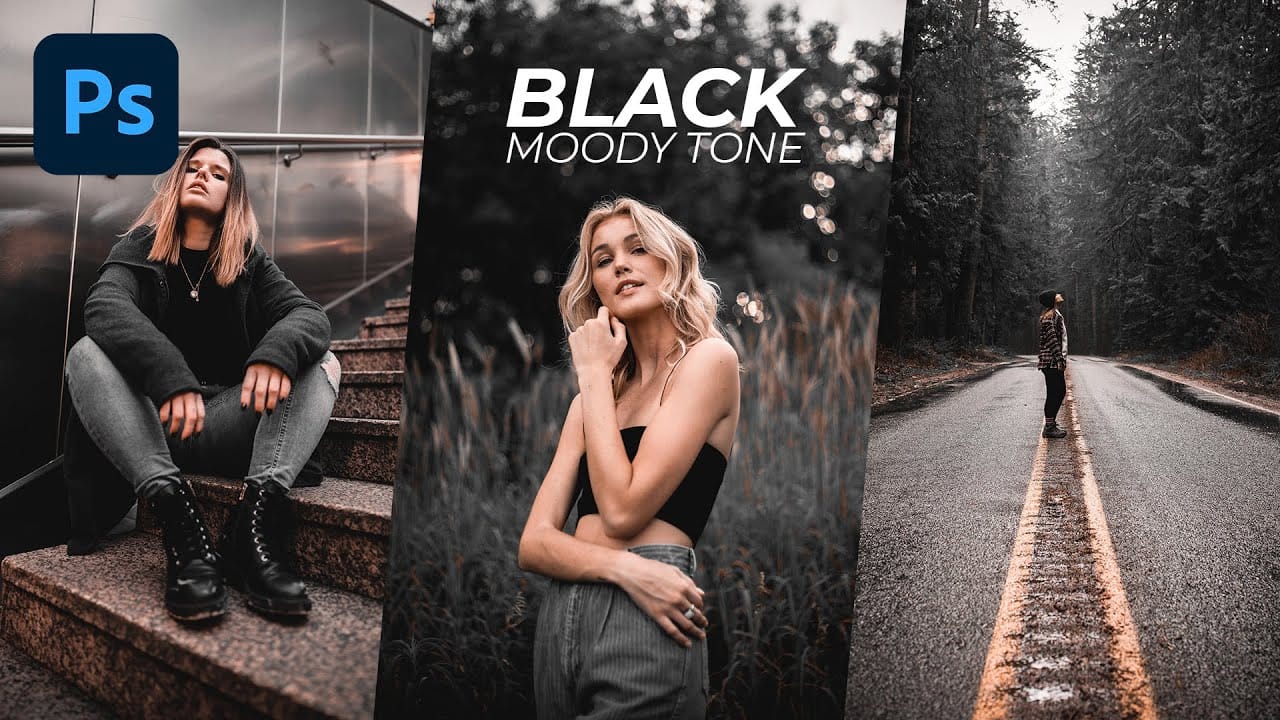
Black Moody Color Grading in Photoshop
In this comprehensive Photoshop tutorial from WebFlippy, you'll learn how to create a stunning black tone moody color grading effect. This technique is perfect for adding depth and atmosphere to your photos, giving them a dramatic and sophisticated look.
The tutorial provides a detailed, step-by-step guide on how to achieve this effect, making it accessible even for those new to Photoshop. You'll also discover how to save your adjustments as a preset, which allows you to quickly apply the same
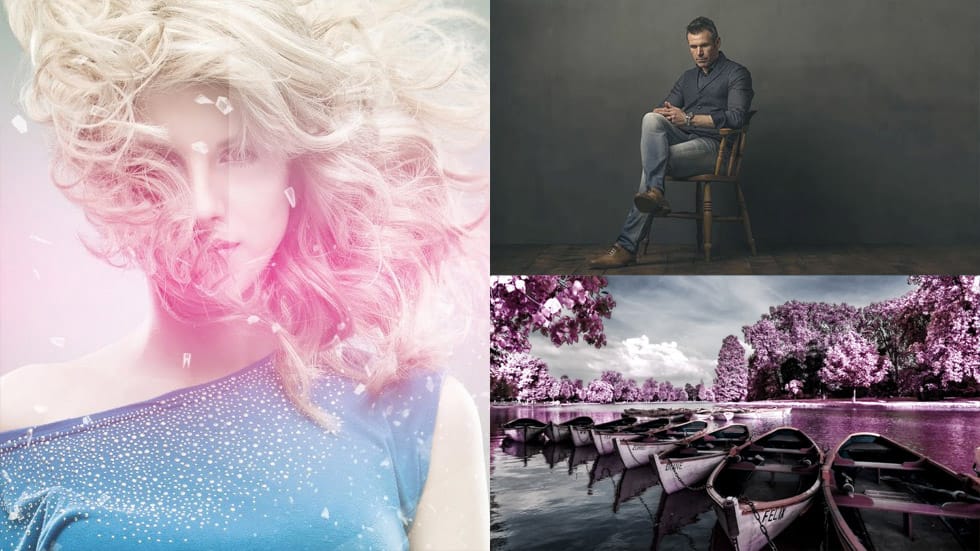
The Secret to Eye-Popping Color Overlays in Photoshop!
In this insightful tutorial, TextureLabs unveils a powerful technique for creating vibrant and striking color overlays in Photoshop. The focus is on leveraging fundamental color theory principles to produce gradient maps that truly stand out.
You'll start by learning how to apply color overlays and tints that add a unique flair to your designs. The tutorial walks you through a method for crafting gradient maps that not only enhance the visual appeal of your images but also give them a captivati