How to Create a Triple Colored Threshold Effect in Photoshop

How to Create a Triple Colored Threshold Effect in Photoshop

Bold graphic effects can transform ordinary portraits into striking artistic statements. The triple threshold technique combines three distinct colors with high contrast elements to create a poster-like aesthetic reminiscent of pop art and modern design trends.

This effect works by layering multiple threshold adjustments with different colors and blend modes. The result produces clean, dramatic contrasts that make portraits stand out with minimal detail but maximum visual impact.

Watch the Tutorial

Video by P A N T E R. Any links or downloads mentioned by the creator are available only on YouTube

Understanding Threshold Effects in Digital Art

Threshold adjustments convert images into pure black and white by eliminating gray tones at a specific brightness level. This creates stark contrasts that simplify complex details into bold shapes. When combined with color mapping and blend modes, threshold effects become powerful tools for graphic design and artistic expression.

The technique draws inspiration from posterization and screen printing aesthetics, where limited color palettes create maximum visual impact. Modern digital artists use these methods to achieve vintage poster looks, album covers, and social media graphics. The layered approach allows precise control over how each color appears and interacts with others.

Smart objects preserve the original image data while allowing non-destructive editing. This workflow ensures you can always return to adjust threshold levels or change colors without losing quality or starting over.

Practical Tips for Triple Threshold Effects

  • Start with high contrast source images that have clear light and dark areas for better threshold separation
  • Add noise before applying threshold adjustments to create smoother edge transitions and reduce harsh digital artifacts
  • Use Multiply blend mode for darker colors and Darker Color for preserving the darkest values between layers
  • Adjust threshold handles gradually - small movements create significant changes in color distribution
  • Group related layers together to maintain organization and enable easy duplication for additional colors

Explore more techniques for creating dramatic color combinations and artistic effects in Photoshop.


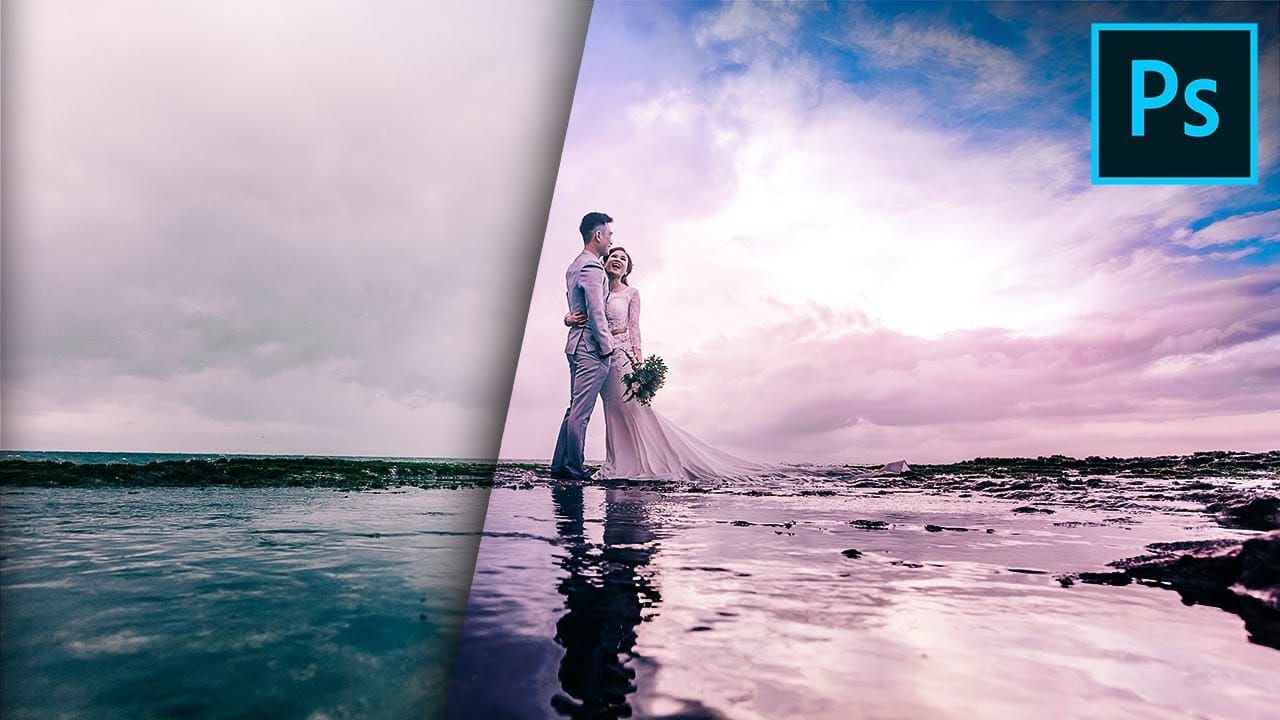
3 must-try techniques to enhance colors in Photoshop
When you're editing a photo in Photoshop, making your colors pop is likely on the top of your to-do list. There are a variety of great tools to use in Photoshop, but with these three techniques, you will be able to get more rich colors in your edits, while also having more control over how they appear. With the help of layer masks, blend if, and camera raw, you'll be surprised by how these lesser-known Photoshop tricks can improve the look of your edits. Watch tutorial
3 Creative ways to combine photos in Photoshop
In this tutorial, Colin Smith explores three innovative methods to combine photos in Photoshop. Whether you are creating composites or collages, these techniques will help you blend images together seamlessly. Colin demonstrates how to merge photos using layer masks, blending modes, and adjustment layers. These foundational skills are essential for creating striking and cohesive composites. By mastering these techniques, you can enhance your creativity and produce stunning visual effects. You'
How to copy color effect from other images in Photoshop
The PiXimperfect tutorial offers a simple yet effective technique to add a burst of vibrant color to your Photoshop projects. By leveraging blend modes and a touch of creativity, you can seamlessly incorporate color from one image into another, elevating your visual compositions. The author guides viewers through the process step-by-step, making it accessible for both beginners and seasoned Photoshop users. With a keen eye for detail, the tutorial demonstrates how to carefully select and blend
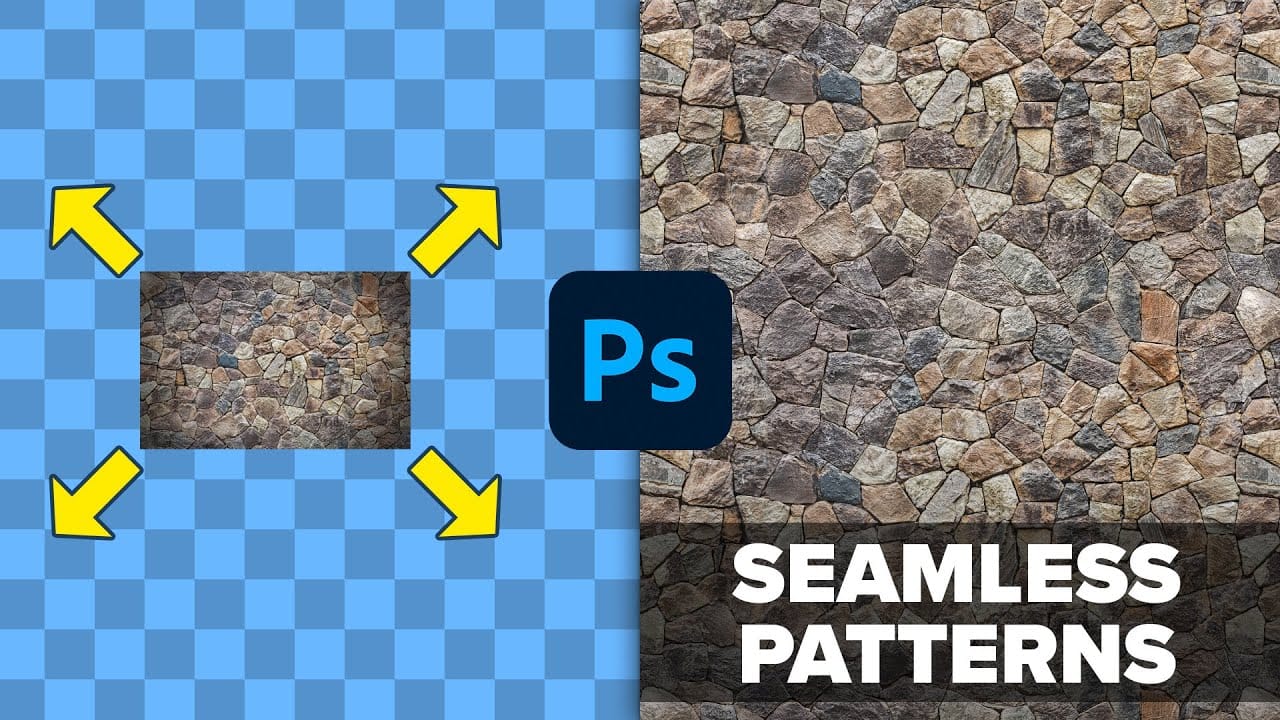
3 Powerful Techniques to Create Seamless Patterns in Photoshop
This tutorial by Jesus Ramirez from the PTC Photoshop Training Channel introduces three effective techniques for creating seamless patterns in Photoshop. If you have ever wanted to transform a simple photo into a beautiful repeating design, this is a great place to start. You will become familiar with essential tools such as Pattern Preview and Generative Fill, which are crucial in this process. These tools will help simplify your workflow and enhance your designs. Additionally, you will discov

Get tutorials & freebies delivered to you.

Subscribe to the Photoshop Roadmap newsletter, a weekly roundup of new tutorials, insights and quality downloads, trusted by 6500+ readers.

You might also like

Painting Digital Art Backgrounds: Techniques and Workflow

A well-crafted background can anchor an entire digital painting, providing atmosphere, depth, and visual context for the subject. This video demonstrates practical approaches to building backgrounds from scratch using digital tools, covering brush selection, color layering, and compositional thinking. Watch the Video Practical Tips Keep these core principles in...

How to Use the Light Adjustment Layer in Photoshop

Photoshop's new Light adjustment layer brings Camera Raw controls — exposure, contrast, highlights, shadows, whites, and blacks — directly into the layers panel as a fully non-destructive, maskable layer. This means you can stack multiple light adjustments, target specific subjects, and combine them with Blend If and other adjustment...

How to Use Object Selection, Remove Background, and the Selection Brush in Photoshop

Selections determine the quality and flexibility of almost every edit you make in Photoshop. Three modern tools — the Object Selection tool, Remove Background with Harmonize, and the Selection Brush — handle the most common selection tasks with far less manual effort, while keeping your original image intact through non-destructive layers....

How to Paint a Digital Background and Composite Wildlife Into It

Building a painted digital background from scratch gives you full control over color, mood, and composition before a single wildlife photo is placed. This walkthrough covers the complete process: blocking in shadows on a black canvas, layering foliage with textured brushes, positioning bird subjects on hand-painted stones, and using...

How to Sharpen Skin Texture Using Frequency Separation in Photoshop

Retouched skin can look great up close but lose all its natural texture the moment you zoom out. Rather than relying on standard sharpening filters, you can recover that texture by duplicating the high-frequency layer inside a frequency separation setup — a method that works whether or not you'...

You’ve successfully subscribed to Photoshop Roadmap
Welcome back! You’ve successfully signed in.
Great! You’ve successfully signed up.
Success! Your email is updated.
Your link has expired
Success! Check your email for magic link to sign-in.