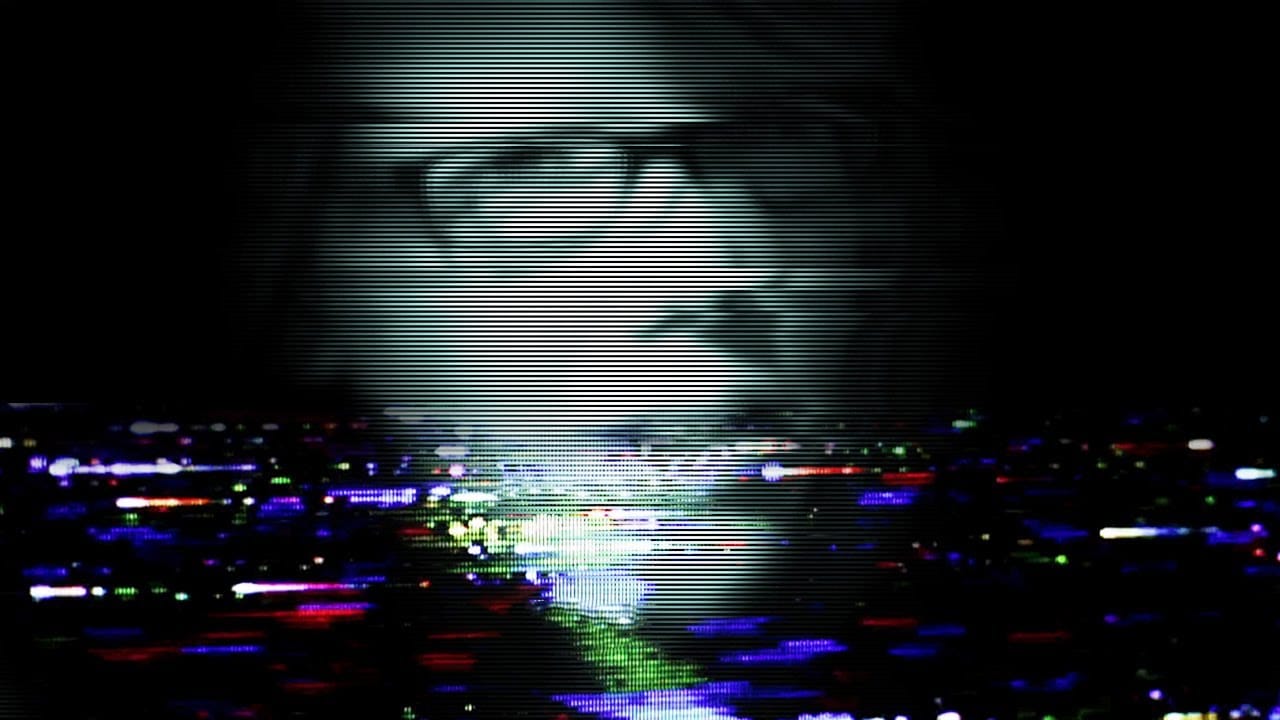
VHS glitch effects capture the nostalgic charm of analog video distortion, transforming clean digital images into retro masterpieces. These effects recreate the visual artifacts of old videotapes — horizontal scan lines, color channel separation, and pixelated interference that defined an entire era of visual media.
This tutorial demonstrates how to build a convincing VHS glitch effect using Photoshop's filters, blend modes, and displacement techniques. You'll learn to create authentic-looking analog distortion that brings vintage video aesthetics to modern digital work.
Watch the Video Tutorial
Video by P A N T E R. Any links or downloads mentioned by the creator are available only on YouTube
The Science Behind VHS Distortion
VHS glitch effects stem from real technical limitations of analog video recording. Magnetic tape degradation, tracking errors, and signal interference created the distinctive visual artifacts we now recreate digitally. The most recognizable elements include chromatic aberration from color channel misalignment and horizontal scan line disruption.
Digital recreation of these effects requires understanding how analog systems processed video signals. Color information was stored separately from luminance data, which explains why VHS glitches often show red, green, and blue channels shifting independently. The horizontal nature of most glitch patterns reflects how analog video was recorded in scan lines.
Modern glitch art embraces these technical "failures" as aesthetic choices. The imperfection becomes intentional, creating visual interest through controlled chaos that references our collective memory of analog media.
Essential Tips for VHS Glitch Effects
- Separate your image into red, green, and blue channels using smart objects to maintain editability throughout the process
- Use horizontal displacement rather than vertical to mimic authentic VHS tracking errors and scan line distortion
- Apply the Unsharp Mask filter with high contrast settings to create the harsh, over-processed look of degraded video
- Create scan lines using the Halftone Pattern filter with line patterns, then blend them using Multiply mode at low opacity
- Add rectangular selections and reposition them to simulate video frame corruption and digital artifacts
More Tutorials About Glitch Effects
Explore additional techniques for creating digital distortion and retro video effects.