How to Create a Wood Burn Effect in Photoshop

How to Create a Wood Burn Effect in Photoshop

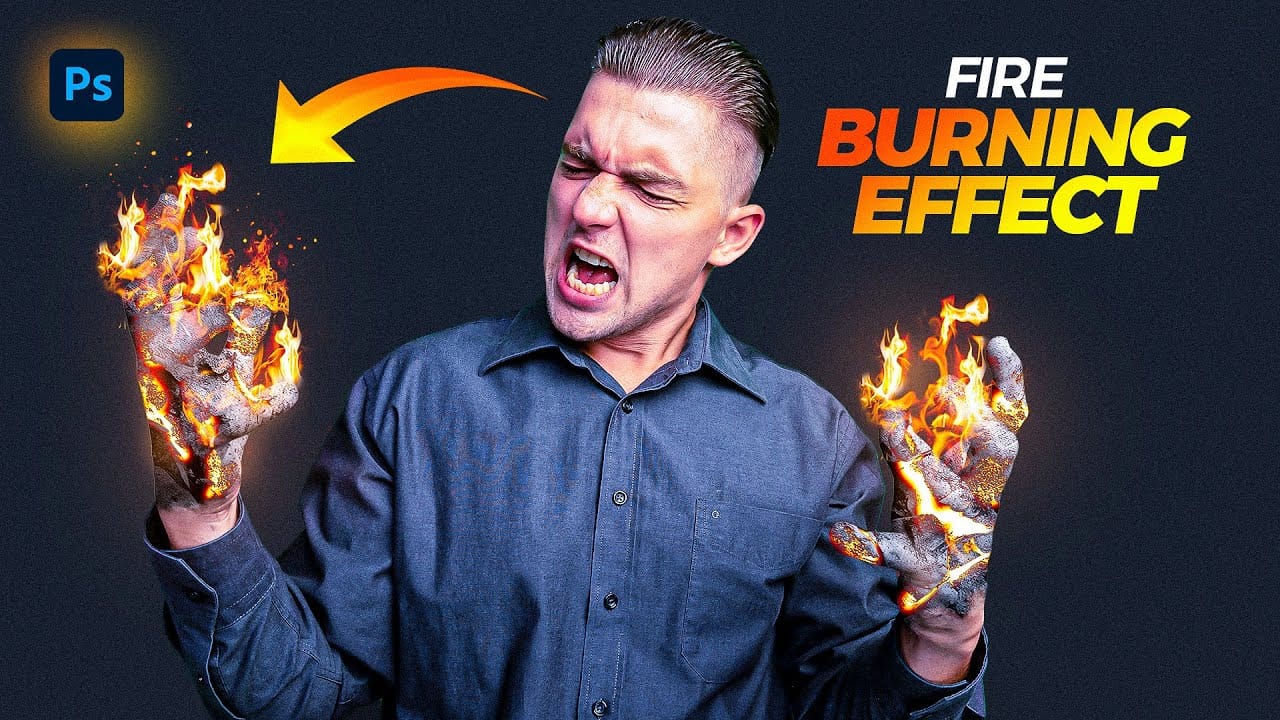
Wood burning transforms simple text and graphics into rustic, branded designs that carry the authenticity of crafted woodwork. This timeless aesthetic connects digital art with traditional craftsmanship, creating visuals that feel both handmade and professional.

Photoshop's layering and blending capabilities make it possible to simulate the charred, weathered appearance of wood burning without needing actual pyrography tools. The technique combines texture work, strategic blending modes, and careful opacity control to achieve convincing results.

Watch the Tutorial

Video by Photoshop Arthouse. Any links or downloads mentioned by the creator are available only on YouTube

The Art of Digital Wood Burning

Pyrography, or traditional wood burning, uses controlled heat to create designs on wood. This ancient technique remains popular for personalizing signs, art, and branded items.

Replicating this effect digitally requires understanding its key visual elements: charred edges, subtle depth, and how burned areas interact with wood grain. Real wood burning consumes wood fibers, creating slightly recessed areas and gradual transitions from black to natural wood tones.

Photoshop's Color Burn blend mode realistically simulates actual burning by darkening the base color through increased contrast, mimicking how fire intensifies wood's natural darkness. Blend If sliders enable precise control over the wood texture's tonal ranges for seamless integration of the burned effect with the underlying grain.

Practical Tips for Wood Burn Effects

  • Use high-contrast source material – Pure black and white graphics work best, as intermediate grays can muddy the final effect
  • Apply the Wind filter strategically – Multiple applications in different directions create natural-looking char patterns that simulate real wood fiber disturbance
  • Set output levels to 72 for the black channel – This prevents completely black areas that would look digitally harsh rather than naturally burned
  • Feather selections by 2 pixels when creating shadow layers – This softens edges to match the organic nature of wood burning
  • Use Inner Glow with Linear Burn mode – This combination creates the subtle rim lighting that occurs around real burned edges

More Tutorials about Wood and Fire Effects

Explore additional techniques for creating realistic burning and wood effects in Photoshop.

Create a Text Burnt on Wood in Photoshop
Today, Marty Geller from Blue Lightning TV will show us how to create a text effect that looks burnt onto a wood background, similar to a branding, using Photoshop. This tutorial is extremely detailed, loaded with useful techniques, and very easy to follow. Marty guides you through the steps to achieve a realistic burnt wood effect, perfect for adding a rustic and vintage touch to your designs. Whether you're working on a logo, poster, or any other creative project, this tutorial will provide y
Create a Fire Burning Effect in Photoshop
Creating a fire-burning effect in Photoshop is a fascinating process that can enhance your images dramatically. Start by setting up a new file with dimensions of 1920 x 1080 pixels. Import the necessary images, which can be found in the provided link. Duplicate your main layer using Ctrl + J, then convert it to black and white through the Image Adjustments menu by selecting Hue/Saturation and removing all saturation. Next, apply an inverted mask to the black and white layer. Use the brush tool
Apply a Burning Flames Effect to a Photo in Photoshop
In this tutorial by Neville D'Souza, you will learn how to take a simple model shot and transform it into a striking, dynamic piece of art that resembles a spitting, crackling beacon of fire. The tutorial guides you through the process using some of the most common tools available in Photoshop, showcasing techniques that allow you to create intricate and impressive effects. The author meticulously explains each step, ensuring you can follow along without the need for third-party plug-ins. By th
Create a Realistic Wood Text Effect in Photoshop
Learn a quick and easy technique for creating distressed 3D wood typography using just one texture and a few Photoshop tools and tricks. In this tutorial by TextureLabs, you'll discover how to transform your text into a realistic wooden design with a distressed finish. The process is straightforward, making it accessible even for beginners. Plus, free texture links and additional resources are provided to help you achieve the best results. This tutorial is perfect for adding a rustic, natural

Get tutorials & freebies delivered to you.

Subscribe to the Photoshop Roadmap newsletter, a weekly roundup of new tutorials, insights and quality downloads, trusted by 6500+ readers.

You might also like

Basic Photoshop techniques you really need to learn

Photoshop hasn’t changed as much as it looks. New features come and go, but the same core techniques keep showing up in real work. If you skip them, everything feels harder than it should. This post focuses on those basics, not as isolated tricks, but as skills you’ll...

How to Use Select Subject for Background Removal and Edge Refinement

Background removal becomes effortless when you know how to use the right tools. AI-powered selection can instantly isolate subjects from their backgrounds, but the real skill lies in refining those selections to create professional results. This guide covers the complete workflow from initial selection to edge refinement, plus creative techniques...

How to Wrap Text Around Any Shape in Photoshop

Creating text that flows naturally around irregular shapes transforms static layouts into dynamic, professional designs. This technique works particularly well for posters, magazine layouts, and editorial designs where text needs to integrate seamlessly with complex subjects rather than simply sitting in rigid rectangular boxes. The process combines selection tools, path...

How to Edit Text in Images Using Generative Fill

Changing text within existing images has traditionally required complex masking and reconstruction techniques. Modern AI-powered tools now make it possible to seamlessly replace words and phrases in photographs while maintaining realistic typography, lighting, and perspective that matches the original scene. This technique works particularly well for signs, storefronts, billboards, and...

How to Remove Dust and Sensor Spots Using Photoshop Tools

Dust spots and sensor particles are inevitable challenges in digital photography, appearing as dark specks that distract from otherwise clean images. Camera sensors collect dust over time, creating consistent spots that show up across multiple photos, particularly in bright sky areas or uniform backgrounds. Both Lightroom and Photoshop offer specialized...

Photoshop vs Affinity Photo: Feature Comparison and Professional Analysis

When choosing professional photo editing software, the decision often comes down to comparing features, performance, and value. This detailed comparison examines the core capabilities of both applications across noise reduction, smart selections, object removal, masking, and AI-powered tools. The analysis covers real-world scenarios that professionals encounter daily, from complex background...

You’ve successfully subscribed to Photoshop Roadmap
Welcome back! You’ve successfully signed in.
Great! You’ve successfully signed up.
Success! Your email is updated.
Your link has expired
Success! Check your email for magic link to sign-in.