How to Create a Y2K Glowing Effect in Photoshop

How to Create a Y2K Glowing Effect in Photoshop

The Y2K aesthetic brings back the futuristic dreams of the late 1990s and early 2000s, with its signature metallic surfaces and electric blue glows. This distinctive visual style captures the era's optimistic vision of digital technology through luminous effects and holographic-inspired colors.

This tutorial demonstrates how to transform any portrait into a glowing Y2K masterpiece using multiple blur techniques, gradient mapping, and strategic layer blending in Photoshop.

Watch the Tutorial

Video by P A N T E R. Any links or downloads mentioned by the creator are available only on YouTube

The Science Behind Digital Glow Effects

Digital glow effects simulate how light behaves in camera optics and human vision. When bright light sources exceed the dynamic range of sensors or overwhelm the eye's photoreceptors, they create natural bloom and halo effects. This phenomenon became a defining characteristic of early digital imagery.

The Y2K aesthetic amplified these optical artifacts into a deliberate design language. Motion blur creates directional streaks that suggest energy and movement, while Gaussian blur produces the soft halos that make metallic surfaces appear to emit light. Color halftone patterns add texture that references both digital printing processes and the pixelated screens of early computers.

Modern Photoshop techniques recreate these effects through layer multiplication and strategic blur application. The key lies in building multiple glow layers with different blend modes, each contributing a specific quality to the final luminous result.

Practical Tips for Y2K Effects

  • Convert your subject layer to a Smart Object before applying filters to maintain editability throughout the process
  • Use horizontal motion blur angles to create energy streaks that enhance the futuristic aesthetic
  • Apply gradient maps with blue tones to achieve the characteristic electric color palette of Y2K design
  • Experiment with blend modes like Screen, Overlay, and Lighten to build up complex glow interactions
  • Add subtle color halftone effects with small radius values to introduce digital texture without overwhelming the image

Explore more techniques for creating stunning glow effects in Photoshop.
How to create a sun glow effect in Photoshop
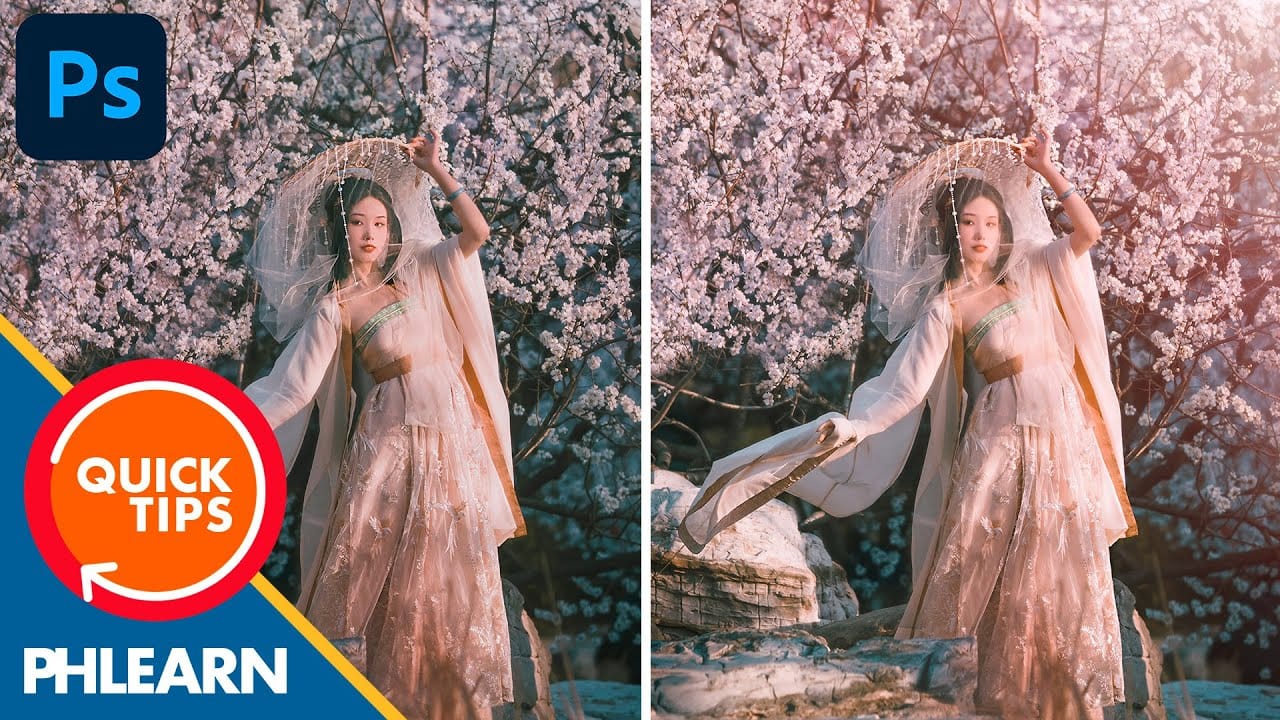
In this tutorial, Aaron Nace shows how to add a vibrant sun glow effect to your photos with ease. The process involves a few straightforward steps to simulate the warm, radiant look of sunlight. Aaron explains how to use blending modes, gradients, and layer adjustments to achieve a natural and eye-catching glow. The tutorial includes a free Sun Glow Gradient, which you can download and use immediately to enhance your images. This effect is perfect for adding a dreamy, sunlit atmosphere to your
Creating a 3D Glowing Text Effect in Photoshop
Adding depth and luminosity to text can transform a simple design into something visually striking. The combination of 3D extrusion and glow effects creates text that appears to leap off the page, making it perfect for logos, headers, and eye-catching graphics. This tutorial demonstrates how to build a complete 3D text effect with glowing elements using Smart Objects and layer effects. The technique covers everything from creating dimensional text to applying multiple glow layers for enhanced v
Glowing Text Effect in Photoshop
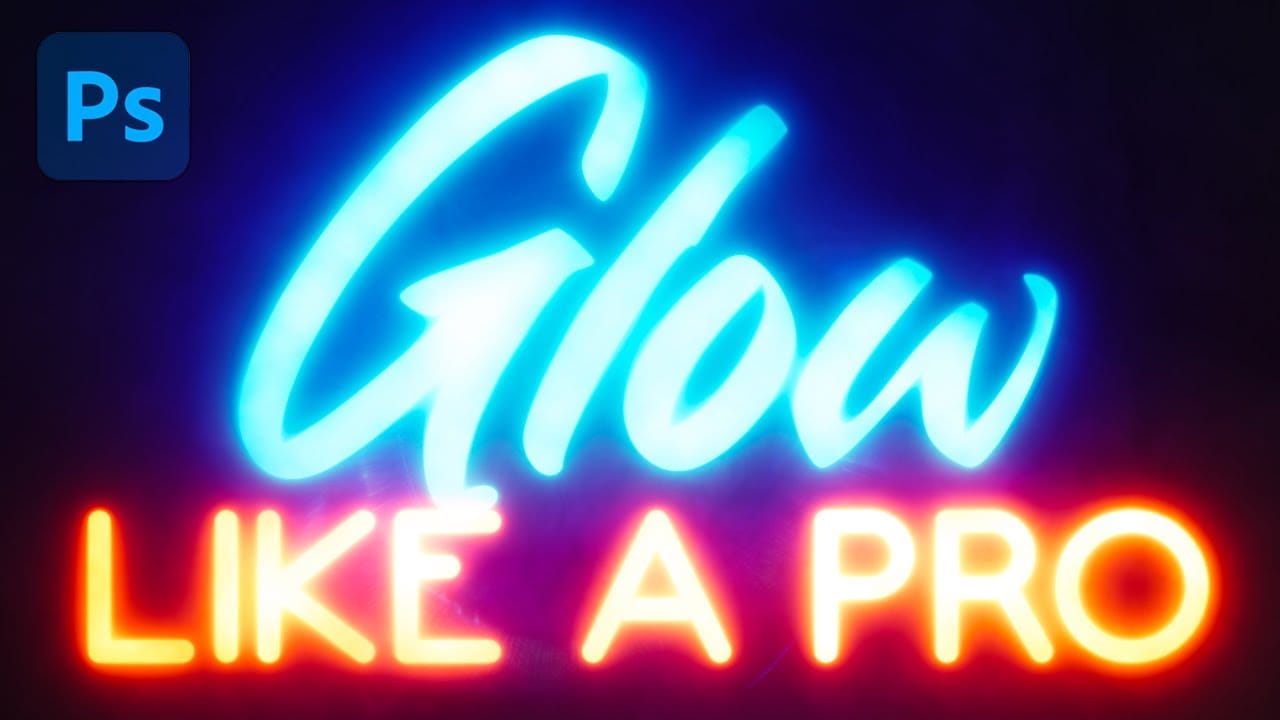
In this tutorial from TextureLabs, you'll learn a technique to enhance the Outer Glow effect in Photoshop for more realistic results on text and logos. The tutorial offers a straightforward approach to create a vibrant and lifelike glow that surpasses the traditional flat appearance. Additionally, TextureLabs encourages applying the same technique to photographs to achieve glowing effects, expanding the tutorial's application beyond text and logos. This tutorial is ideal for those looking to e
Create the Cinematic Bloom Glow Effect in Photoshop
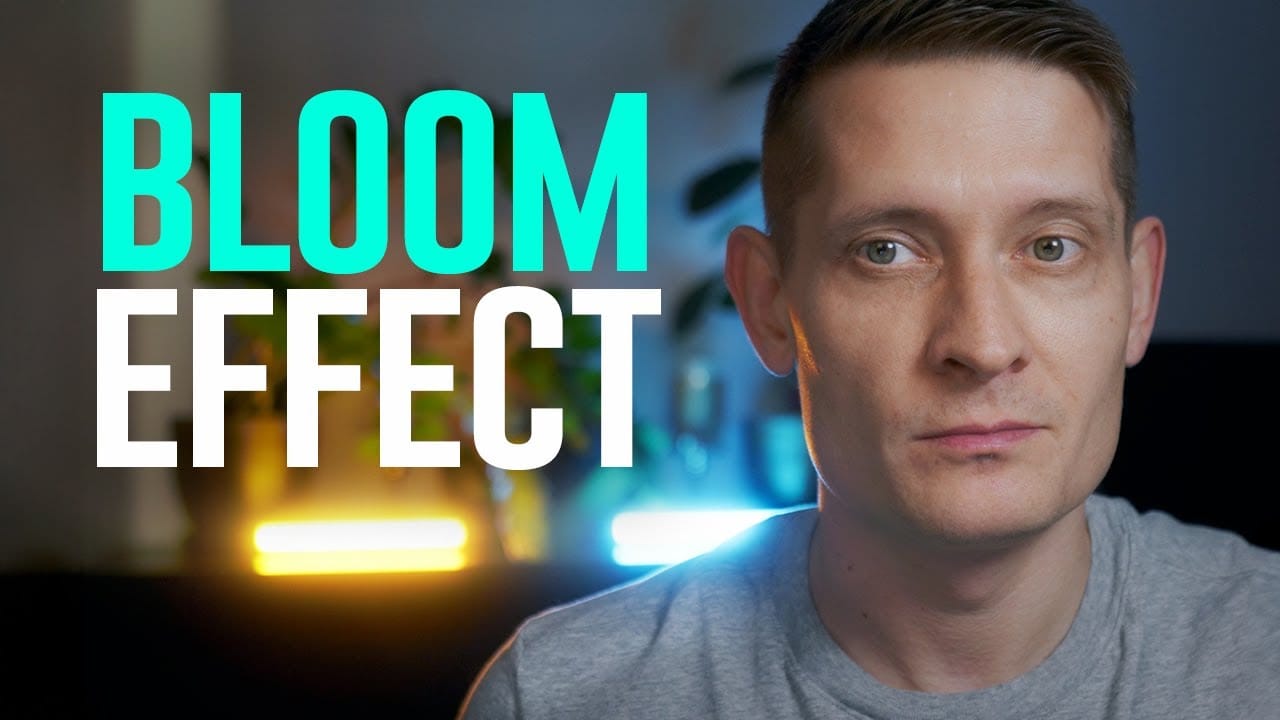
This guide will walk you through the steps to create a stunning bloom effect using Photoshop and DaVinci Resolve. This technique enhances your highlights, infusing your photos and videos with a cinematic glow that adds a dreamy atmosphere.The bloom effect simulates the appearance of black diffusion filters commonly found in photography and cinematography. These filters soften images and contribute a soft, glowing quality to highlights. This approach is ideal for anyone looking to enrich their v

Get tutorials & freebies delivered to you.

Subscribe to the Photoshop Roadmap newsletter, a weekly roundup of new tutorials, insights and quality downloads, trusted by 6500+ readers.

You might also like

Professional Portrait Retouching with the B.S.T. Method in Photoshop

Professional portrait retouching requires artistic choices that automated tools can't make. The B.S.T. method breaks retouching into three focused steps: removing blemishes with precision, smoothing skin while preserving natural texture, and equalizing skin tones throughout the image. This systematic approach gives you complete control over every...

Create Motion Blur Light Effects in Photoshop

Transform ordinary portraits into dynamic, cinematic images by combining path blur effects with creative background textures. This technique creates the illusion of camera movement while maintaining focus on key elements like the subject's eyes, resulting in professional-looking motion blur effects that add energy and visual interest to static...

How to Paint Realistic Jewelry on Portraits in Photoshop

Adding painted jewelry to portraits transforms ordinary photos into fantasy portraits with ornate accessories that never existed. This digital painting technique uses careful layering, proper lighting, and realistic shadows to create convincing rings, earrings, and decorative headpieces. The method combines basic brush work with advanced blending techniques to build up...

How to Sharpen Images Using the High Pass Filter in Photoshop

The High Pass filter method remains one of the most versatile sharpening techniques in Photoshop, offering precise control over which image areas receive enhancement. This non-destructive approach works by identifying edge details and allowing you to selectively apply sharpening exactly where it's needed most. Unlike automated sharpening tools,...

How to Find Missing Actions in the New Photoshop Actions Panel

The redesigned Actions panel in Photoshop can catch users off guard when their custom actions seem to disappear. With the new tabbed interface, your previously created actions are still there—they're just located in a different tab than before. Understanding the new layout will help you quickly access...

Fast Portrait Retouching: Remove Stray Hairs, Clothing Wrinkles, and Fix Backgrounds

Every portrait photographer knows the feeling: you've captured a beautiful shot, but stray hairs, wrinkled clothing, and messy backgrounds turn editing into hours of tedious work. These common retouching challenges can drain your time and energy, especially when dealing with high-volume projects or tight deadlines. This tutorial demonstrates...

You’ve successfully subscribed to Photoshop Roadmap
Welcome back! You’ve successfully signed in.
Great! You’ve successfully signed up.
Success! Your email is updated.
Your link has expired
Success! Check your email for magic link to sign-in.