Custom brushes unlock creative possibilities that standard Photoshop tools can't match. Moon brushes add dramatic celestial elements to composite images and fantasy scenes.
This technique transforms moon photographs into reusable brush presets through proper selection, masking, and sizing adjustments.
Watch the Tutorial
Video by SandraD Imagery. Any links or downloads mentioned by the creator are available only on YouTube
Essential Tips for Creating Moon Brushes
- Use the Quick Selection Tool for circular objects like moons, then refine edges with plus and minus options to remove unwanted color bleeding
- Always desaturate your image before creating the brush preset, even if it appears grayscale already
- Resize images to 2000 pixels wide maximum before converting to brushes for optimal Photoshop performance
- Apply your custom brush on separate layers to control opacity and blending modes independently
- Add subtle Gaussian blur to soften brush edges and create more natural integration with your composite images
Related Tutorials About Custom Brushes and Night Effects
Explore more techniques for creating atmospheric effects and custom Photoshop elements.
100 Awesome High Resolution Photoshop Brushes
Discover 100 free Photoshop brushes to boost your designs—textures, effects, and creative tools all in one handy roundup
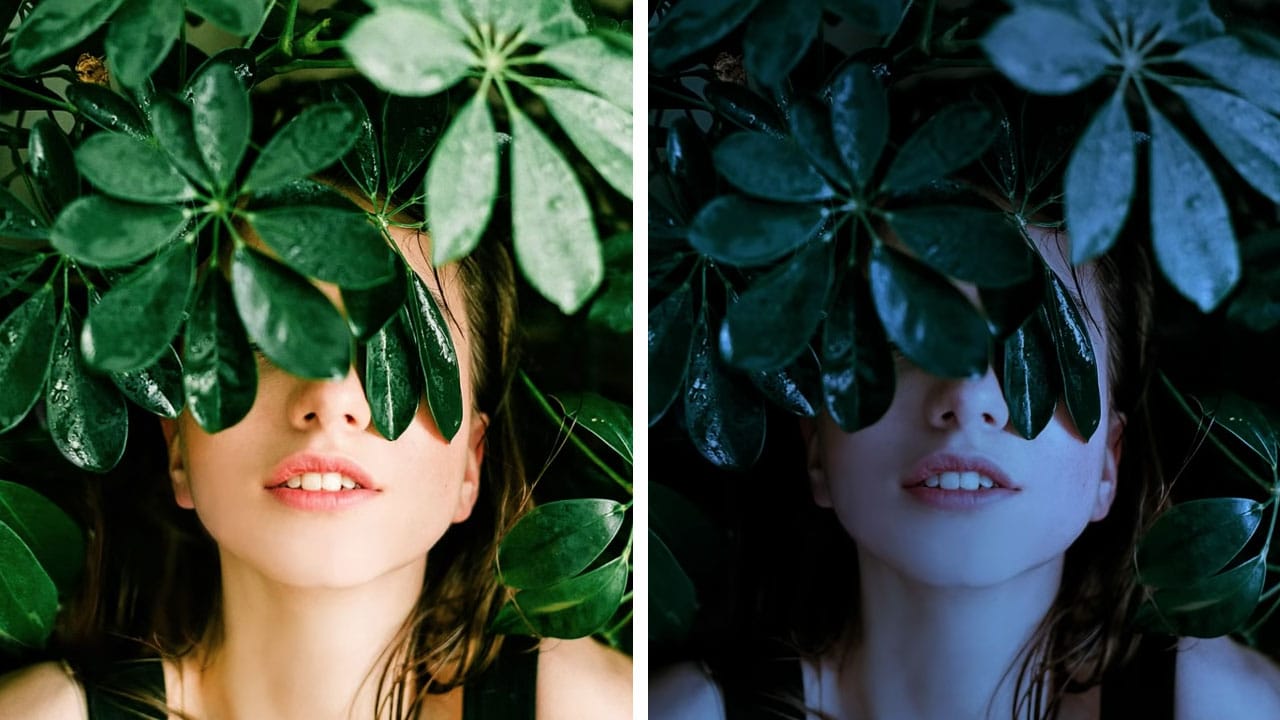
Turn day to night in 2 minutes with Photoshop
In this Photoshop tutorial, the author PiXimperfect shares a simple and effective technique to transform a daytime image into a moonlit night scene. The process only takes about 2 minutes and involves using a few adjustment layers in Photoshop.
The author guides viewers through the steps, explaining how to create the desired night-time effect. By adjusting the levels, curves, and color balance, the daytime lighting is replaced with a soft, moonlit glow. The tutorial is straightforward and easy
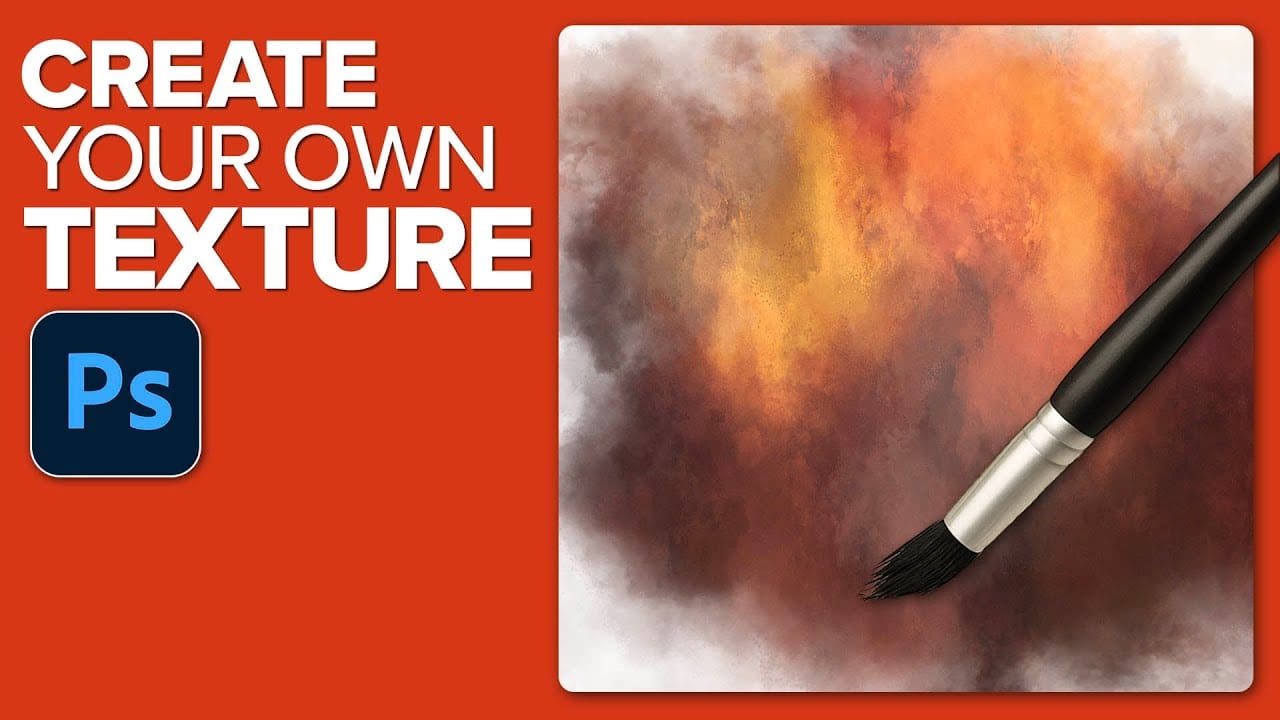
How to Create Custom Textures in Photoshop Using Brushes
Custom textures add depth and character to photos without relying on expensive texture packs. This technique uses specialized Photoshop brushes and blending modes to create unique overlay textures from scratch.
The process combines multiple layers, color variations, and finishing filters to produce professional-quality textures that work perfectly for photo blending projects.
Watch the Tutorial
Essential Tips for Creating Custom Textures
* Start with a large brush size nearly as big as yo
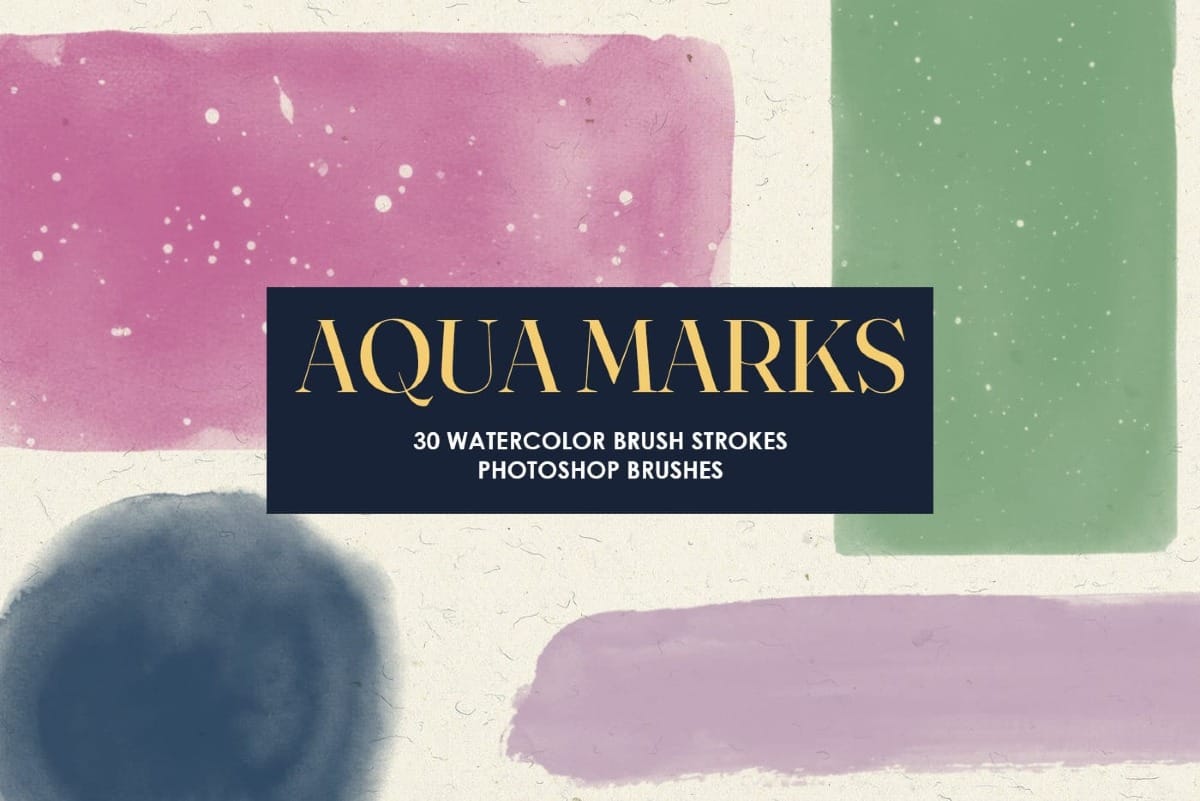
Aqua Marks: 30 Free Watercolor Brush Strokes Photoshop Brushes
Aqua Marks is a serene collection of 30 watercolor brush strokes and shapes Photoshop brushes, generated with AI for organic flow and painterly realism. Each one-click stamp captures the softness of wet pigment and the beauty of natural imperfection — from gentle washes to bold marks and abstract forms that bloom