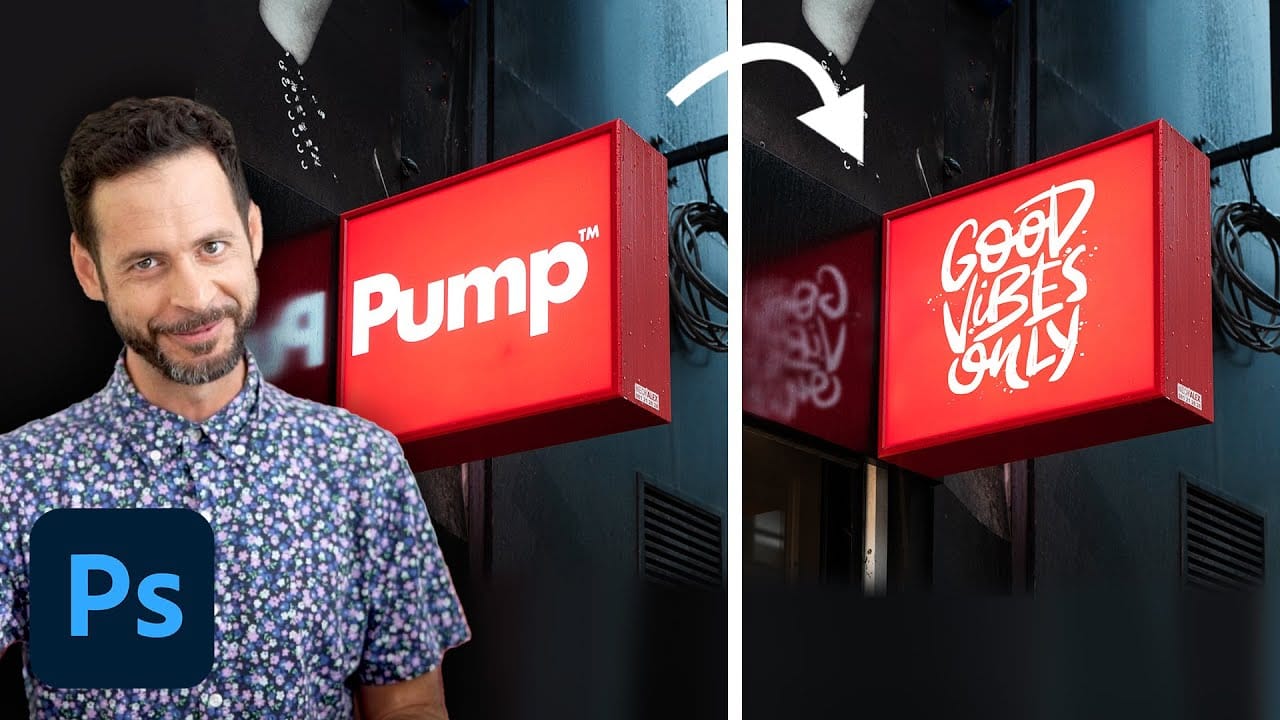
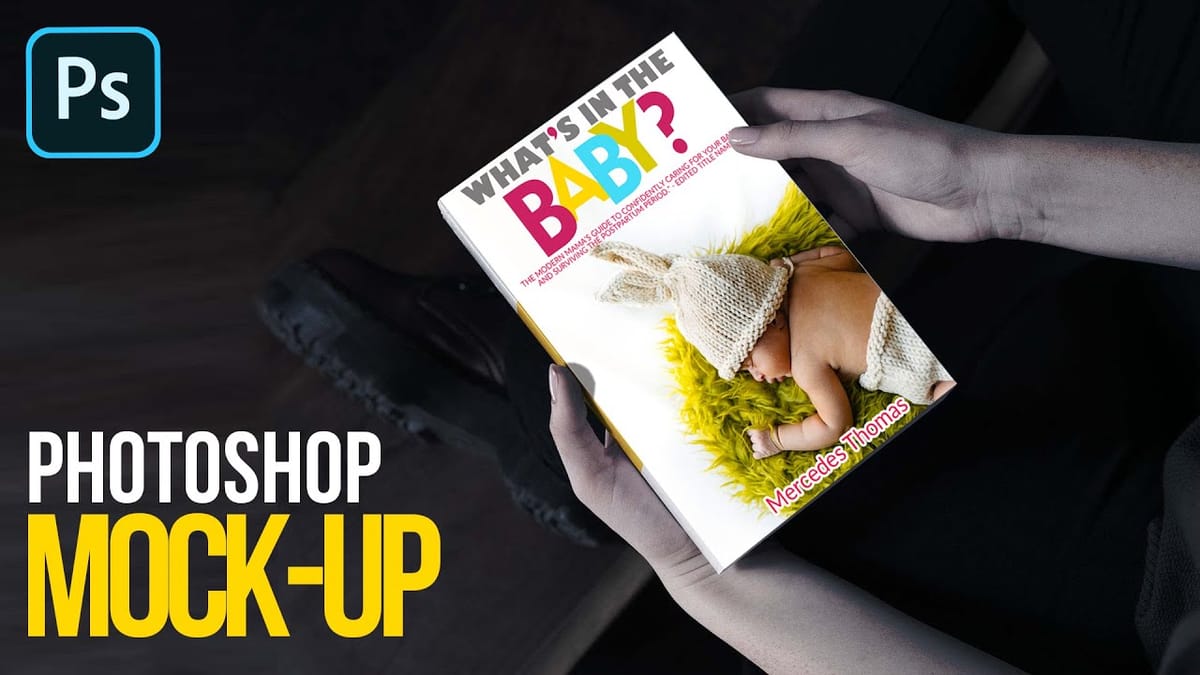
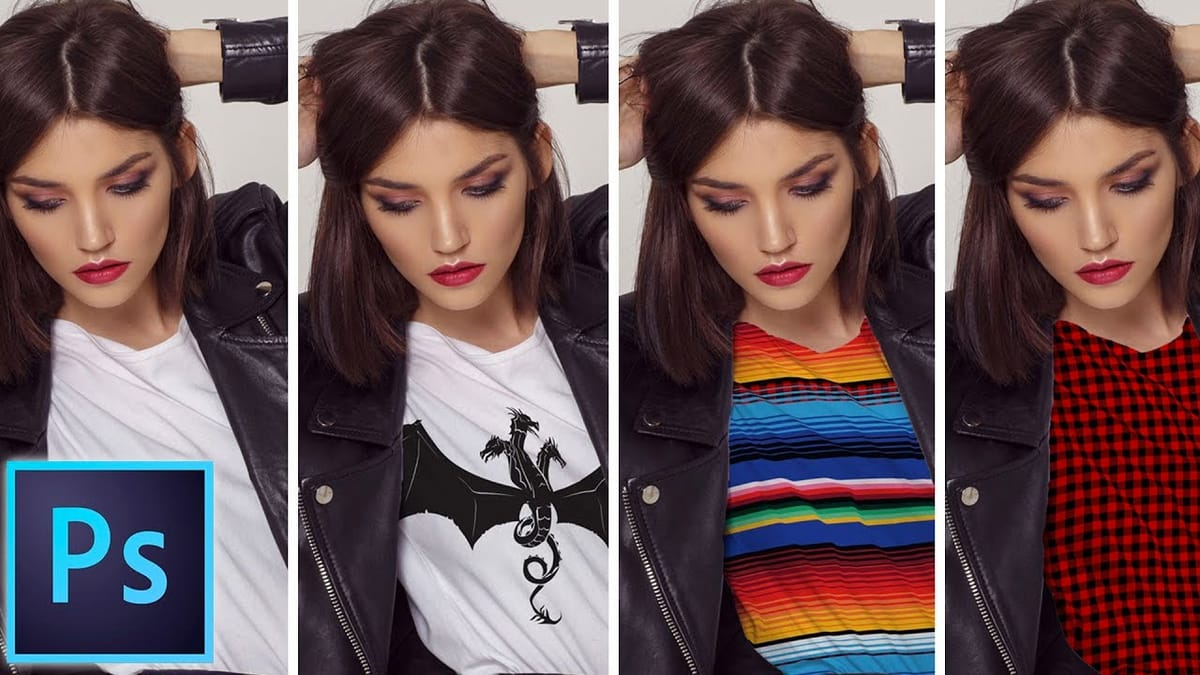
Manually warping and blending logos onto product photos takes 15-30 minutes each time. Smart objects in Photoshop transform this repetitive process into a one-time setup that creates reusable templates.
This technique lets you drag and drop any design into a pre-configured mockup that automatically applies warping, blending, and lighting effects.
Watch the Tutorial
Video by Brendan Williams. Any links or downloads mentioned by the creator are available only on YouTube
Essential Tips for Drag & Drop Mockups
- Create a rectangular shape layer as your container, then convert it to a smart object to preserve all adjustments
- Use Multiply blend mode for white surfaces and Screen for black surfaces to achieve natural color blending
- Apply warp adjustments using corner points first, then add vertical splits to follow fabric folds and creases
- Use Blend If sliders on the underlying layer to reveal fabric texture through your design
- Duplicate the background object twice to create separate highlight and shadow layers using Screen and Multiply blend modes
More Tutorials About Photoshop Mockups
These related tutorials cover additional mockup techniques and creative effects.


