How to Create Simple Photo Collages in Photoshop

How to Create Simple Photo Collages in Photoshop

Photo collages offer a versatile way to combine multiple images into a cohesive visual story or artistic display. Whether for personal projects, digital scrapbooks, or social media content, effectively arranging diverse photographs is key to a compelling outcome.

This tutorial demonstrates a straightforward method for creating structured photo collages in Photoshop, leveraging powerful features like guides and frames to achieve precise layouts with minimal effort.

Watch the Video

Video by Brendan Williams. Any links or downloads mentioned by the creator are available only on YouTube

Structuring Layouts with Photoshop's Guides and Frames

In digital design, especially when composing multi-image layouts, precision and organization are paramount. Photoshop's guide system provides an invaluable framework, allowing designers to establish exact measurements and alignments across the canvas. This systematic approach ensures visual harmony and prevents misaligned elements, which can detract from the overall aesthetic of a collage.

Complementing guides are Photoshop's frame tools, which act as non-destructive containers for images. Unlike traditional masking or clipping, frames allow users to simply drag and drop photos into predefined areas, maintaining image integrity and simplifying the iterative process of photo placement. This feature significantly streamlines workflow, enabling quick experimentation with different images.

The synergy between guides and frames is particularly effective for collage creation. By first laying out a precise grid using guides, then populating those sections with frames, designers can build complex compositions with remarkable ease. This method not only speeds up the design process but also guarantees a clean, professional finish, offering a robust foundation for any multi-photo arrangement.

Practical Tips for Creating Collages in Photoshop

  • Start with a square document (e.g., 5000x5000 pixels) to simplify initial layout and formatting.
  • Utilize Photoshop's guide layout feature to establish a precise grid with gutters for consistent spacing between images.
  • Enable snapping to guides to ensure accurate and effortless placement of frame tools.
  • Employ the rectangular frame tool to quickly define image areas within your grid.
  • Drag and drop images directly into frames, then adjust their position by selecting the image thumbnail in the Layers panel and using the Move tool.
  • Expand the canvas size with a white background to easily add an outer border to your completed collage.

More Tutorials about Photo Collages in Photoshop

Explore further techniques and creative approaches to photo collage design.
How to Make a Photo Collage in Photoshop
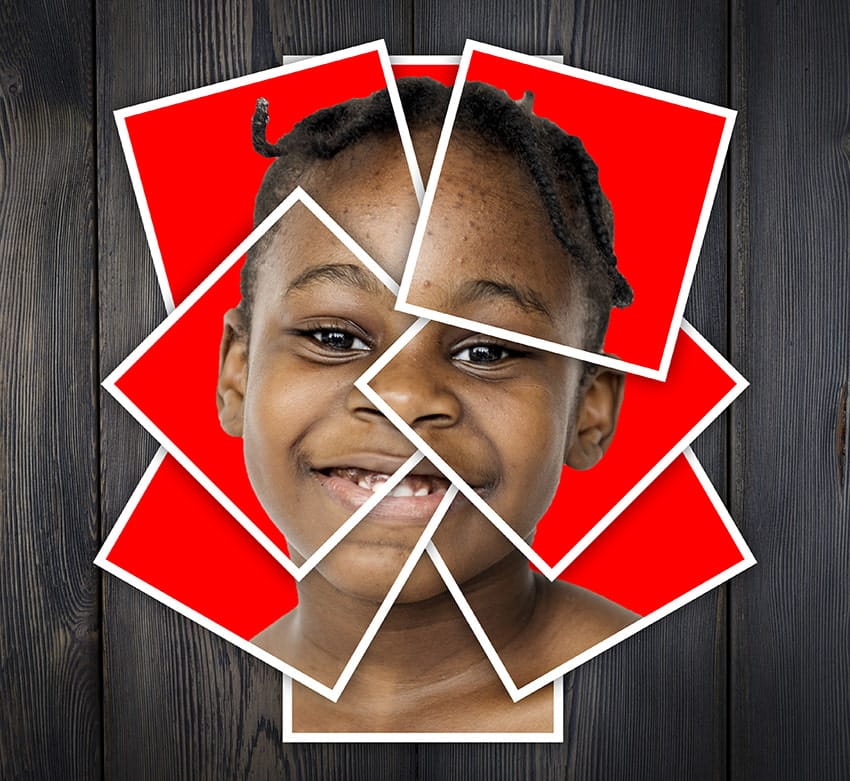
In this tutorial by Envato Tuts, you'll delve into a unique technique for creating photo collages in Photoshop. Rather than assembling a traditional multi-image composition, this approach focuses on crafting a striking portrait using scattered polaroid-style photos. The tutorial guides you through the process of arranging individual snapshots of a young teen girl smiling, each positioned to contribute to a cohesive, unified portrait. This technique is distinct from standard collages as it forms
Easily create realistic mockups and templates in Photoshop
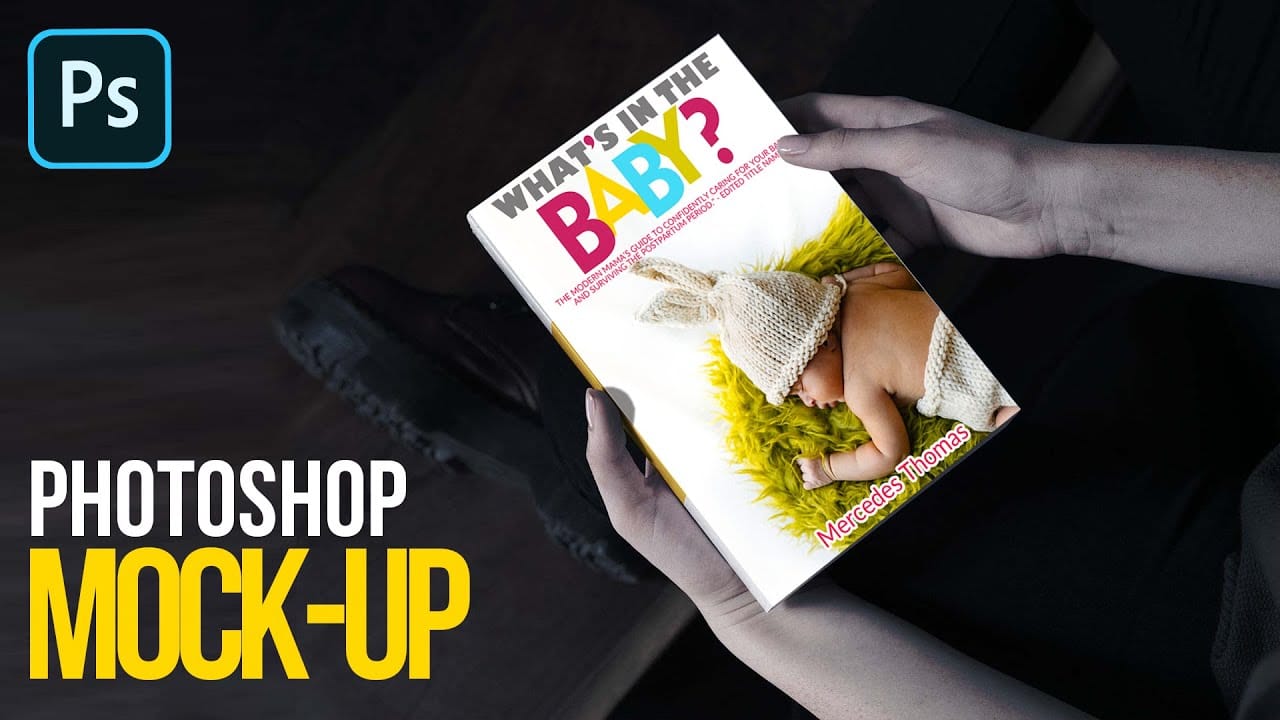
In this tutorial by Quistt, you'll discover how to craft realistic mockups and templates in Photoshop with ease. This comprehensive guide will walk you through the process of creating high-quality product showcases, whether you’re designing for books, signs, t-shirts, or various other merchandise. You'll learn to utilize Photoshop's powerful tools and features to produce mockups that look both professional and authentic. The tutorial covers techniques for adding realistic details and ensuring y
Create a Watercolor and Newspaper Collage in Photoshop
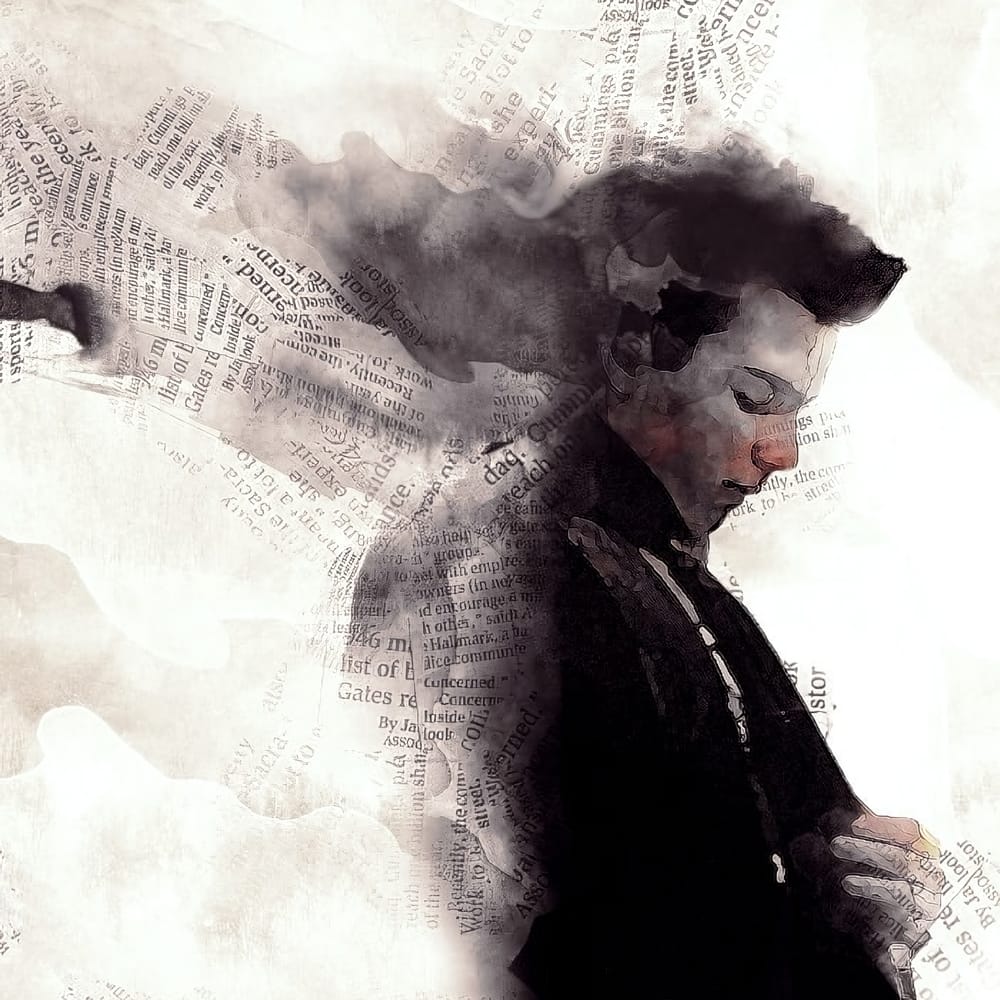
In this tutorial from PSDVault, you can learn how to design beautiful watercolor vintage artwork using old newspaper in Photoshop. This step-by-step guide breaks down the process, making it easy for anyone to follow along. Throughout the tutorial, the author will introduce you to custom watercolor brushes and demonstrate how to blend these with textures from old newspaper. This combination creates an authentic vintage feel that enhances your artwork significantly. By the end of this tutorial,
Free Photoshop Course: Advanced Photoshop Compositing Techniques
This advanced Photoshop tutorial by Dansky from EnvatoTuts offers an excellent opportunity to enhance your skills. You will learn a variety of techniques that focus on combining creative assets effectively. The tutorial guides you through the intricacies of photo manipulation, allowing you to transform ordinary images into extraordinary visuals. You will explore different methods for achieving eye-catching visual effects that are crucial in creating professional artwork. By following along wit

Get tutorials & freebies delivered to you.

Subscribe to the Photoshop Roadmap newsletter, a weekly roundup of new tutorials, insights and quality downloads, trusted by 6500+ readers.

You might also like

How to Remove Skin Blemishes and Fix Skin Tones in Camera Raw

Two recent additions to Camera Raw make skin retouching significantly faster: an automatic blemish removal tool with separate controls for moles and freckles, and a vectorscope-based skin tone indicator for correcting off-color skin. Both features work non-destructively inside a smart object workflow, so no pixel data is...

Portrait Retouching in Photoshop: Smooth Skin While Keeping Natural Texture

Smooth skin and natural texture are not opposites — achieving both at once is the mark of a professional retouch. This workflow covers blemish removal, flyaway hair cleanup, dark under-eye correction, and eye brightening, all while keeping the skin looking like skin. Watch the Video Practical Tips These key points...

How to Use Camera Raw's Blemish Removal Tool in Photoshop

Camera Raw 18.5 introduced an automatic blemish removal tool that does something previous solutions rarely managed: it removes skin imperfections while preserving the underlying skin texture. It also distinguishes between temporary marks and permanent ones like moles, giving you separate controls for each. Watch the Video Practical Tips These...

Portrait Slice Effect in Photoshop Using Step and Repeat

The portrait slice effect splits a single image into offset vertical bars, creating the illusion of a displaced or fragmented face. The entire technique relies on layer masks and a lesser-known Photoshop shortcut called step and repeat — no filters, no AI, no destructive edits required. Watch the Video Practical...

How to Remove Blemishes in Photoshop: Camera Raw vs. Generative AI

Photoshop now offers two distinct approaches to removing skin blemishes automatically. The Camera Raw Filter includes a dedicated Blemishes option that analyzes and cleans skin with a single checkbox, while Generative AI fills a face selection with clean, texture-consistent results using a simple text prompt. Each method has clear...

Common Photoshop Compositing Mistakes and How to Fix Them

Most compositing errors come down to a handful of repeatable problems: mismatched lighting direction, inconsistent white points, misaligned perspective, and atmosphere applied in the wrong layer order. Catching these issues early — ideally before you shoot — saves significant time in post. Watch the Video Practical Tips These corrections apply to nearly...

You’ve successfully subscribed to Photoshop Roadmap
Welcome back! You’ve successfully signed in.
Great! You’ve successfully signed up.
Success! Your email is updated.
Your link has expired
Success! Check your email for magic link to sign-in.