Fringing is a common problem when cutting out subjects in Photoshop — the edges pick up color from the original background, making composites look unfinished. Photoshop Beta's new Enhance Edge tool fixes this with one click, but it costs 20 generative credits every time you use it.
This tutorial walks through both approaches: the AI-powered Enhance Edge button and a free manual technique using a clipping mask and brush tool, so you can decide which fits your workflow.
Watch the Video
Video by PHLEARN. Any links or downloads mentioned by the creator are available only on YouTube
Practical Tips
Here are the key techniques covered in the video for removing fringing from cutout edges:
- Use Remove Background first — it produces a clean layer mask without spending any credits, and is a solid starting point before any edge refinement.
- Test your mask with a contrasting background — place a dark or brightly colored layer behind your subject to reveal fringing that would otherwise be invisible.
- For the free method, create a clipping mask above your subject layer — hold Alt/Option and click between the two layers so your painted corrections stay contained to the subject's edges.
- Paint with the Darken blend mode at low flow — set the brush layer to Darken (not Multiply), sample a midtone from inside the hair or edge area, and paint at around 10% flow to gradually neutralize fringe color.
- Note what Enhance Edge actually does — it samples interior colors and pushes them outward; it does not refine or alter the original layer mask, so it won't recover detail that was lost during the initial cutout.
Related Articles and Tutorials
Explore more tutorials on masking, AI tools, and credit-aware workflows in Photoshop.
How to Use Photoshop's AI Sharpen Filter and When It's Worth the Cost
Photoshop's new AI Sharpen filter promises one-click sharpening powered by advanced algorithms. This tool uses technology from Topaz Labs to enhance image details without manual adjustments, but it comes with a significant cost in credits.
Understanding when to use this automated approach versus traditional methods like the High Pass filter can save you both time and credits while achieving the sharpening results you need.
Watch the Video
Practical Tips
Here are essential tips for making t

Photoshop 2026 New Features: AI Tools and Credit System Overview
Photoshop 2026 introduces powerful AI-driven features including advanced generative fill models, sophisticated upscaling tools, and seamless harmonization effects. These updates promise to streamline complex editing tasks while delivering professional-quality results.
The software now operates on a credit-based system that divides features into standard and premium tiers, fundamentally changing how users access certain tools.
Watch the Video
Key Features and Practical Tips
* Access the co
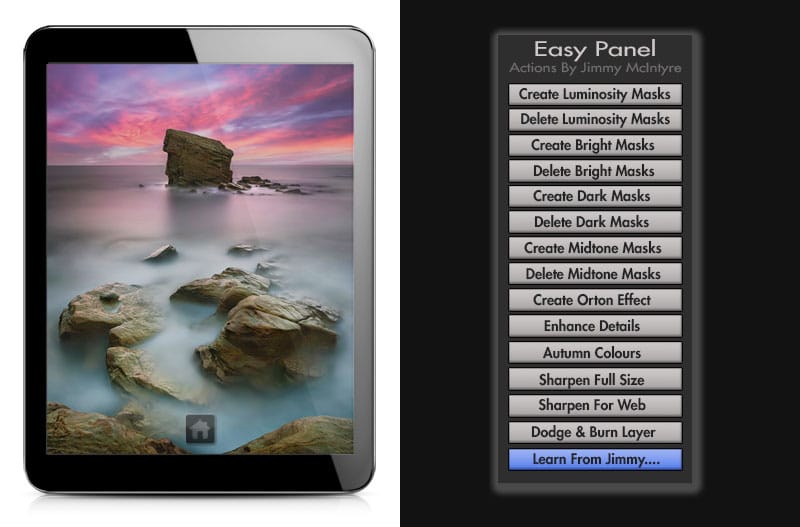
Enhance your images with free Easy Panel Photoshop extension
The author has crafted a powerful Photoshop panel that can significantly enhance your photos. This free tool offers a wide range of features, including the ability to create and delete luminosity mask actions, apply the Orton effect for dreamier images, and utilize a non-destructive dodge and burn action.
Additionally, the panel includes a detail enhancer action, allowing you to refine and sharpen your images with ease. By incorporating this panel into your workflow, you can streamline your pho
How to Use Photoshop 2026's New AI Upscale, Sharpen, and Denoise Filters
Photoshop 2026 introduces three powerful AI filters that transform low-quality images into crisp, professional results. These tools tackle common photo problems: pixelated enlargements, soft details, and grain from low-light conditions.
Each filter uses advanced AI models to enhance different aspects of your images, with options ranging from standard to premium quality depending on your Creative Cloud plan.
Watch the Tutorial
Key Tips for AI Image Enhancement
* Choose Topaz Gigapixel for
Photoshop 2025 Top 7 New Features and Updates Explained
Photoshop 2025 brings significant improvements to everyday editing tasks with smarter AI tools, enhanced 3D capabilities, and more intuitive workflows. From automatic distraction removal to advanced generative features, these updates focus on making complex tasks faster and more accessible.
The standout addition is the Substance 3D viewer, which reintroduces 3D object compositing with sophisticated lighting and material controls that weren't available in previous versions.
Watch the Complete
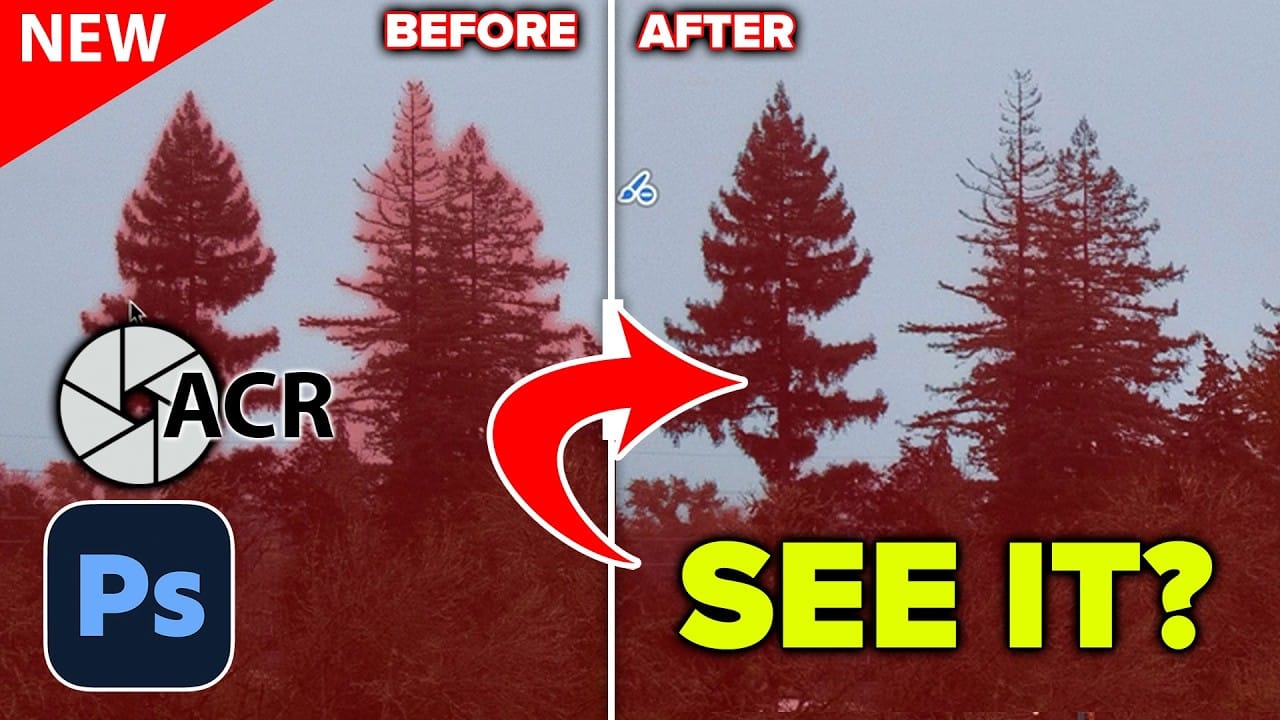
How to Use the New Edge Refinement Tool in Camera Raw and Fix Complex Mask Edges
Camera Raw's new edge refinement tool helps clean up rough mask edges, but it has limitations when dealing with complex subjects like trees and foliage. While the tool works well for simple architectural elements by contracting or expanding mask edges, intricate organic shapes require additional techniques to achieve professional results.
This advanced workflow combines the new edge tool with strategic brush masking to handle even the most challenging edge scenarios, ensuring your selective adj
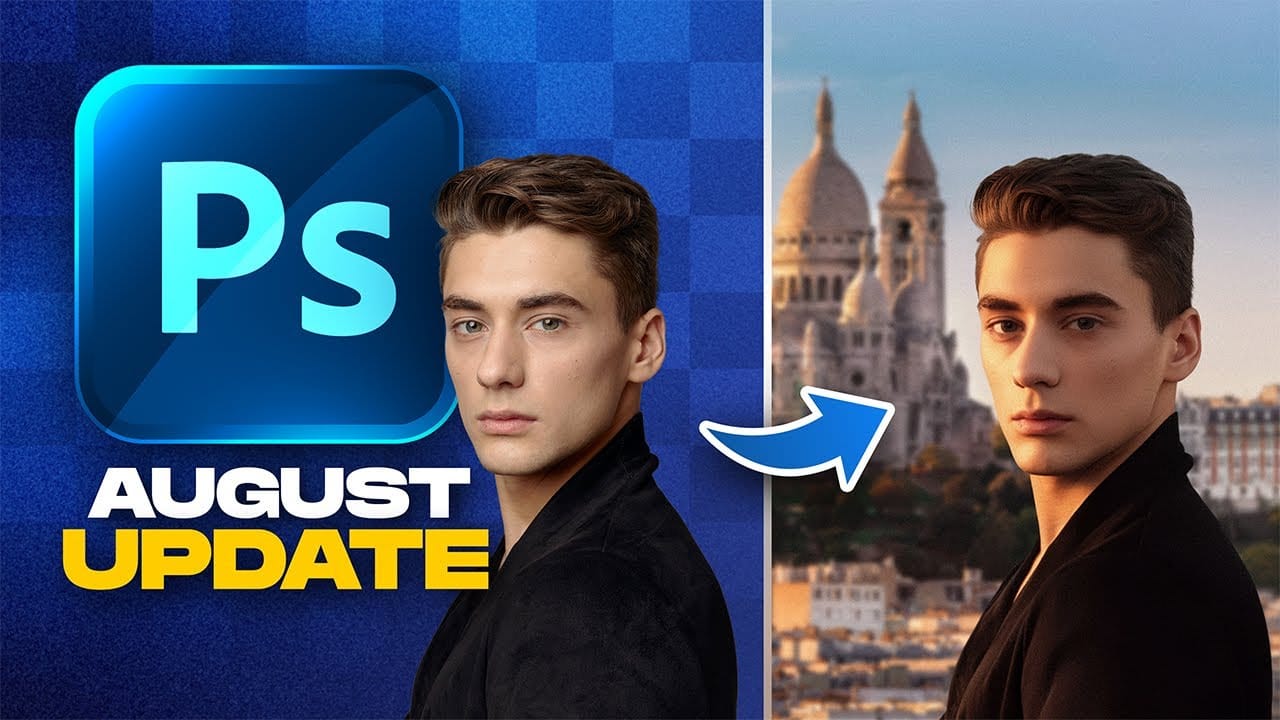
Photoshop August 2025 Update: 6 New Features Including Enhanced Remove Tool and Harmonize
Adobe continues to transform Photoshop with powerful AI-driven features that streamline complex editing tasks. The August 2025 update introduces six significant enhancements, from an improved Remove Tool that creates cleaner selections to the revolutionary Harmonize feature that automatically matches lighting and shadows across composite elements.
These updates address common workflow challenges while introducing new capabilities for collaborative projects and intelligent image processing.
Wa
How to Use Photoshop's Smudge and Blur Tools for Perfect Masking
Professional photo composites often fall apart at the edges. Sharp selection lines and harsh transitions make even the best cutouts look artificial and fake. The solution lies in two overlooked Photoshop tools that most editors dismiss as destructive and useless. The smudge and blur tools become powerful allies when applied to layer masks instead of image pixels. This approach creates natural, realistic edges that match the original photo's depth of field and lighting conditions.
Watch the Tut