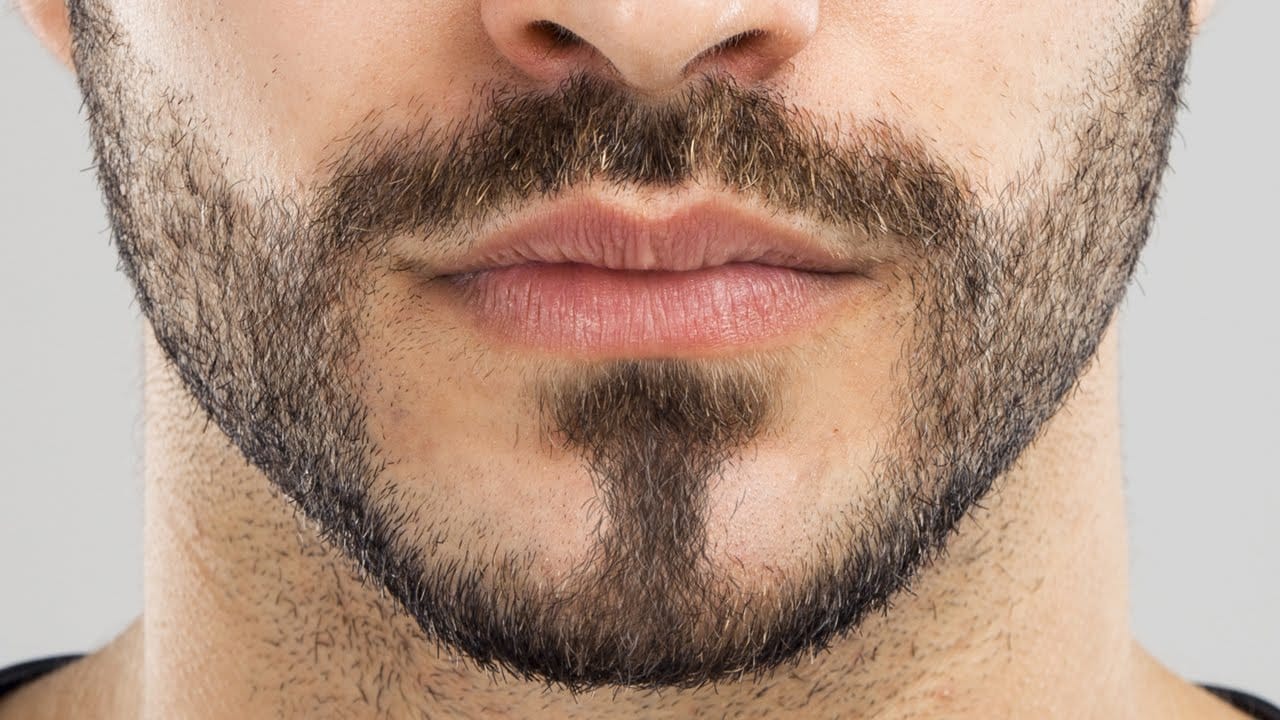
Removing facial hair from portraits requires more than just automatic healing tools. When dealing with beards, mustaches, or stubble, you need to essentially repaint the person's face while maintaining realistic skin texture and natural-looking results.
This technique combines manual brush painting with texture borrowing from reference photos to create seamless facial hair removal that looks convincing at any zoom level.
Watch the Video
Practical Tips
Master these essential techniques for realistic facial hair removal:
- Use the brush tool with 20% flow and continuously sample skin colors from nearby areas while painting
- Work on separate layers so you can turn effects on and off to check your progress
- Find a reference photo with similar lighting and face shape to borrow skin texture from the lower face area
- Apply high pass filter to desaturated reference skin, then use overlay blend mode to transfer texture
- Use black layer masks to selectively paint in borrowed texture only where needed for natural results
Related Articles and Tutorials
Explore more portrait retouching and hair editing techniques:
How to Create Facial Hair in Photoshop
Men's facial hair rarely grows evenly, leaving patchy spots that stand out in portraits. From sparse beard areas to missing mustache sections, these gaps can detract from an otherwise polished look.
This tutorial demonstrates how to create custom brushes that paint realistic facial hair, complete with natural color variation and highlights that match existing growth patterns.
Watch the Tutorial
Essential Tips for Creating Facial Hair
Master these key techniques to paint convincing facial h
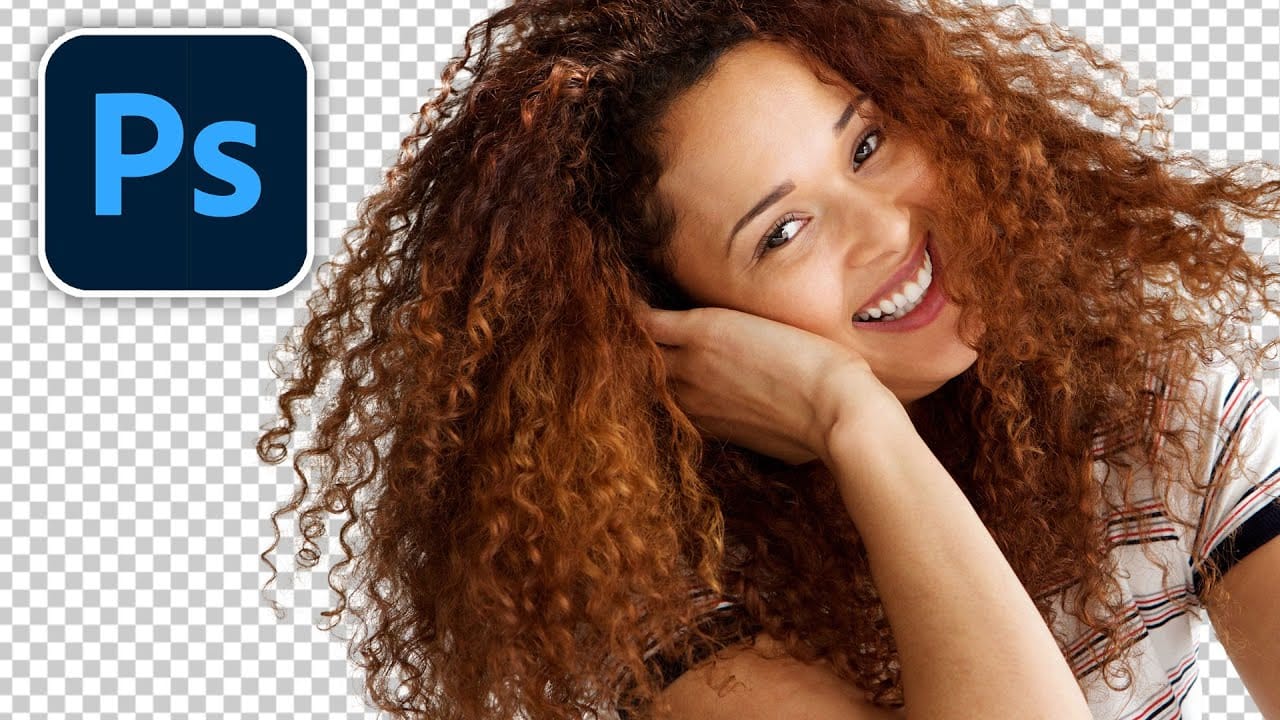
Futuristic tool instantly cuts out hair in photoshop
Cutting out hair in Photoshop has always been a challenging task, but Colin Smith demonstrates a futuristic tool that makes it remarkably easy. In this tutorial, you'll learn how to quickly cut out hair and remove those pesky fuzzy edges using the new features in Select and Mask.
Colin walks you through the process of using Select and Mask, a powerful tool that significantly improves the precision and ease of selecting fine details like hair. He explains the different options within the tool, s
3 steps to remove stray flyaway hair fast in Photoshop
Removing stray flyaway hair in Photoshop can be a quick and efficient process. This guide offers a straightforward workflow that allows you to tackle multiple flyaways at once, saving you time and effort.
The tutorial emphasizes the use of masks, which enables you to manage the unwanted hairs without the tedious job of cloning out each one individually. You will find that by following these three simple steps, you can achieve a clean and polished look for your images.
Whether for portrait phot

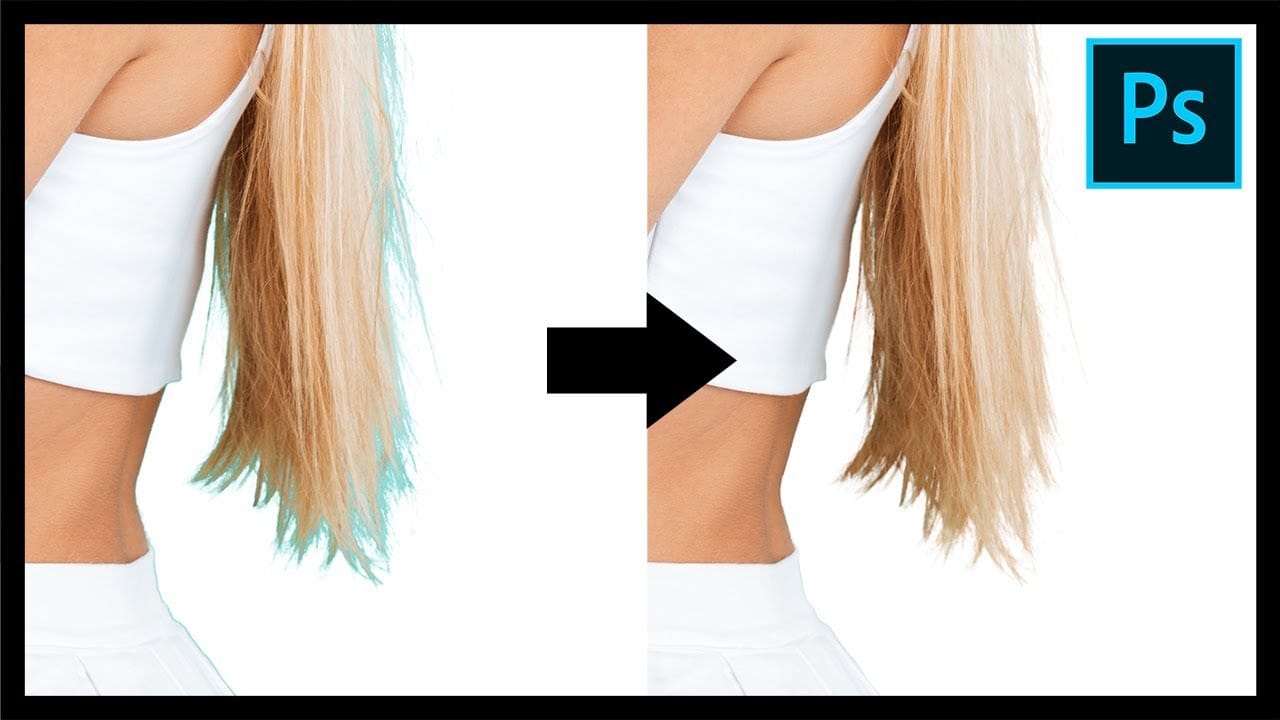
Remove Fringes After Cutting Out Hair in Photoshop
This tutorial by PiXimperfect addresses the crucial challenge of removing edge fringes that frequently arise during hair masking in Photoshop, a common issue that can compromise the integrity of composite images. For design professionals, achieving a flawless finish is paramount, and understanding how to eliminate these distracting color edges is essential for creating high-quality visuals.
In this guide, the focus is on utilizing Clipping Masks to enhance hair selection, allowing for a more pr
How to Remove Acne in Photoshop
In this tutorial by Aaron Nace from Phlearn, learn how to effectively remove acne in Photoshop.
The process is divided into two steps: first, removing redness using Hue/Saturation to target specific red areas and make them look like normal skin tone. Second, removing blemishes with the Spot Healing Brush set to "Content Aware" and "Sample All Layers" to work non-destructively.
After clearing the blemishes, a bit of red is added back to the skin using a soft light blend mode for a natural look.

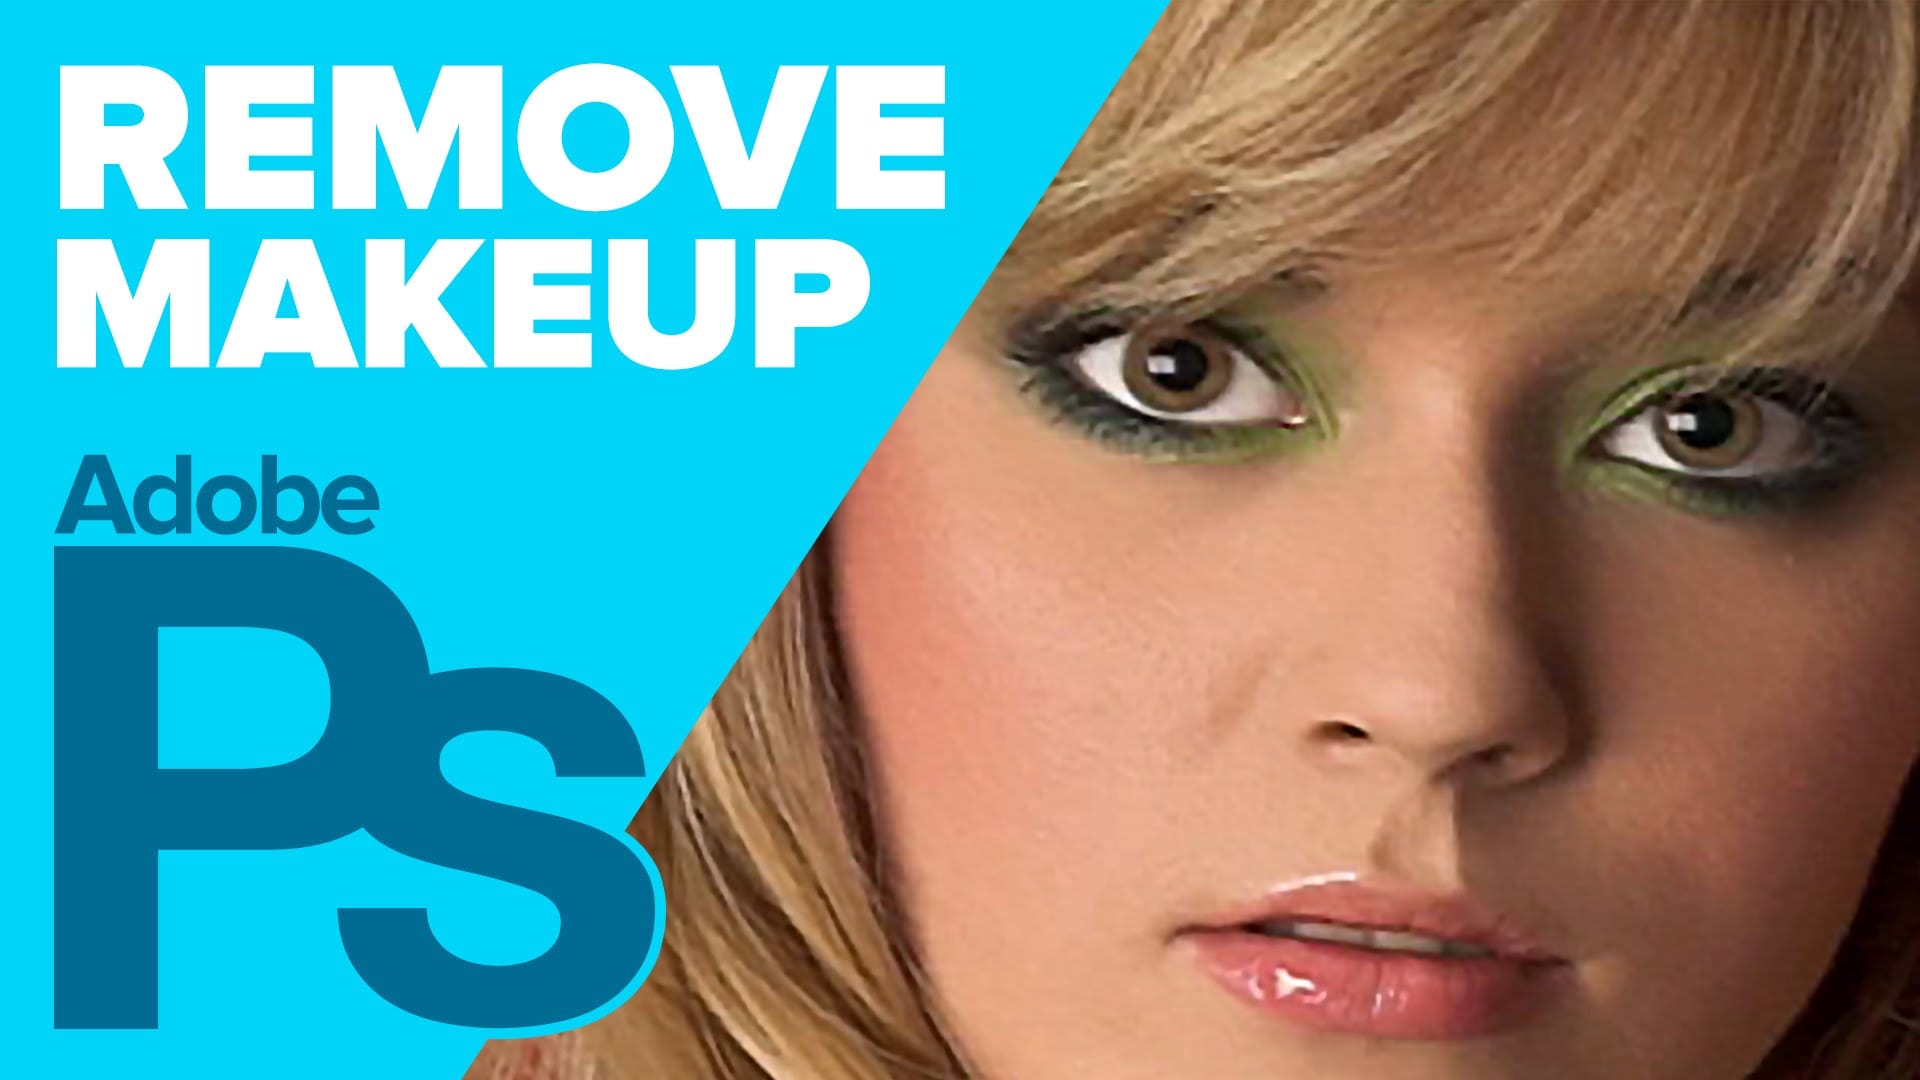
How to Remove Makeup in Photoshop
The author, Howard Pinksy, teaches how to remove makeup from a portrait photograph in this Photoshop tutorial. The tutorial guides the user through the process of removing makeup from a portrait image.
First, the user is shown how to select the areas of the face that have makeup. Then, they are instructed on how to use Photoshop's tools to erase the makeup and reveal the natural skin underneath. The tutorial also covers techniques for blending the edited areas seamlessly with the rest of the im
How to Cut Out Hair in Photoshop
This Photoshop tutorial by Phlearn will teach you some interesting techniques for cutting out hair from a background.
The process involves using the color channel with the highest contrast to create a selection, then applying a layer mask to isolate the hair. The tutorial also covers how to handle fringing around the hair using clipping masks and tools like the brush and clone stamp to ensure a natural look. This method is particularly effective with dark hair against a light background or vice
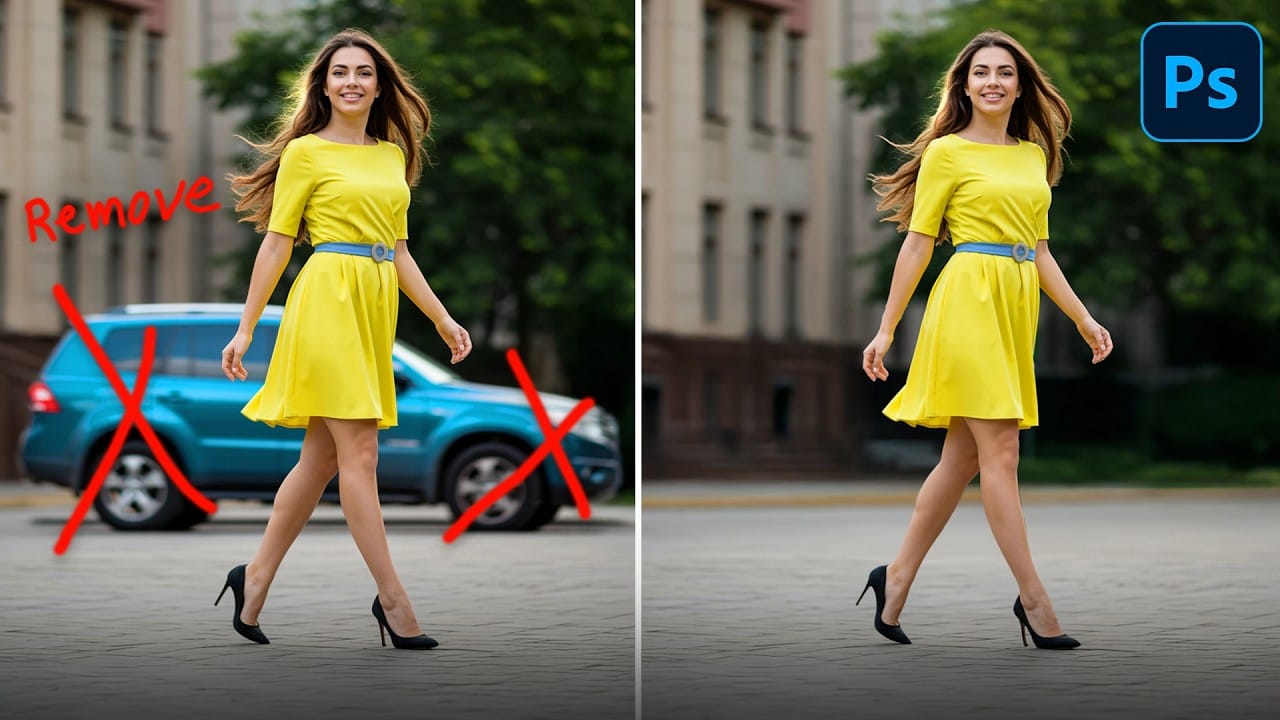
How to Remove Objects from Photos Using Photoshop's Remove Tool and Clean Plate Technique
Professional photo editing often requires removing unwanted objects while maintaining natural-looking results. The challenge lies in creating seamless edges and realistic backgrounds, especially around complex subjects like hair or intricate details.
This tutorial demonstrates both basic object removal using Photoshop's Remove Tool and an advanced "clean plate" technique used in professional TV and movie poster production.
Watch the Tutorial
Essential Tips for Object Removal
* Create a ne
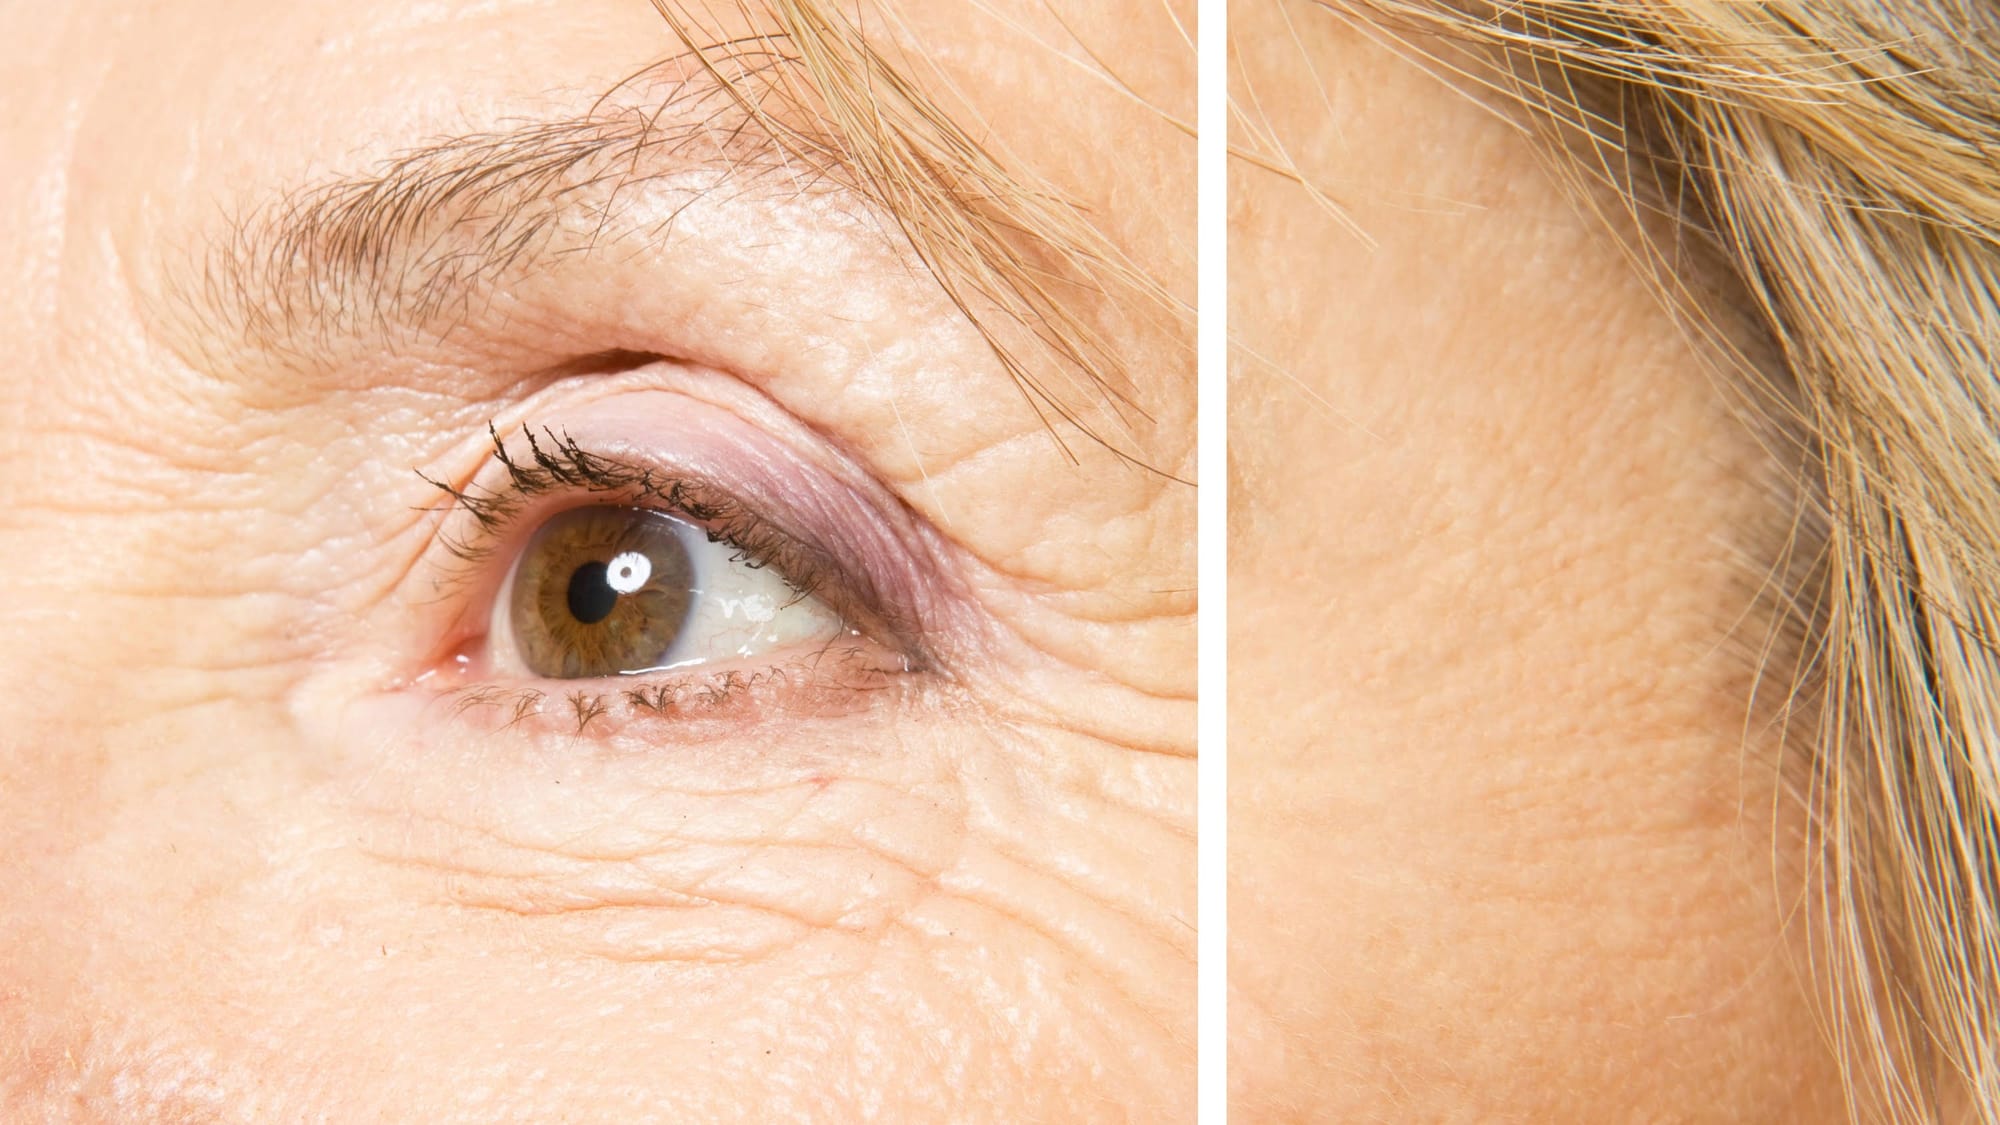
How to Remove Wrinkles in Photoshop
In this tutorial by Aaron Nace from Phlearn, learn how to remove or reduce wrinkles in Photoshop effectively.
For complete wrinkle removal, use the Healing Brush Tool with a brush size slightly larger than the wrinkle, sampling color just below it. For a more subtle approach, use the Clone Stamp tool on a duplicated background layer in "Lighten" mode to conceal wrinkles naturally.
These techniques ensure a balanced and realistic retouch, keeping the skin's natural texture intact. Perfect for e