How to Remove Reflections from Photos Using Photoshop's AI Tool

How to Remove Reflections from Photos Using Photoshop's AI Tool

Glass surfaces create some of photography's most persistent challenges. Windows, storefronts, and displays often produce unwanted reflections that obscure subjects and compromise image clarity.

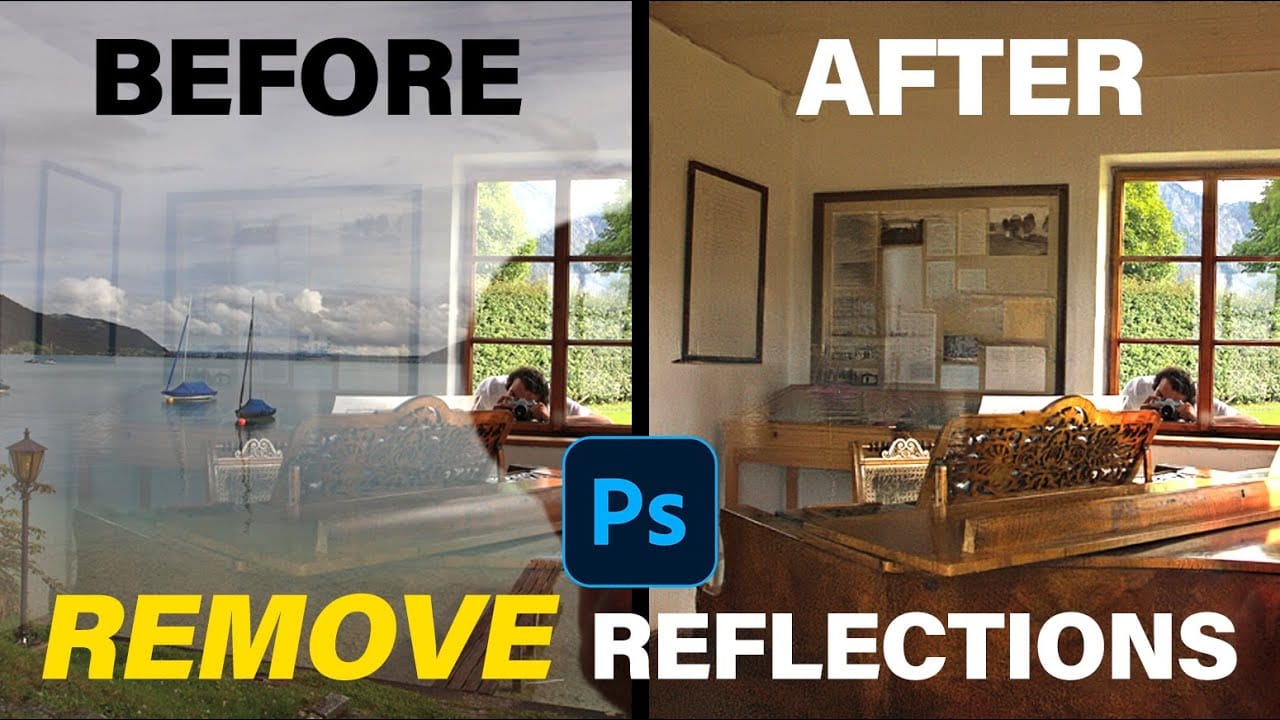
Photoshop's latest AI-powered reflection removal tool addresses this common problem with automated detection and removal capabilities. This video demonstrates the complete workflow for eliminating reflections while preserving underlying image details.

Watch the Tutorial

Video by Photoshop Arthouse. Any links or downloads mentioned by the creator are available only on YouTube

Understanding Reflection Removal Technology

Adobe's reflection removal tool uses machine learning algorithms trained on thousands of glass surface images. The AI system analyzes light patterns, transparency levels, and surface distortions to distinguish between actual subjects and reflected elements. This computational approach handles complex scenarios where manual editing would require extensive masking and reconstruction work.

The technology works best with clear glass surfaces where reflections create distinct visual layers. Environmental factors like lighting angles, surface cleanliness, and reflection intensity all influence the tool's effectiveness. Professional photographers often encounter these challenges when shooting through storefront windows, car windshields, or architectural glass elements.

Smart Object workflows preserve original image data during the removal process. This non-destructive approach allows photographers to adjust removal intensity, extract reflection elements separately, or revert changes without quality loss.

Practical Tips for Reflection Removal

  • Convert images to Smart Objects before applying filters to maintain editing flexibility and preserve original data quality.
  • Enable "New AI Features and Settings Panel" in Technology Previews to access the latest reflection removal capabilities.
  • Use the "Best" quality setting for final images, as it provides superior results despite longer processing times.
  • Combine AI removal with manual healing tools for areas where automated processing leaves residual artifacts.
  • Create composite snapshots using Ctrl+Alt+Shift+E when additional manual cleanup is needed on processed images.

More Tutorials about Reflection Effects

Explore additional techniques for working with reflections and glass surfaces in Photoshop.
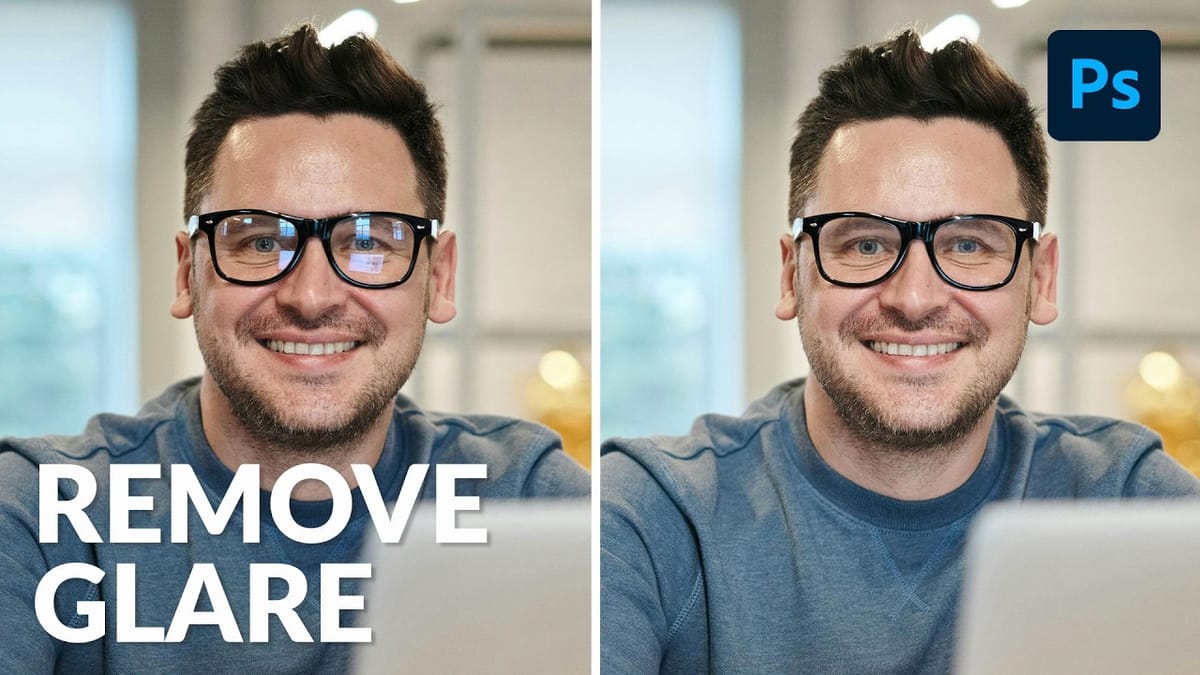
How to Professionally Remove Glare from Eyeglasses in Photoshop
Glare on eyeglasses is a persistent and frustrating problem in photography, often obscuring the subject’s eyes and facial features. This common issue can detract from an otherwise perfectly composed portrait, making it appear unprofessional or distracting due to bright reflections. This tutorial demonstrates a robust hybrid approach to tackling eyeglass
New Reflection Removal Tool in Photoshop
Capturing the perfect shot often means battling environmental challenges, and few are as persistent as unwanted reflections in windows or glass. These glare points can obscure subjects, distort details, and fundamentally compromise an image’s impact. Fortunately, Photoshop has introduced a new AI-powered feature designed to tackle this common photographic issue.
How to make epic reflections in Photoshop
This tutorial will teach you techniques to create captivating reflections and lifelike puddles in Photoshop. Renowned expert Colin Smith will guide you through the process, ensuring your images and designs achieve a heightened sense of realism and visual impact. You'll learn tips and strategies to craft reflections that seamlessly blend with your photographic elements or design compositions, whether replicating the surface of a lake, the facade of a skyscraper, or the rippling effect of a puddl
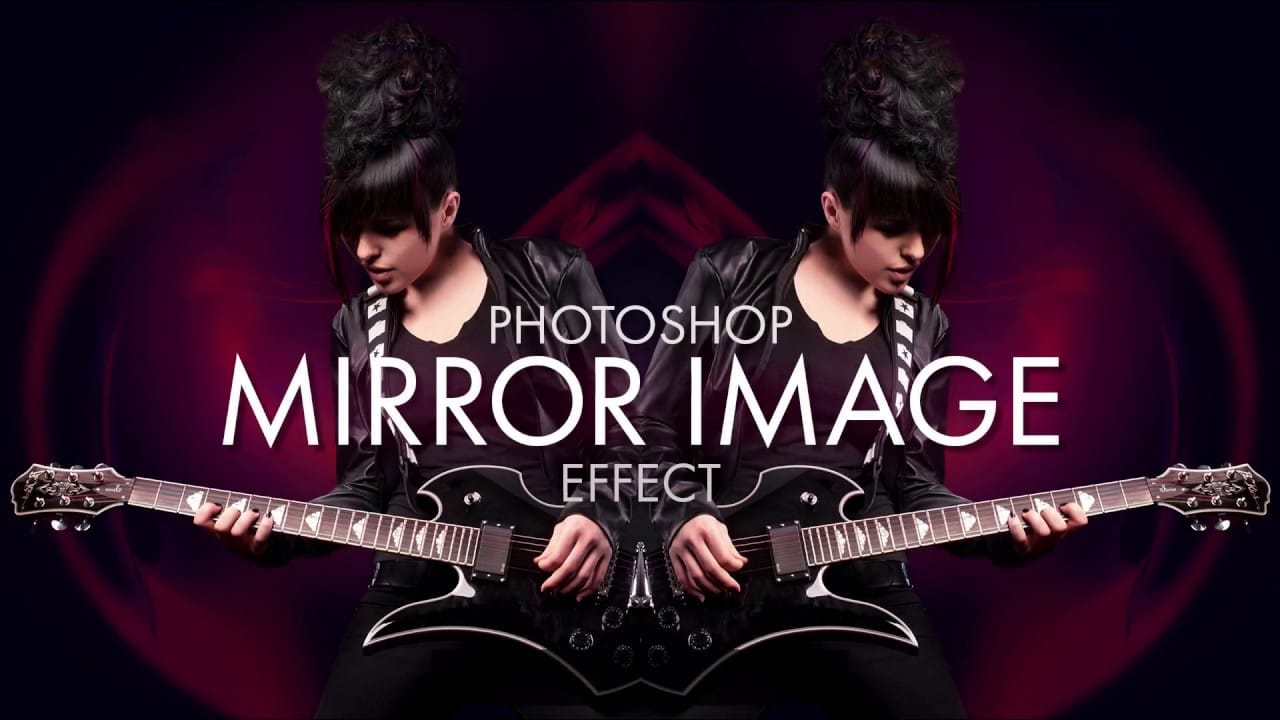
Create a mirror image photo effect in Photoshop
Symmetry is all around us in nature, and as human beings, we can't get enough of it. Symmetry brings math, science and art together in a way that captures both our eye and our imagination. The most basic form of symmetry is Reflection Symmetry, also known as Mirror Symmetry, where one half of something is a perfect mirror reflection of the other half. In this video from Photoshop Essentials, Steve Patterson shows us how to take our natural fascination with symmetry and apply it to any image in

Get tutorials & freebies delivered to you.

Subscribe to the Photoshop Roadmap newsletter, a weekly roundup of new tutorials, insights and quality downloads, trusted by 6500+ readers.

You might also like

Complete Photoshop Editing Workflow: 5 Steps from Raw to Polished

Photoshop offers endless possibilities for photo enhancement, but many photographers never move beyond basic adjustments because the software feels overwhelming. This comprehensive workflow breaks down photo editing into five manageable stages that work consistently across different photography styles. The systematic approach covers everything from initial raw processing to advanced lighting...

Photoshop Workspace Basics: Navigation, Zooming, and Essential Interface Elements

Photoshop's interface can feel overwhelming when you first open the program. Dozens of panels, tools, and menus compete for attention, making simple tasks feel complicated. This tutorial breaks down the essential workspace elements and teaches fundamental navigation skills that form the foundation of efficient Photoshop work. Watch the...

How to Restore Old Damaged Photos Using Nano Banana in Photoshop

Old family photos with scratches, tears, and missing sections can seem beyond repair. Google's Nano Banana AI model, now integrated into Photoshop, makes full restoration possible in minutes rather than hours. This powerful tool excels at maintaining facial characteristics while automatically filling in damaged areas and adding realistic...

How to Get Higher Quality Results from Photoshop's Generative Fill Tool

Photoshop's Generative Fill creates impressive AI extensions, but the results often look blurry and pixelated when viewed at full size. This quality limitation makes many AI-generated areas unusable for printing or large displays. This technique shows how to work around the 1024x1024 pixel quality limit to create much...

How to Use Photoshop's Liquify Tool for Non-Destructive Portrait Retouching

Clothing wrinkles, hair that lacks volume, and awkward fabric bunching can distract from an otherwise great portrait. Photoshop's Liquify tool offers a powerful solution for smoothing out these issues while preserving the natural look of your subject. This tutorial demonstrates how to use the Liquify tool non-destructively with...

You’ve successfully subscribed to Photoshop Roadmap
Welcome back! You’ve successfully signed in.
Great! You’ve successfully signed up.
Success! Your email is updated.
Your link has expired
Success! Check your email for magic link to sign-in.